

Results & validation
This page covers the back half of the laboratory workflow: entering analyser results, comparing them against reference ranges, escalating critical values, and moving each result through the multi-level verification ladder before it is released to the patient chart. The discipline here — never releasing an unverified or unchecked result — is what makes laboratory reporting trustworthy.
Where to find it
- Laboratory → Results Inbox — results awaiting entry, verification and release.
- Laboratory → Critical Values — results flagged critical-high or critical-low that need an urgent clinician call-back.
- Results are also reached from each Lab Request through its Results stat button.
Before you start
Reference ranges and critical thresholds must be configured per test in the Test Catalog. Each test carries normal ranges (which can vary by patient demographics) plus a default critical low and default critical high. With these in place, the system can compute each result's reference range and flag automatically; without them, results can still be entered but will not auto-flag. The request must be at Sample Collected and started into processing before results are worked.
The verification ladder
Every result moves through four validation states, enforced in order. A result cannot skip a rung.
| Validation state | Meaning |
|---|---|
| Entered | Raw value captured by the technician. |
| Technician Verified | First-line check by the running technician. |
| Supervisor Verified | Second-line check by a senior technologist / supervisor. |
| Released | Result authorised and visible on the patient chart. |
Step-by-step: enter and release a result
- From Laboratory → Lab Requests, open the request and click Start Processing so it moves to In Progress.
- Open the result for each test. Enter the Numeric Value (or Text Value for qualitative tests) and the Unit. The Reference Range and Flag are computed for you.
- Click Enter to set the result to Entered; the technician and entry time are recorded.
- Click Technician Verify — the result advances to Technician Verified.
- A supervisor opens the result and clicks Supervisor Verify — it advances to Supervisor Verified, recording the verifying user and time.
- Click Release. The result becomes Released, stamped with the releasing user and release time, and is now visible to the ordering clinician.
- Back on the request, once every result is released use Validate (request → Validated) and then Report (request → Reported). Print Report produces the final patient report.
Reference ranges and result flags
When a numeric result is entered, it is classified against the test's configured ranges and a flag is set. The flags are:
| Flag | Meaning |
|---|---|
| Normal | Within the reference range. |
| High | Above the reference range, non-critical. |
| Low | Below the reference range, non-critical. |
| Critical High | Above the critical-high threshold — urgent. |
| Critical Low | Below the critical-low threshold — urgent. |
| Abnormal | Qualitative result outside the expected value. |
Critical values and escalation
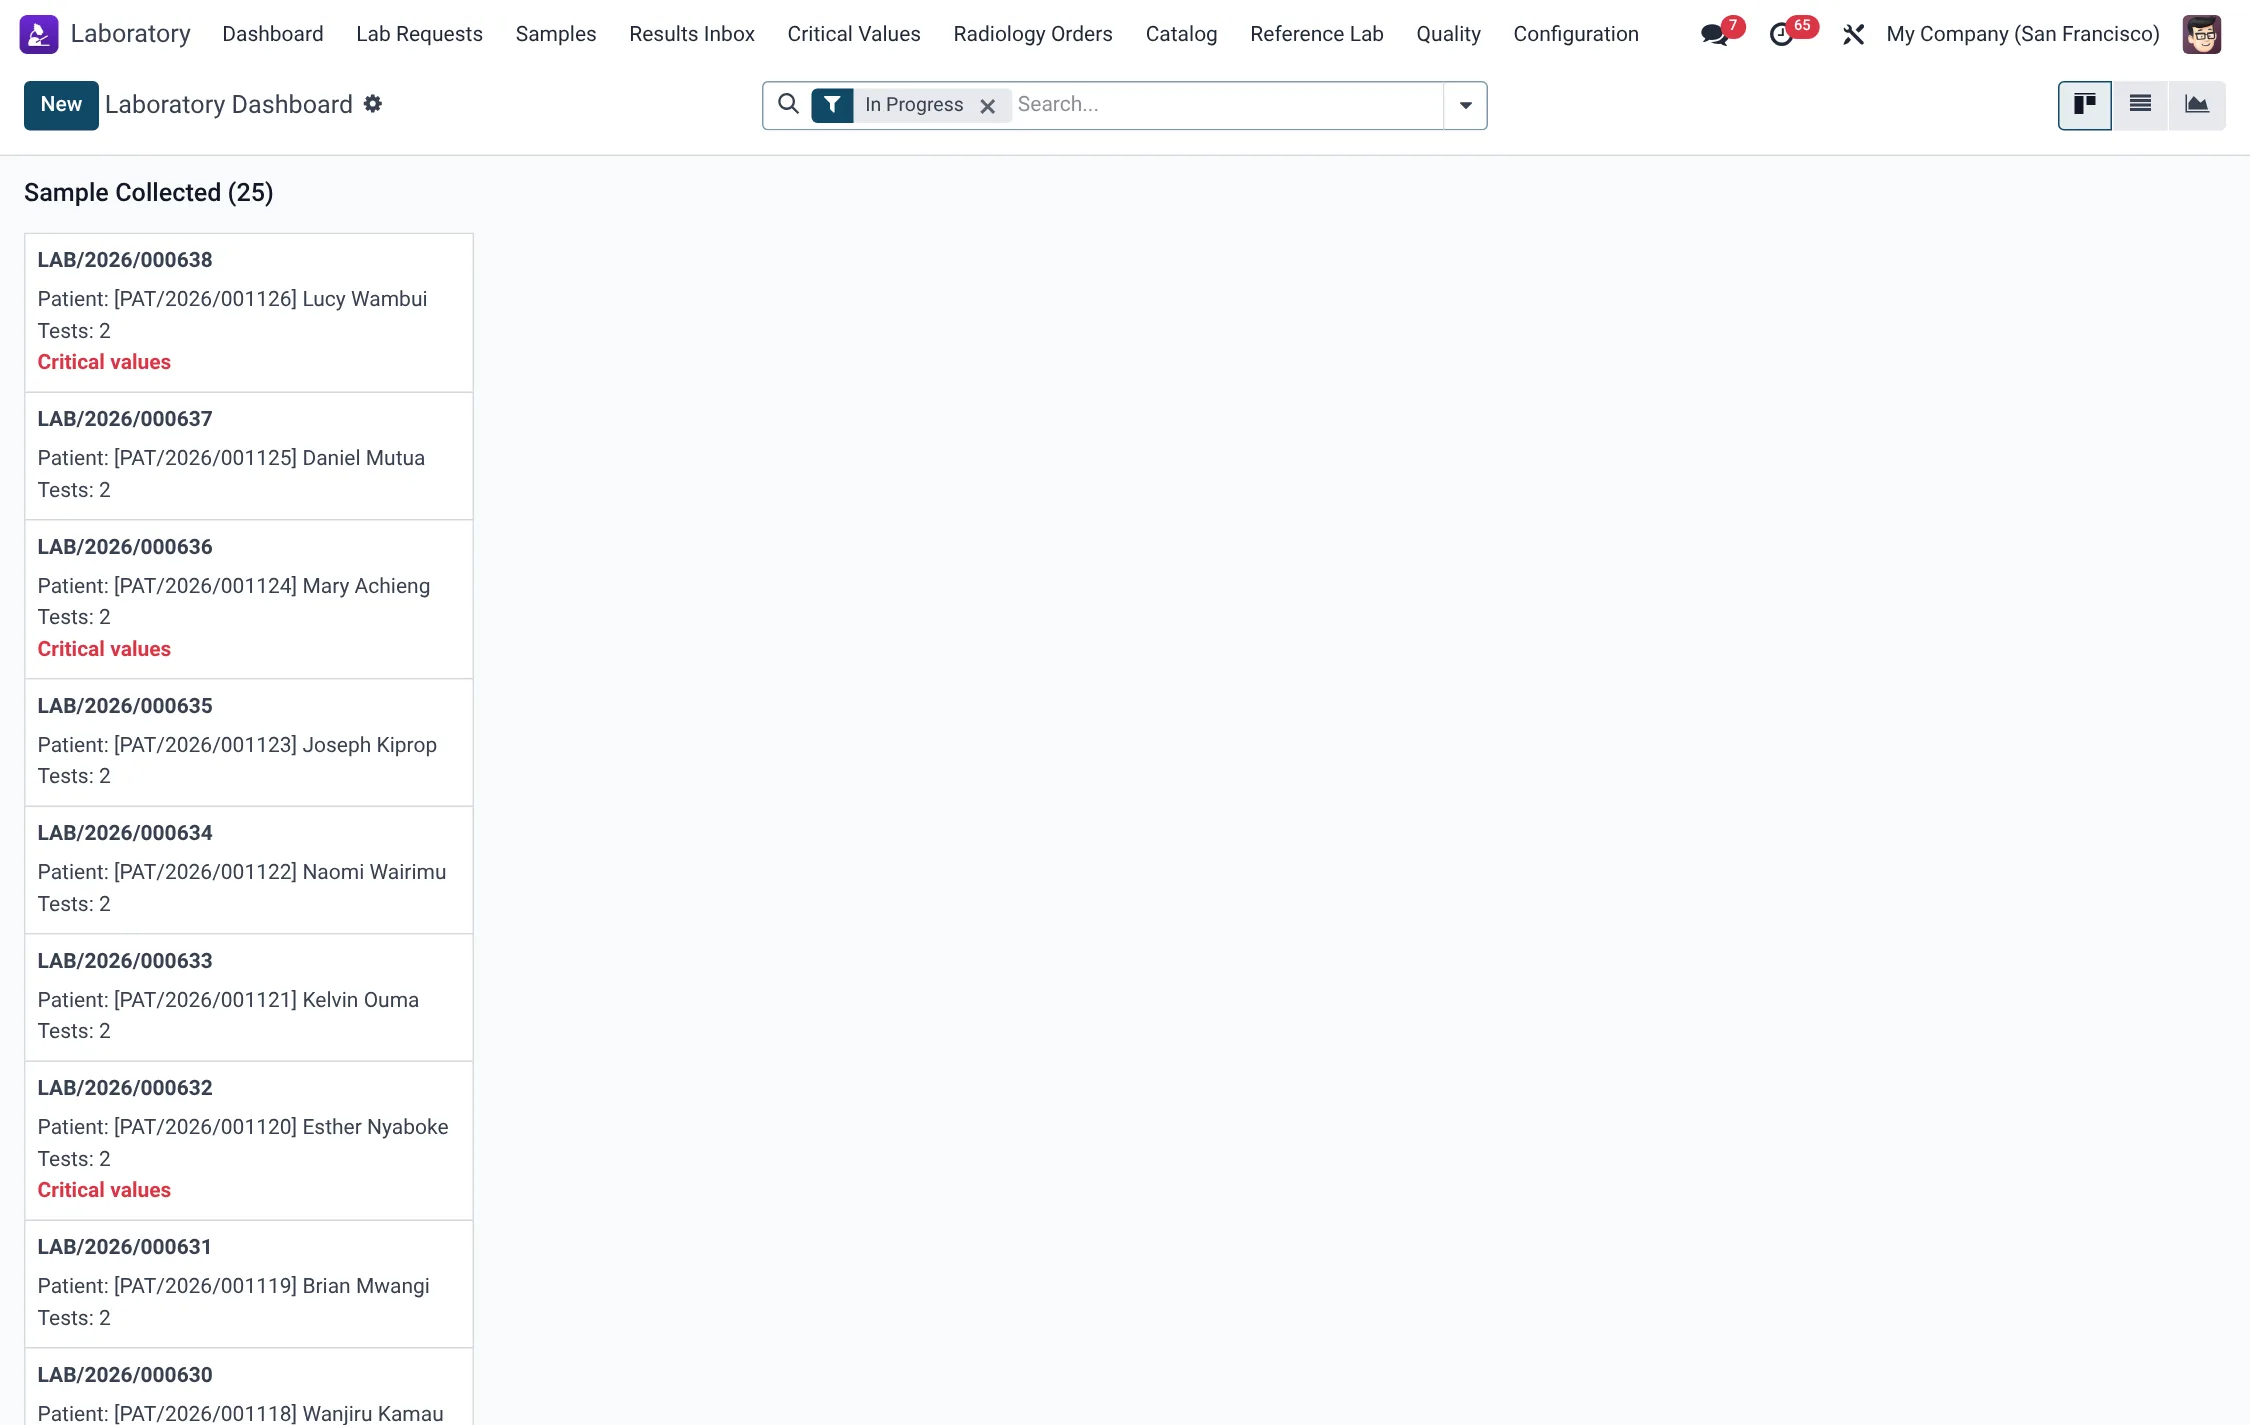
Any result flagged Critical High or Critical Low marks its parent request as having a critical value and appears under Laboratory → Critical Values. This is the lab's worklist for urgent clinician notification — the result still passes through verification and release, but it must be telephoned to the responsible clinician without waiting for the printed report.
Field reference
| Field | Meaning | Required |
|---|---|---|
| Numeric Value | The measured value for quantitative tests. | For numeric tests |
| Text Value | The reported value for qualitative tests. | For text tests |
| Unit | Unit of measure for the result. | Recommended |
| Reference Range | Computed normal range for the patient. | Auto |
| Flag | Normal / High / Low / Critical / Abnormal. | Auto |
| Technician | User who entered the result. | Auto |
| Supervisor | User who supervisor-verified. | Auto on verify |
| Released By / Released At | Authorising user and time. | Auto on release |
| Method / Analyzer Note | Analyser or method used. | Optional |
| Comment | Free-text interpretive note. | Optional |
Amending a released result
A released result is not edited in place. To correct one, use Amend: this creates a linked amendment that carries forward as a new version of the result, preserving the original for audit. Amendments keep the chain of who changed what, when — important when a corrected value reaches the chart after the first report.
Roles & access
Result entry is performed by lab technicians; supervisor verification and release require the senior / supervisor level so that no single technician can both run and authorise a result. Ordering clinicians (doctor group) see released results in the chart but do not enter or release them. Lab managers configure ranges and oversee the verification ladder.
Panels and sub-values
When a panel is ordered, each component test produces its own result and is verified and released on its own merits, so a clinically clear component is not held up by one that needs a repeat. Tests that report several measurements can carry sub-values under a single result, keeping a differential or a multi-analyte assay together on one record. The request as a whole reaches Validated only once every component result has been released, which prevents a partial report leaving the lab.
Tips & troubleshooting
Verification ladder — buttons and stamps
Each rung is advanced by a single button and records who acted and when. The ladder is enforced in order; a result cannot skip a rung:
| From state | Button | To state | Stamped |
|---|---|---|---|
| (new) | Enter | Entered | Technician & entry time |
| Entered | Technician Verify | Technician Verified | — |
| Technician Verified | Supervisor Verify | Supervisor Verified | Supervisor & verify time |
| Supervisor Verified | Release | Released | Released By & release time |
| Released | Amend | Released (new version) | Amendment author & time |
Result flags — what to do
The flag is computed automatically from the test's configured ranges and critical thresholds. The expected handling for each is:
| Flag | Source | Action |
|---|---|---|
| Normal | Within reference range | Verify and release normally. |
| High / Low | Outside range, not critical | Verify, release; clinician reviews on the chart. |
| Critical High / Critical Low | Past critical threshold | Telephone the clinician before the printed report; document the call. |
| Abnormal | Qualitative positive / reactive / detected | Verify, release; flag for clinical interpretation. |
Roles & access for results
Result handling is split so that running and authorising a result are never the same single action:
| Group | Enter | Technician verify | Supervisor verify & release | Amend |
|---|---|---|---|---|
| Lab Technician | Yes | Yes | No | No |
| Lab Supervisor | Yes | Yes | Yes | Yes |
| Doctor | No | No | No | No (reads released) |
| HMS Manager / Admin | Yes | Yes | Yes | Yes |