

Getting started
BridgeERP HMS is a modular hospital operating system: a foundation that holds your facilities, departments and patient master record, surrounded by clinical, diagnostic, financial and operational apps that all share the same data. This page orients a new operator — the order in which to switch things on, how a patient flows through the system, how the apps fit together, and a checklist for your first week.
How the suite is built
Everything in the suite sits on one foundation module, Patient Management (the application that appears as HMS Core in the app drawer). It owns the facility topology, the patient record, appointments, the queue, triage, visits, the ICD-10 catalogue, insurance schemes and the shared security roles. Every other app — Consultation, Laboratory, Pharmacy, Billing, Wards, Theatre, Blood Bank, and dozens more — extends that foundation rather than duplicating it. The practical consequence: install the foundation first, configure it once, and each app you add afterwards inherits the same patients, the same facilities and the same roles.
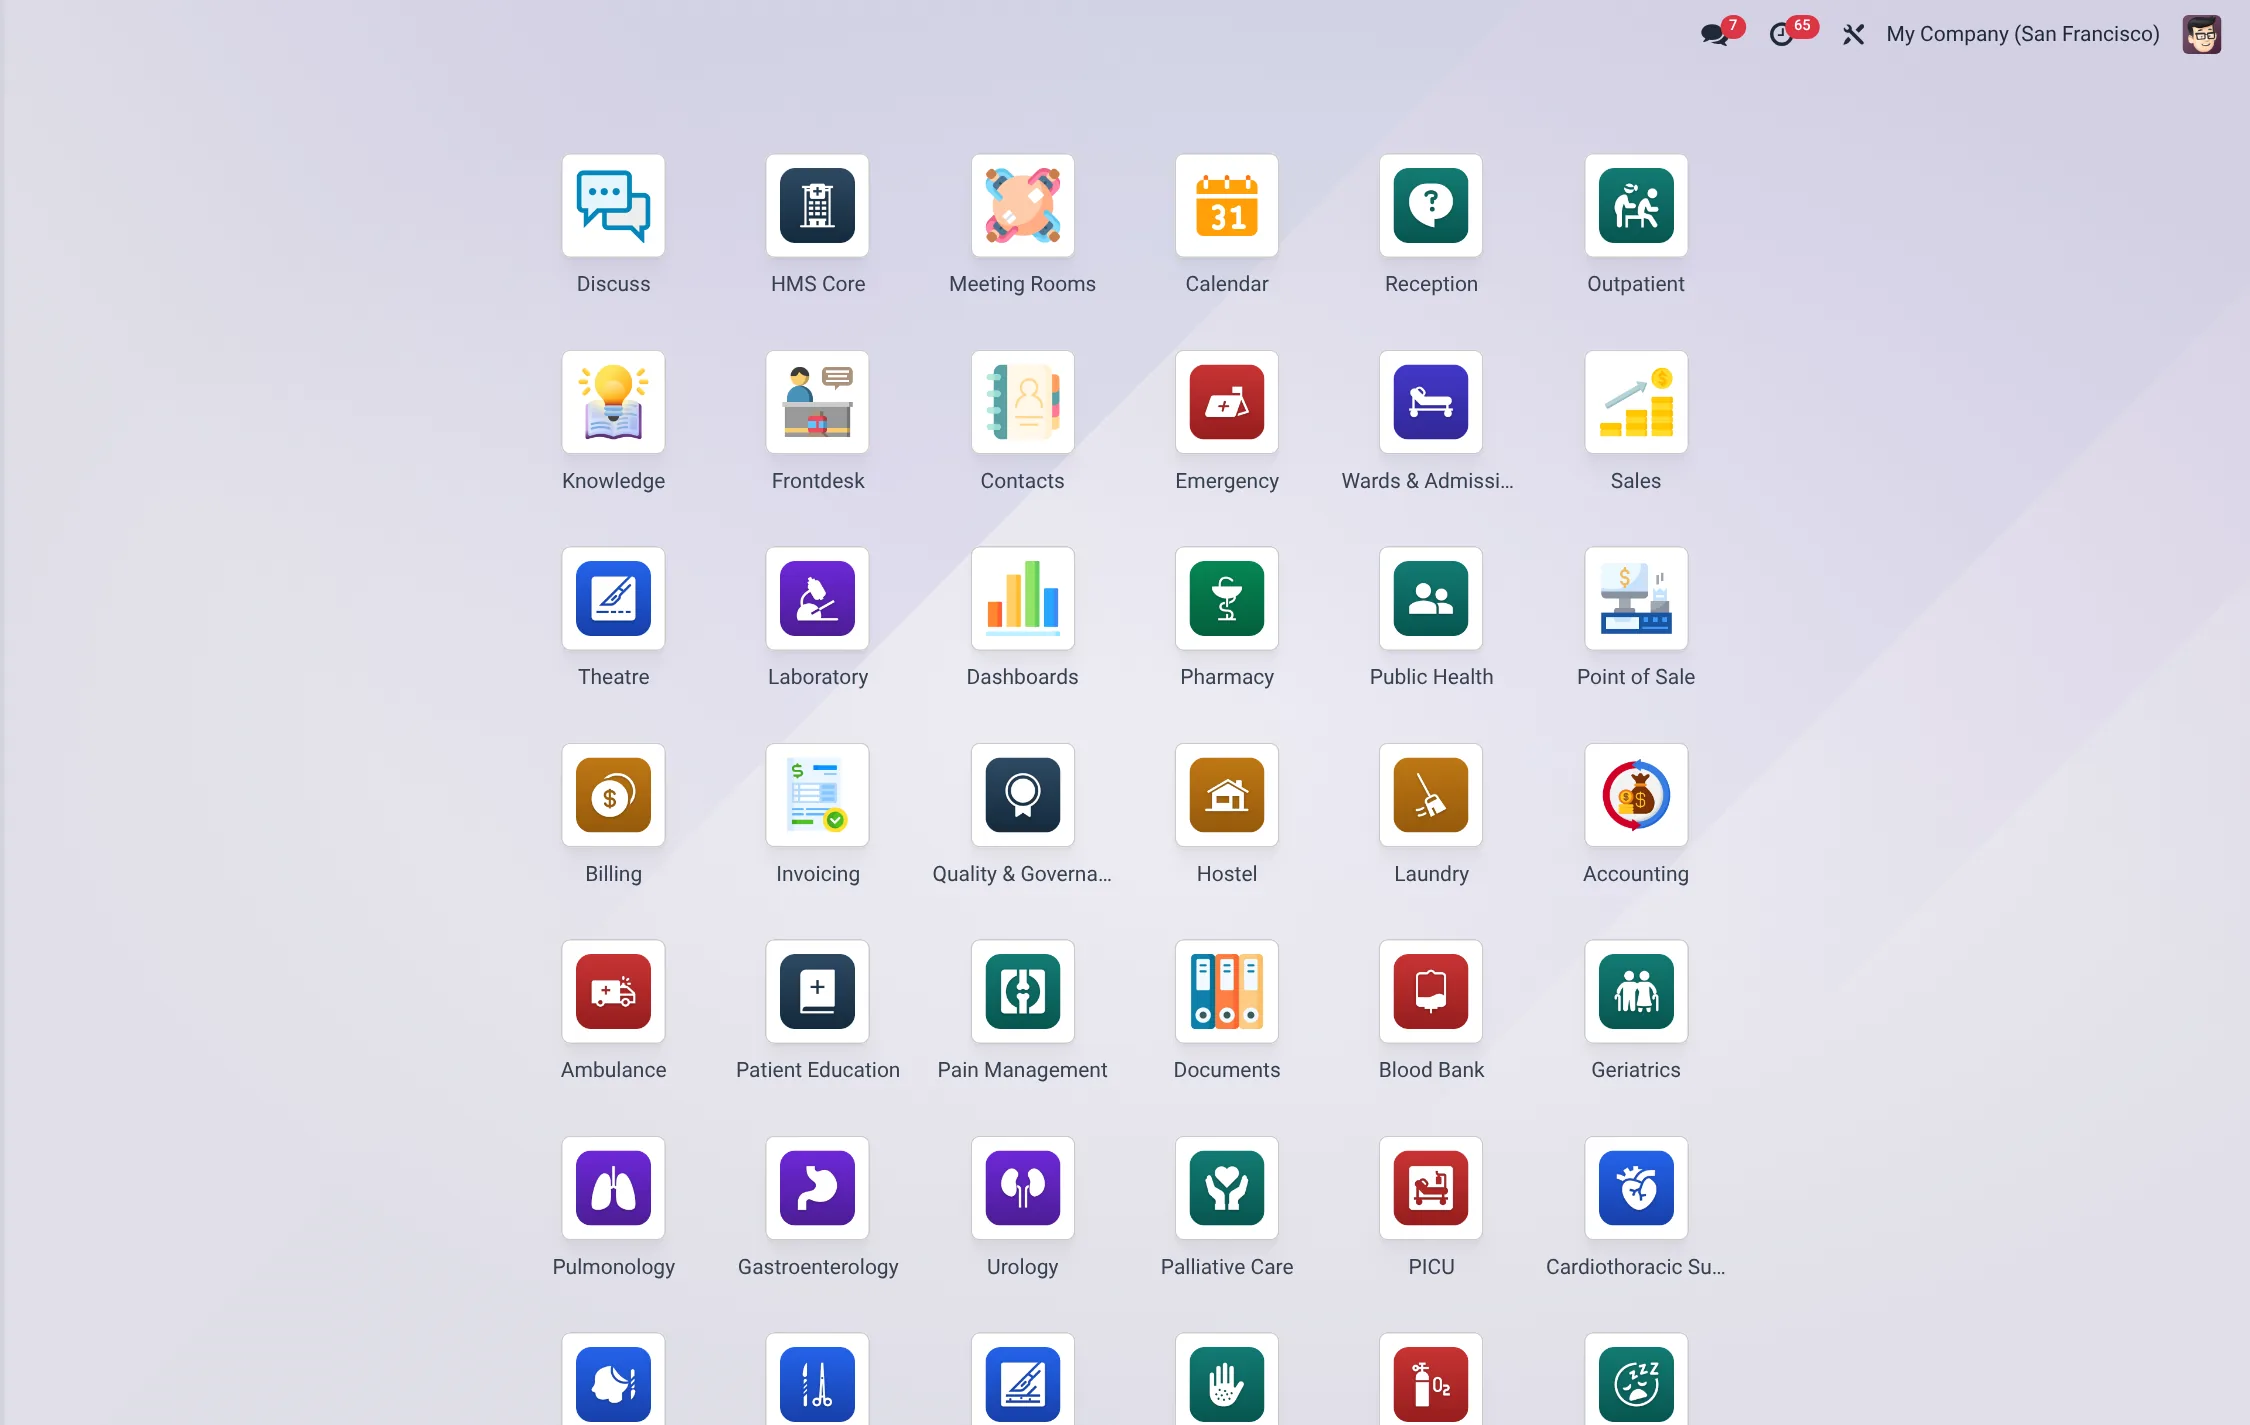
Recommended install order
You do not have to install every app. Start with the foundation and the desk apps your front-of-house needs, then add clinical and financial apps as you bring each department live. A sensible sequence:
- HMS Core (Patient Management) — the foundation. Nothing else works without it.
- Reception and, if you use staffed desks, Reception Desktop — so the front desk can register patients and open the queue.
- Consultation — so clinicians can see patients and write encounters.
- Laboratory and Pharmacy — the two diagnostic/dispensing pillars most outpatient departments need first.
- Billing — to price services, take payment and close visits.
- Specialty and back-office apps (Wards, Theatre, ICU, Blood Bank, Radiology/PACS, HR, Procurement, country localisation) as each area goes live.
The detailed mechanics — where to enable apps, dependencies, and how to verify a clean install — are on Installing the apps.
The patient journey
The whole suite is organised around one storyline: a patient arrives, is seen, and leaves with their bill settled. Understanding this flow makes every menu fall into place. A visit moves through a fixed set of statuses, enforced by the foundation so an app cannot skip a step:
| Stage | Visit status | Who acts | App |
|---|---|---|---|
| Arrival & registration | Draft | Receptionist | Reception |
| Vitals & priority | Triaged | Nurse | HMS Core (Triage) |
| Clinical encounter | In Consultation | Doctor | Consultation |
| Diagnostics & treatment | Services | Lab / Pharmacy / Nurse | Laboratory, Pharmacy |
| Payment | Billing | Cashier | Billing |
| Departure | Discharged → Closed | Cashier / Clinician | HMS Core (Visits) |
A visit may also be Cancelled. Inpatient, emergency, teleconsultation and day-care visits follow the same backbone with extra stops (a ward stay, an emergency triage, a video session). The walk-through in Your first patient takes one patient end-to-end through these stages.
How the apps fit together
Three groups of apps surround the foundation:
- Front-of-house — Reception, Reception Desktop, the check-in Kiosk and Scheduling Pro. These create patients, appointments, arrivals and queue tickets.
- Clinical & diagnostic — Consultation, Laboratory, Pharmacy, Radiology/PACS, Wards, ICU, Theatre, Blood Bank and the many specialties. These attach orders, results, prescriptions and notes to the visit.
- Financial & operational — Billing, Insurance Claims, M-Pesa, HR, Procurement, Stores and the country localisation packs. These price the work, collect money and run the back office.
Because they all read and write the same HMS Core → Patients → Patients and Visits records, work done in one app is instantly visible in the others — a lab result a technician releases shows on the doctor’s chart; a charge raised at the pharmacy lands on the cashier’s bill.
The roles at a glance
The foundation ships a ready-made ladder of staff roles, each building on the one below it, so you assign one role per person. These govern what every user sees across the whole suite; Staff & roles covers them in full.
| Role | Built for | Builds on |
|---|---|---|
| Reception | Register patients, book appointments, manage the queue, verify insurance | Base user |
| Nurse | Vitals, triage, care-plan notes, medication administration | Reception |
| Doctor | Clinical assessment, diagnosis, prescriptions, lab and imaging orders | Nurse |
| Pharmacist | Verify and dispense prescriptions, counsel patients, manage stock | Base user |
| Lab Technician / Lab Supervisor | Collect samples and run tests / validate and release results | Base user / Lab Technician |
| Radiologist | Read imaging, issue radiology reports | Base user |
| Cashier | Receive payments, issue receipts, close visit bills | Base user |
| Manager | Access all clinical and operational data, run reports, configure staff | Doctor and others |
| Administrator | Manage facilities, security groups, sequences, integration settings | Manager |
Visit types the foundation supports
Every episode of care is a visit of one type. The type sets which extra stops the visit takes on top of the shared backbone above.
| Visit type | Used for |
|---|---|
| Outpatient | Standard walk-in / booked clinic attendance |
| Inpatient | Admitted patient occupying a ward bed |
| Emergency | Casualty / A&E attendance, triaged first |
| Teleconsultation | Remote consultation by video |
| Day Care | Same-day procedure with no overnight stay |
Where to find everything
Most of your day-one configuration lives in two places. The foundation’s own menus, under the HMS Core app, hold the master data and the patient/visit records:
- HMS Core → Configuration — Facilities, Departments, Staff, Insurance Schemes, ICD-10 Codes, Settings, and the Operations → Audit Log.
- HMS Core → Patients — Patients, Visits, Appointments, Queue, Triage, Consents, Documents, Find/Merge Duplicates and Verify Insurance.
- HMS Core → Reports & Dashboards and Control Tower — the suite-wide operational view.
The front desk works mostly inside the Reception app (desks, arrivals, queue tickets, fast registration), while clinicians, lab, pharmacy and cashier each have their own app surfaces that all feed the same visit. Platform-wide items — user accounts, companies, and two-factor authentication — live under Settings → Users & Companies.
| Menu path | Opens | Use it for |
|---|---|---|
| HMS Core → Configuration → Facilities | Facility records | Defining each hospital, clinic or site |
| HMS Core → Configuration → Departments | Department records | Dividing a facility into clinical / operational units |
| HMS Core → Configuration → Staff | Staff directory | Linking clinicians to user accounts and HR |
| HMS Core → Patients → Patients | Patient master records | Registering and finding patients |
| Reception → Reception Desks | Reception desk list | Setting up service points and counters |
| Settings → Users & Companies → Users | User accounts | Creating logins and assigning roles |
First-week checklist
Work through these in order. Each links to the page that covers it in full.
- Install the foundation and your starting apps — see Installing the apps.
- Create your facility, departments and locations, set company branding, currency and your insurance schemes (NHIF / SHIF and any private insurers) — see Creating your facility.
- Configure reception desks / service points so each counter can open a session and issue tickets — see Reception desks.
- Add your staff as users and assign roles — Reception, Nurse, Doctor, Pharmacist, Lab Technician, Cashier, Manager, Administrator — see Staff & roles.
- Register a test patient and run them end-to-end to confirm the chain works — see Your first patient.
- Lock down data protection — record rules, the audit log, two-factor login and backups — see Security & data protection.