

Register your first patient
This is the moment everything else was set up for: taking one real patient from the front door to a closed visit. Follow it as a guided tutorial once your facility, desks and roles are in place — it proves the whole chain works and teaches the flow each role will repeat hundreds of times a day. We register a patient, open a visit, triage, consult, and close out.
Before you start
You need a facility and at least one department (Creating your facility), a reception desk with an open session (Reception desks), and user accounts with the Reception, Nurse and Doctor roles (Staff & roles). The Consultation app should be installed so the clinical step has somewhere to land.
Where it happens
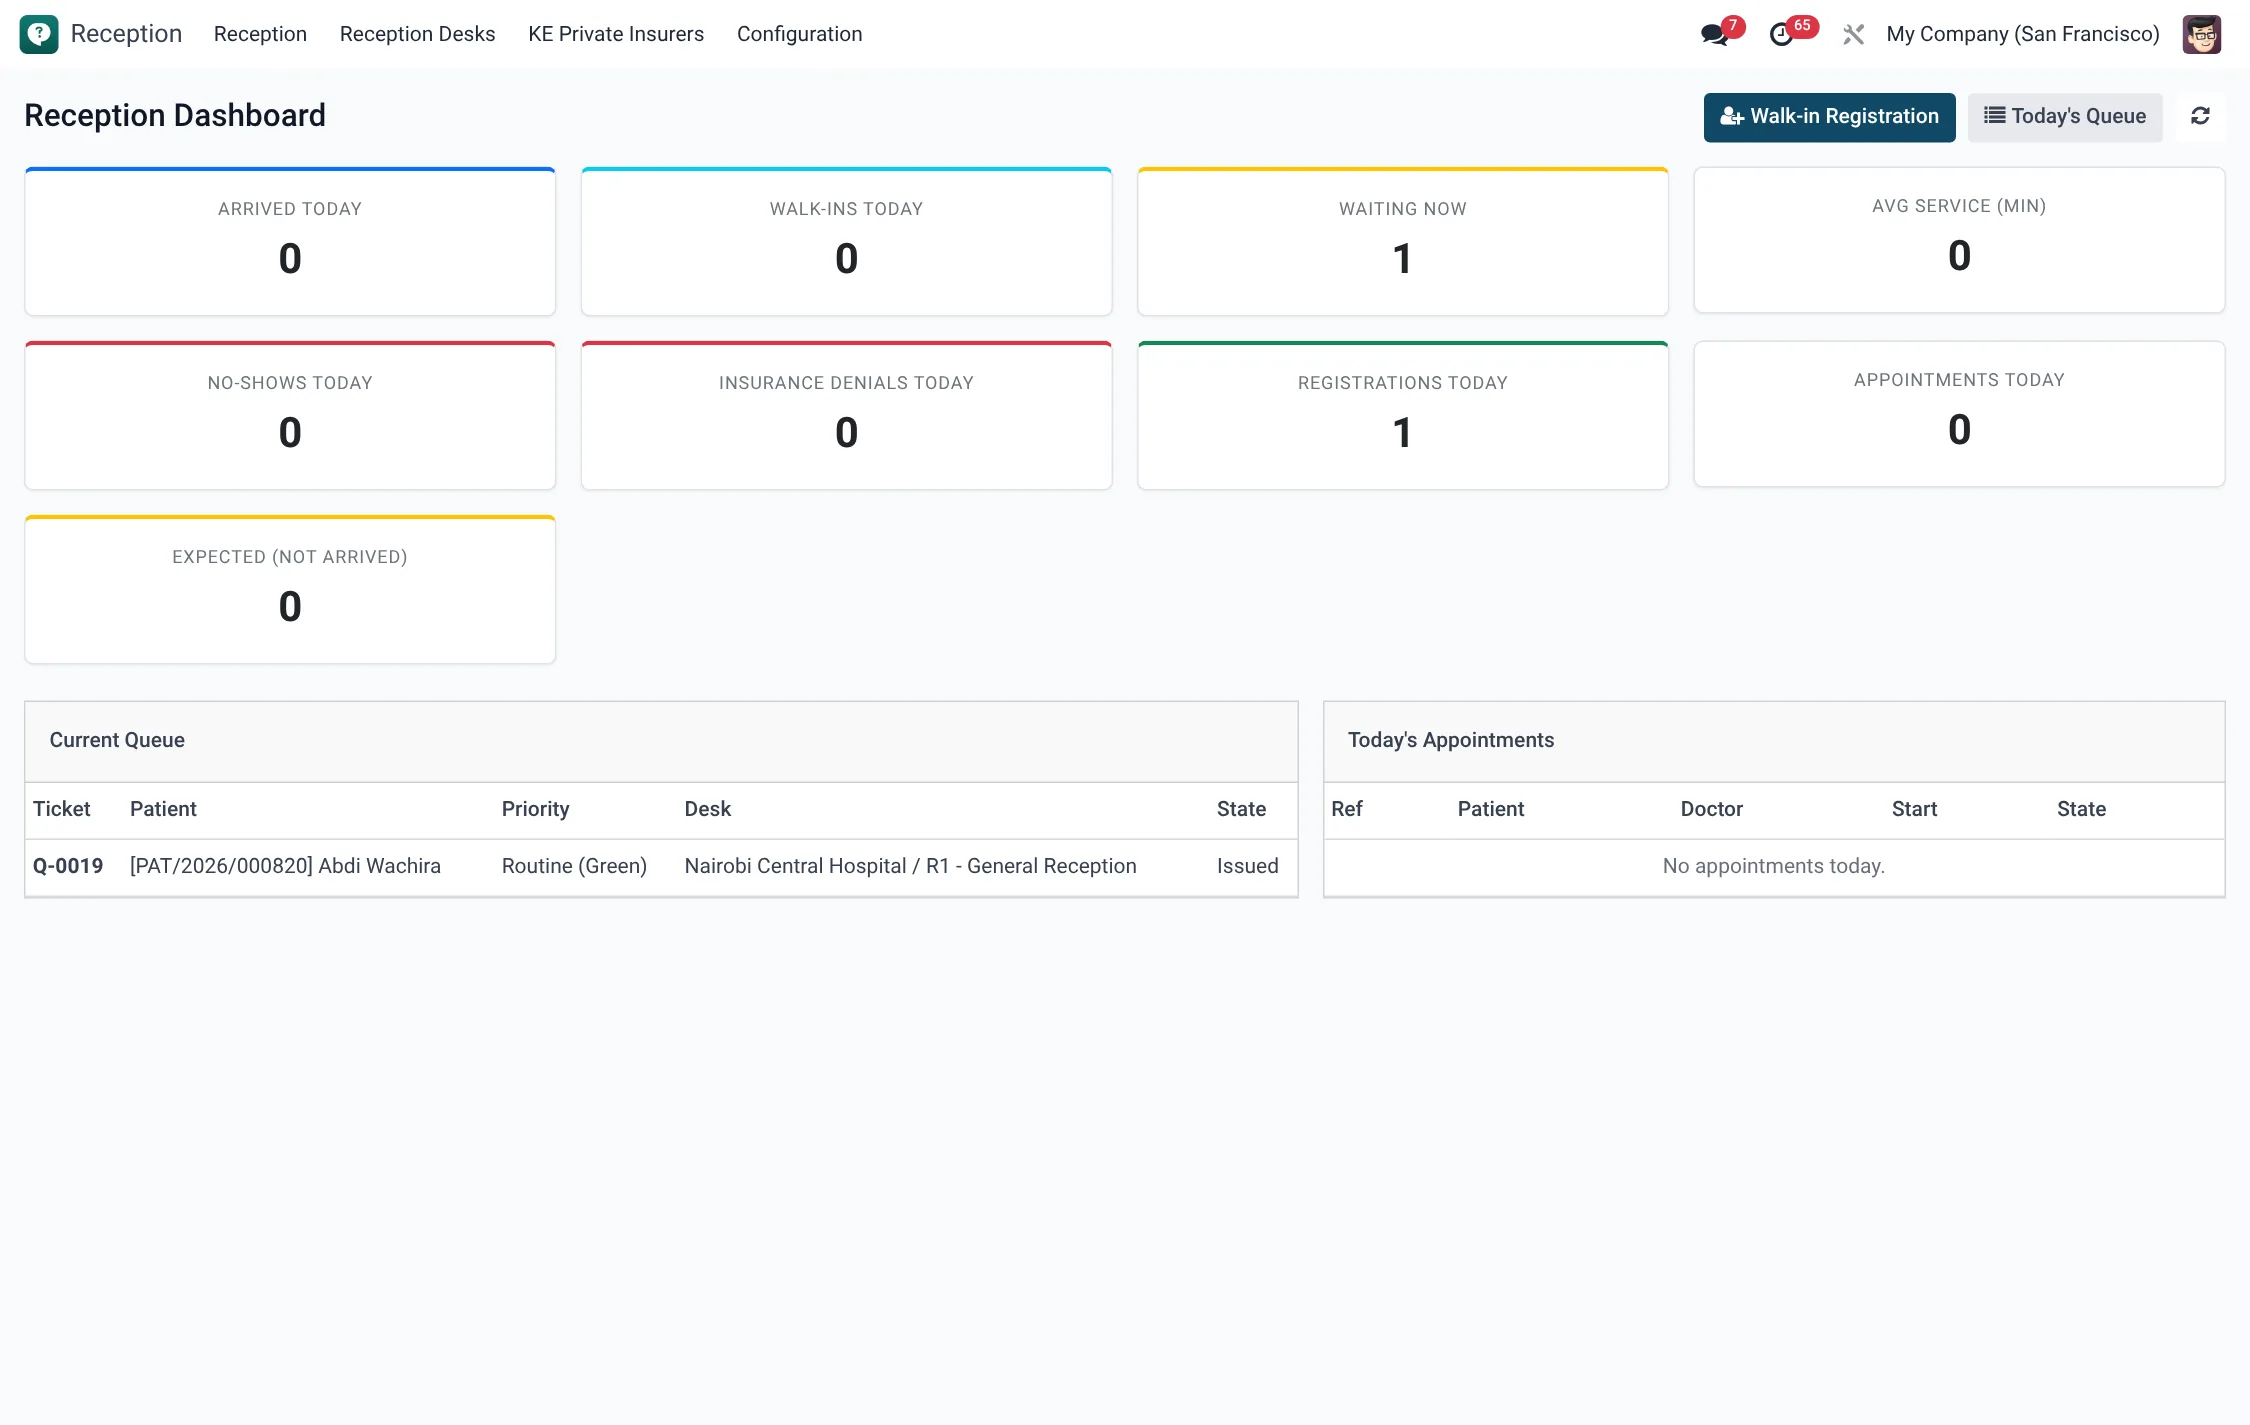
The patient and visit records that anchor the whole journey live under HMS Core → Patients — specifically Patients, Visits, Triage and Queue. Front-desk staff usually work the same records through the Reception app’s Fast Register wizard rather than the raw forms.
Step 1 — register the patient (Reception)
- Sign in as the receptionist and open Reception → Reception → Fast Register (or HMS Core → Patients → Patients → New).
- Enter the patient’s Name, Gender, Date of Birth and a phone number. The system computes age automatically.
- Record an identifier — National ID or Passport Number — and, if known, Blood Group.
- Capture Next of Kin name, relationship and phone for emergencies.
- If the patient is insured, attach their Insurance Policy (created earlier under the scheme, e.g. NHIF or SHIF).
- Save. The patient receives a unique patient number from the facility’s sequence (in the form PAT/year/000001).
Key registration fields
| Field | Why it matters | Required |
|---|---|---|
| Name / Gender / Date of Birth | Identity; age and some scoring derive from DOB | Yes |
| National ID / Passport | Unique identification and duplicate detection | Recommended |
| Phone / Mobile | Appointment reminders and follow-up | Recommended |
| Blood Group | Critical in emergencies and transfusion | If known |
| Next of Kin | Emergency contact | Recommended |
| Insurance Policy | Sets the visit’s payment route | If insured |
Step 2 — open a visit
A patient is a permanent record; a visit is one episode of care. From the patient form (or Fast Register) start a new visit:
- Choose the Visit Type — Outpatient, Inpatient, Emergency, Teleconsultation or Day Care. For this tutorial pick Outpatient.
- Set the Payment Mode — Cash, Card / Mobile Money, Insurance, Corporate Billing or Waived.
- Type the Chief Complaint in the patient’s words.
- Save. The visit opens in status Draft and the patient joins the Queue.
| Payment mode | Means |
|---|---|
| Cash | Patient pays cash at the cashier |
| Card / Mobile Money | Card or mobile-money (e.g. M-Pesa) payment |
| Insurance | Billed to the patient’s insurance policy |
| Corporate Billing | Billed to an employer / corporate account |
| Waived | Charge waived (e.g. staff or charity case) |
Step 3 — triage (Nurse)
- Sign in as the nurse and open HMS Core → Patients → Triage (or Queue and pick the waiting patient).
- Record vitals — temperature, blood pressure, pulse, respiratory rate, weight and height. The system derives BMI and an early-warning score (MEWS / NEWS2).
- Assign a priority. The queue is colour-coded Red / Yellow / Green so the sickest patient is seen first.
- Confirm triage. The visit moves from Draft to Triaged.
Step 4 — consultation (Doctor)
- Sign in as the doctor and pick the patient from the queue; this moves the visit to In Consultation.
- Review the chief complaint and vitals, examine the patient and record findings.
- Add a diagnosis from the ICD-10 catalogue, and order any lab tests, imaging or prescriptions. These orders push the visit into Services, where Lab and Pharmacy pick them up.
- When the clinical work is done, the visit is ready to move to Billing.
Step 5 — bill and close (Cashier)
- The cashier opens the visit in Billing, where the services, tests and medicines ordered are gathered into one bill.
- Take payment by the chosen mode — cash, card / mobile money, or against the insurance policy — and issue the receipt.
- Mark the visit Discharged, then Closed. The discharge and close timestamps are recorded.
The states you passed through
| Status | Reached when |
|---|---|
| Draft | Visit opened at registration |
| Triaged | Nurse records vitals and priority |
| In Consultation | Doctor picks up the patient |
| Services | Lab / imaging / pharmacy orders placed |
| Billing | Bill raised, payment due |
| Discharged → Closed | Paid and the episode ends |
If the patient was booked in advance
When the patient came in on a scheduled appointment rather than as a walk-in, the appointment itself moves through its own short lifecycle as the front desk and clinician handle it. Booking and arrival drive these states, and the appointment converts into the visit you ran above.
| Appointment status | Reached when |
|---|---|
| Draft | Slot created but not yet confirmed |
| Confirmed | Booking confirmed with the patient |
| Arrived | Patient checks in at reception |
| In Consultation | Clinician picks the patient up |
| Done | Consultation completed |
| Cancelled / No Show | Patient cancels or fails to attend |
How emergency and inpatient visits differ
The five-step backbone above is the outpatient path, but the same states carry the other visit types with extra stops. An Emergency visit goes through triage first and may bypass the usual queue order on a Red priority. An Inpatient visit adds a ward admission between consultation and discharge — the patient occupies a bed, receives ward rounds and medication administration, and is only discharged when the clinician signs off. A Teleconsultation replaces the in-person consult with a video session. Once you have run this outpatient tutorial, the others read as variations on the same flow.
Troubleshooting
| Symptom | Fix |
|---|---|
| Patient not in the queue after registration | Confirm a visit was opened, not just the patient record |
| Doctor cannot move visit forward | It must be triaged first; have the nurse complete triage |
| No diagnosis picker | Confirm the Consultation app is installed |
| Cannot close the visit | The bill must be settled in the Billing step first |