

Activate the MFI Suite
The MFI Suite is sold as a fully managed SaaS. There is nothing to install. When you complete checkout, your tenant is provisioned automatically, a welcome email lands in your inbox with sign-in credentials, and you can be onboarding your first member inside an hour.
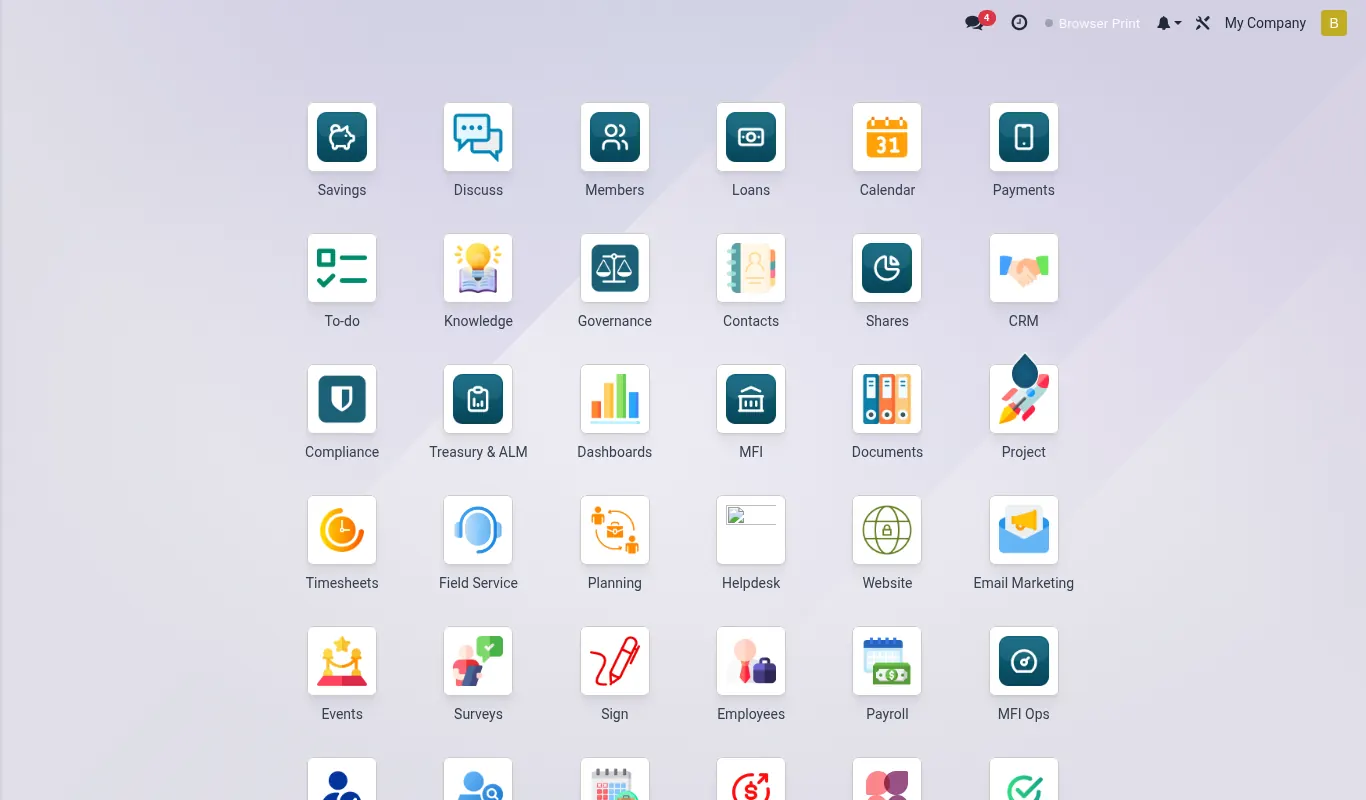
How activation works
- Pick your plan on mybridgeerp.com and complete checkout.
- Tenant provisioning runs in the background — typically 5–15 minutes from purchase to ready. You will see a status page while it works.
- Welcome email lands with your tenant URL
(
your-name.mybridgeerp.com), the administrator login, and a one-time link to set your password. - Sign in and run the welcome wizard — branch, country profile, default currency, first operator. Five minutes.
- You are live. Start onboarding members and capturing transactions.
What is included out of the box
- Latest version of the MFI Suite — all 38 modules, automatically updated as releases ship.
- A managed PostgreSQL database with daily backups (30-day retention) on the Starter plan, and point-in-time recovery on Pro / Enterprise.
- HTTPS / TLS, custom subdomain, optional custom domain.
- Pre-seeded chart of accounts, sample loan + savings products,
sample roles — every record tagged
DEMO_so you can wipe them in one click when you are ready for production data. - Two-factor authentication on every operator login (mandatory).
- SOC 2 evidence collection running from day one.
What to do in the first hour
Once you are signed in, follow this order — it matches how a real operator learns the suite, and every step has a tutorial below.
- Core — rename your branch, create operators, set country profile.
- Members — onboard your first member, capture KYC.
- Savings — open a savings account and post a deposit at the teller.
- Loans — capture a loan application and run the disbursement.
- Accounting integration — verify the journal entries the suite has already posted for you.
Enabling optional features
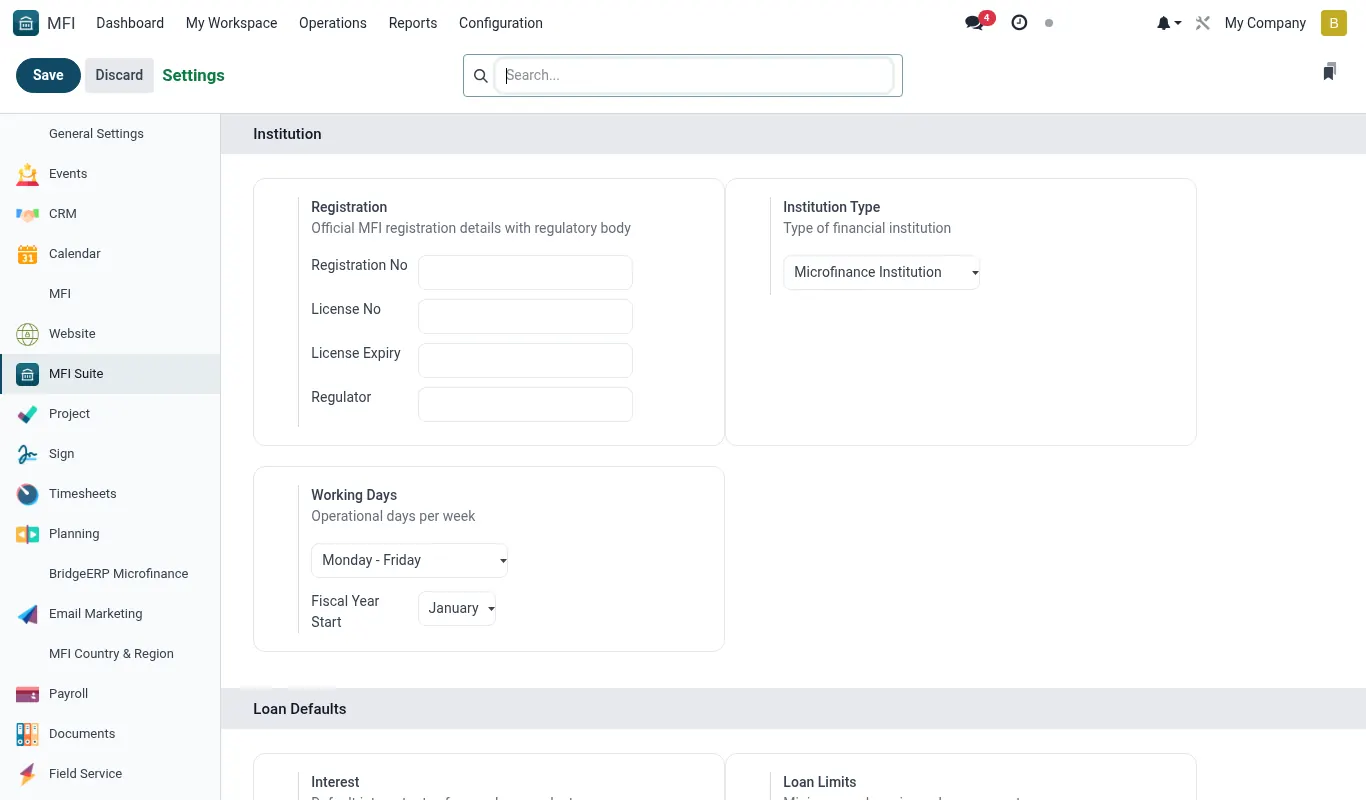
Most advanced features (Term Deposits, Group Lending, IFRS 9, Pesalink, RTGS, Open Banking, USSD, WhatsApp) are hidden by default. Turn them on as your team grows into them — no upgrade ticket needed.
- Open Configuration → Settings → MFI Suite.
- Find the feature block (Savings, Loans, Channels, Compliance, etc.).
- Toggle the feature on. Save.
- The new menus appear instantly. See Feature Gates for the full list of toggles.
Adding a custom domain
Out of the box your tenant is at
your-name.mybridgeerp.com. If you own a domain
(e.g. sacco.example.co.ke) and want your members to use
it for iBANK and the public website:
- Open Configuration → Settings → Website → Custom domain and enter the domain you control.
- The wizard tells you the DNS records to add at your registrar
(one
CNAMEfor the tenant, one for the iBANK subdomain). - Save. The platform provisions a TLS certificate automatically within ~5 minutes of the DNS pointing at us.
Adding more operators
The first administrator user is created by checkout. Adding teammates takes about 30 seconds:
- Open Settings → Users & Companies → Users → New.
- Enter the operator's name, email, branch.
- Assign them their role groups (Front Office, Credit, Operations, Finance, Compliance, HR, Branch Manager, Executive) — see the Core page for what each role unlocks.
- Save + send invite. The operator receives a welcome email with a link to set their password and enrol their 2FA device.
Self-hosted / one-time licence buyers
If you purchased a one-time (perpetual) licence and chose to run the suite on your own infrastructure, you receive a dedicated installation runbook bundled with the licence delivery (PDF + scripts in your customer portal). That runbook covers Docker / VM provisioning, secret management, TLS, backup, monitoring and the upgrade procedure.
The user-facing documentation in this site assumes a managed tenant — the menus, workflows and screenshots are identical, only the operations layer differs.