

Join online
A visitor applies for membership on the SACCO’s website, with ID and photo, in five short steps. The application lands in a queue for staff, who accept it into the member register with one button.
Who: Any visitor applies; an Officer reviews. Before you start: SACCO Member Portal is installed and Allow Online Registration is ticked on the Portal tab of the settings.
What the applicant does
1Open the joining form
The joining form is the page /sacco/join of your website. Link it from your website’s menu or homepage (for example as “Become a member”), and put the address in your adverts and messages.
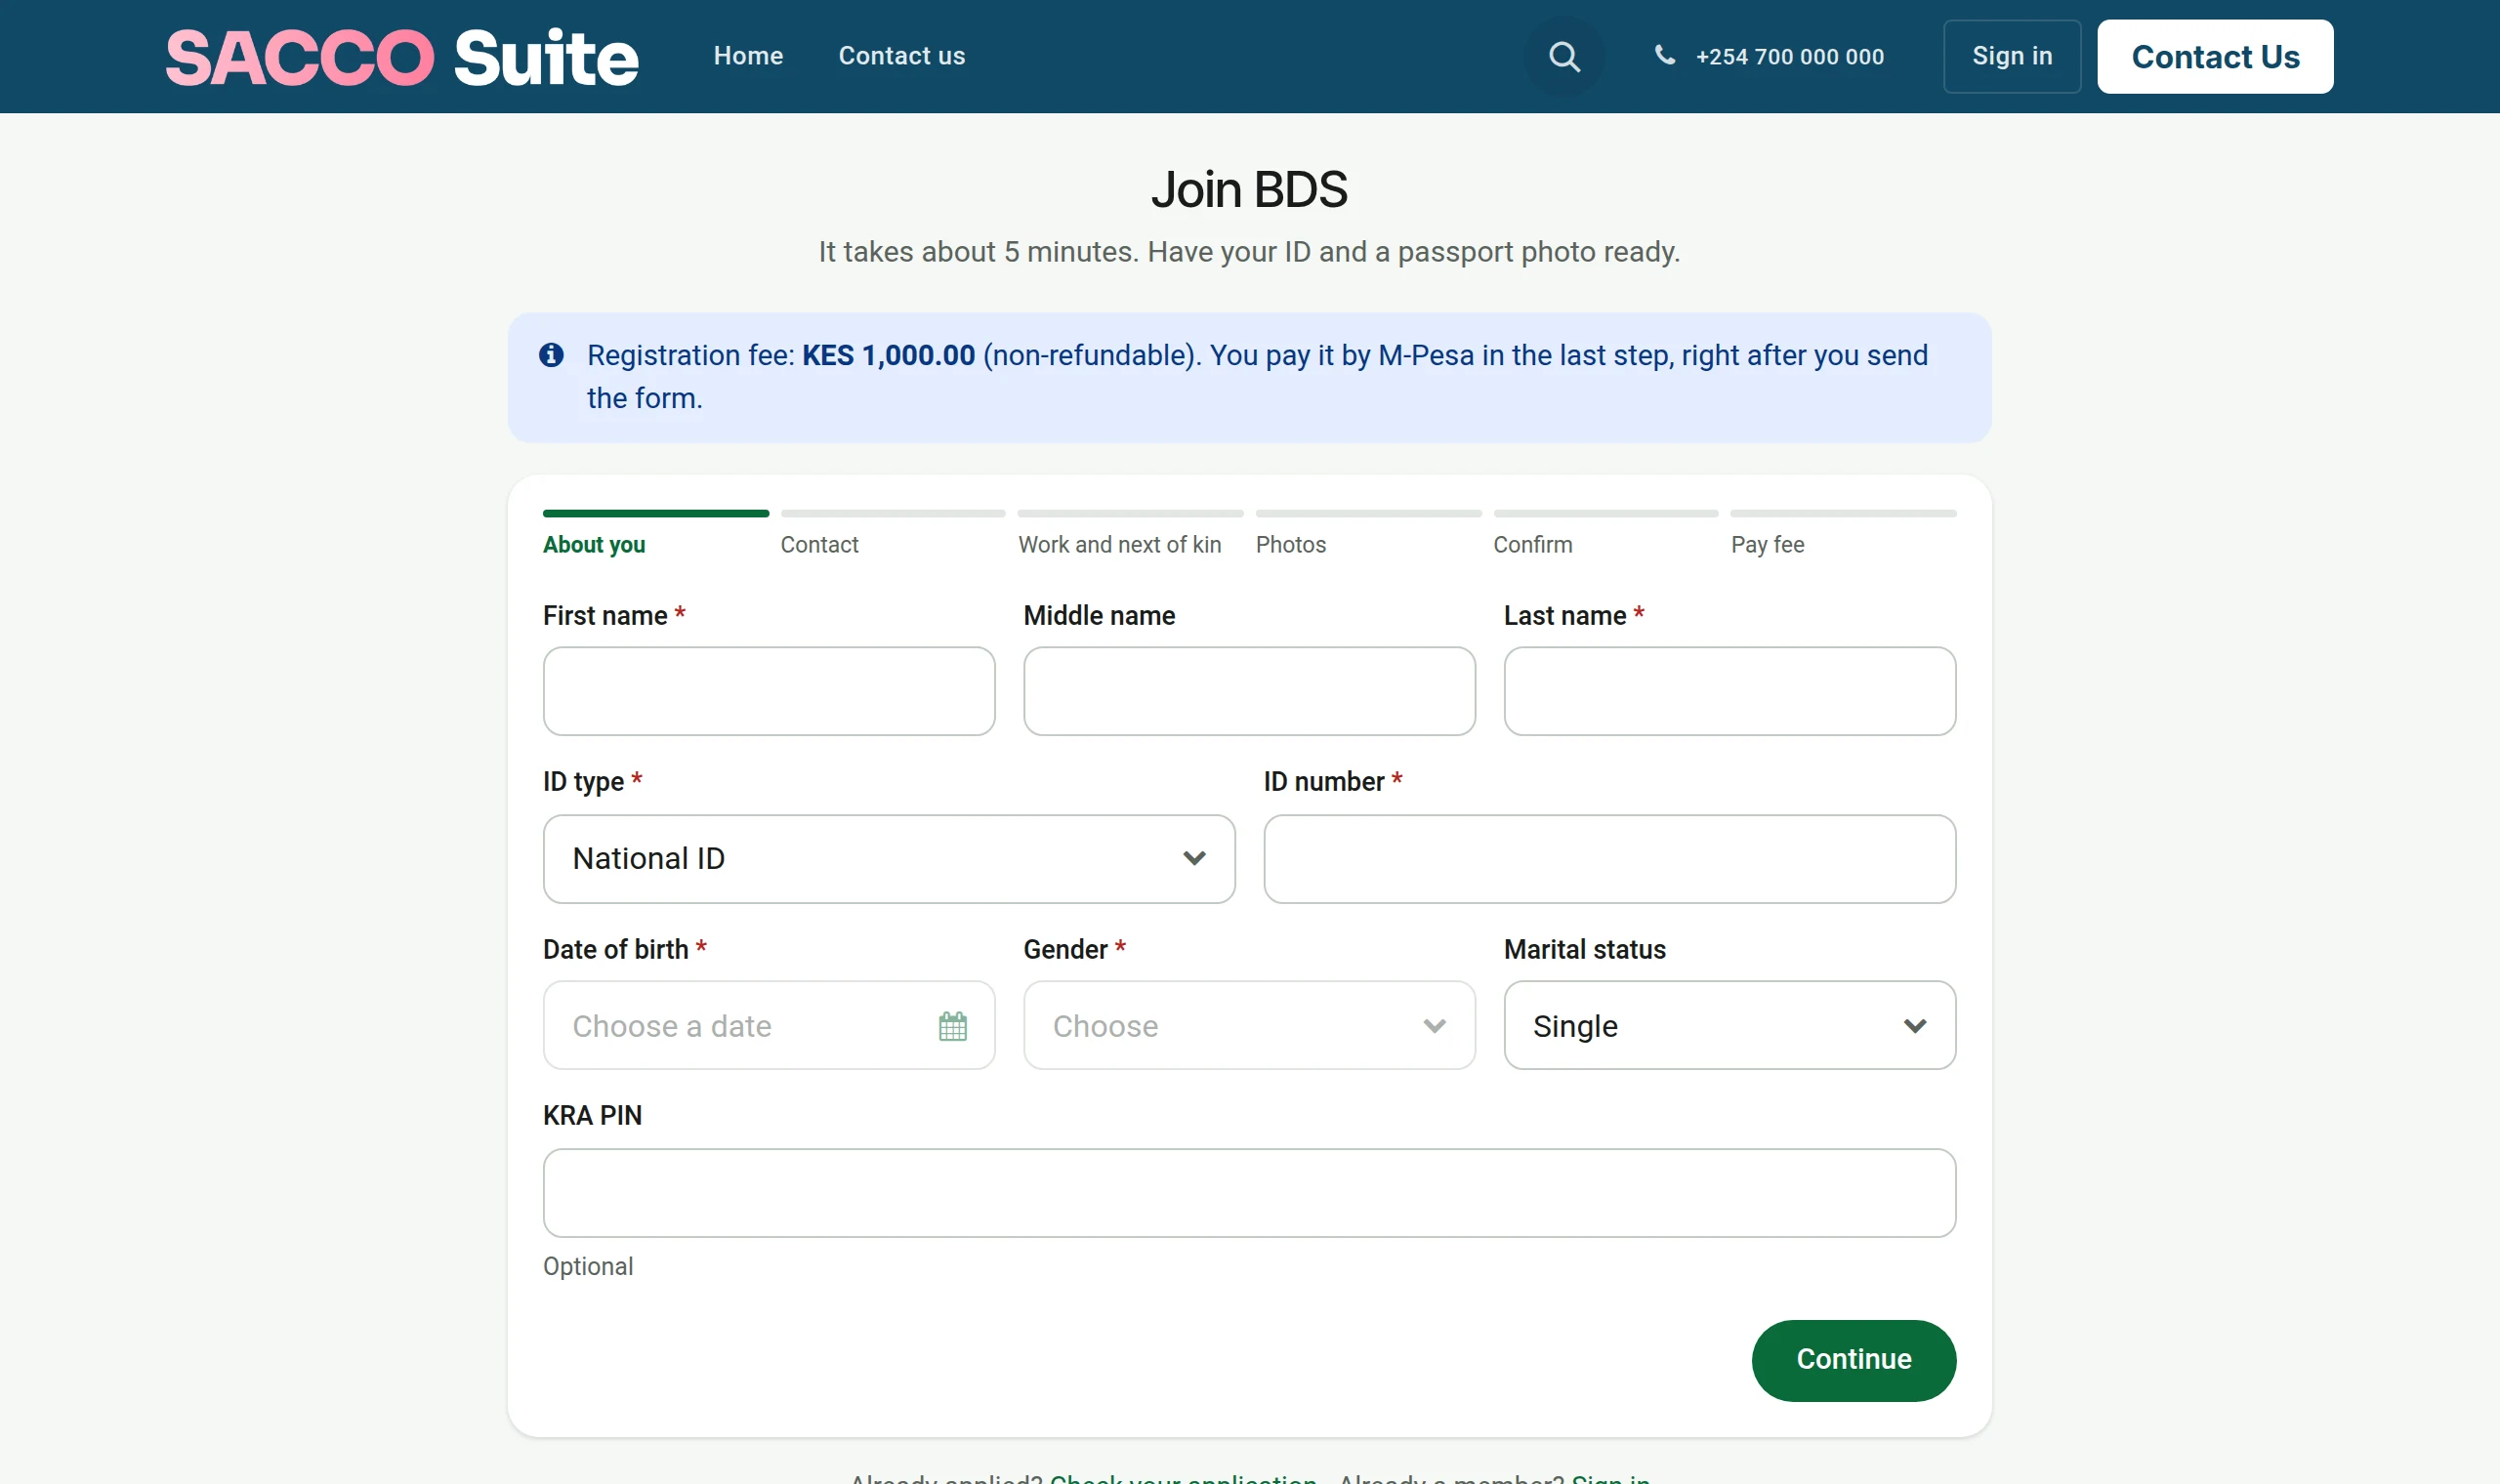
2About you
Names as on the ID, the ID type and number, date of birth and gender.
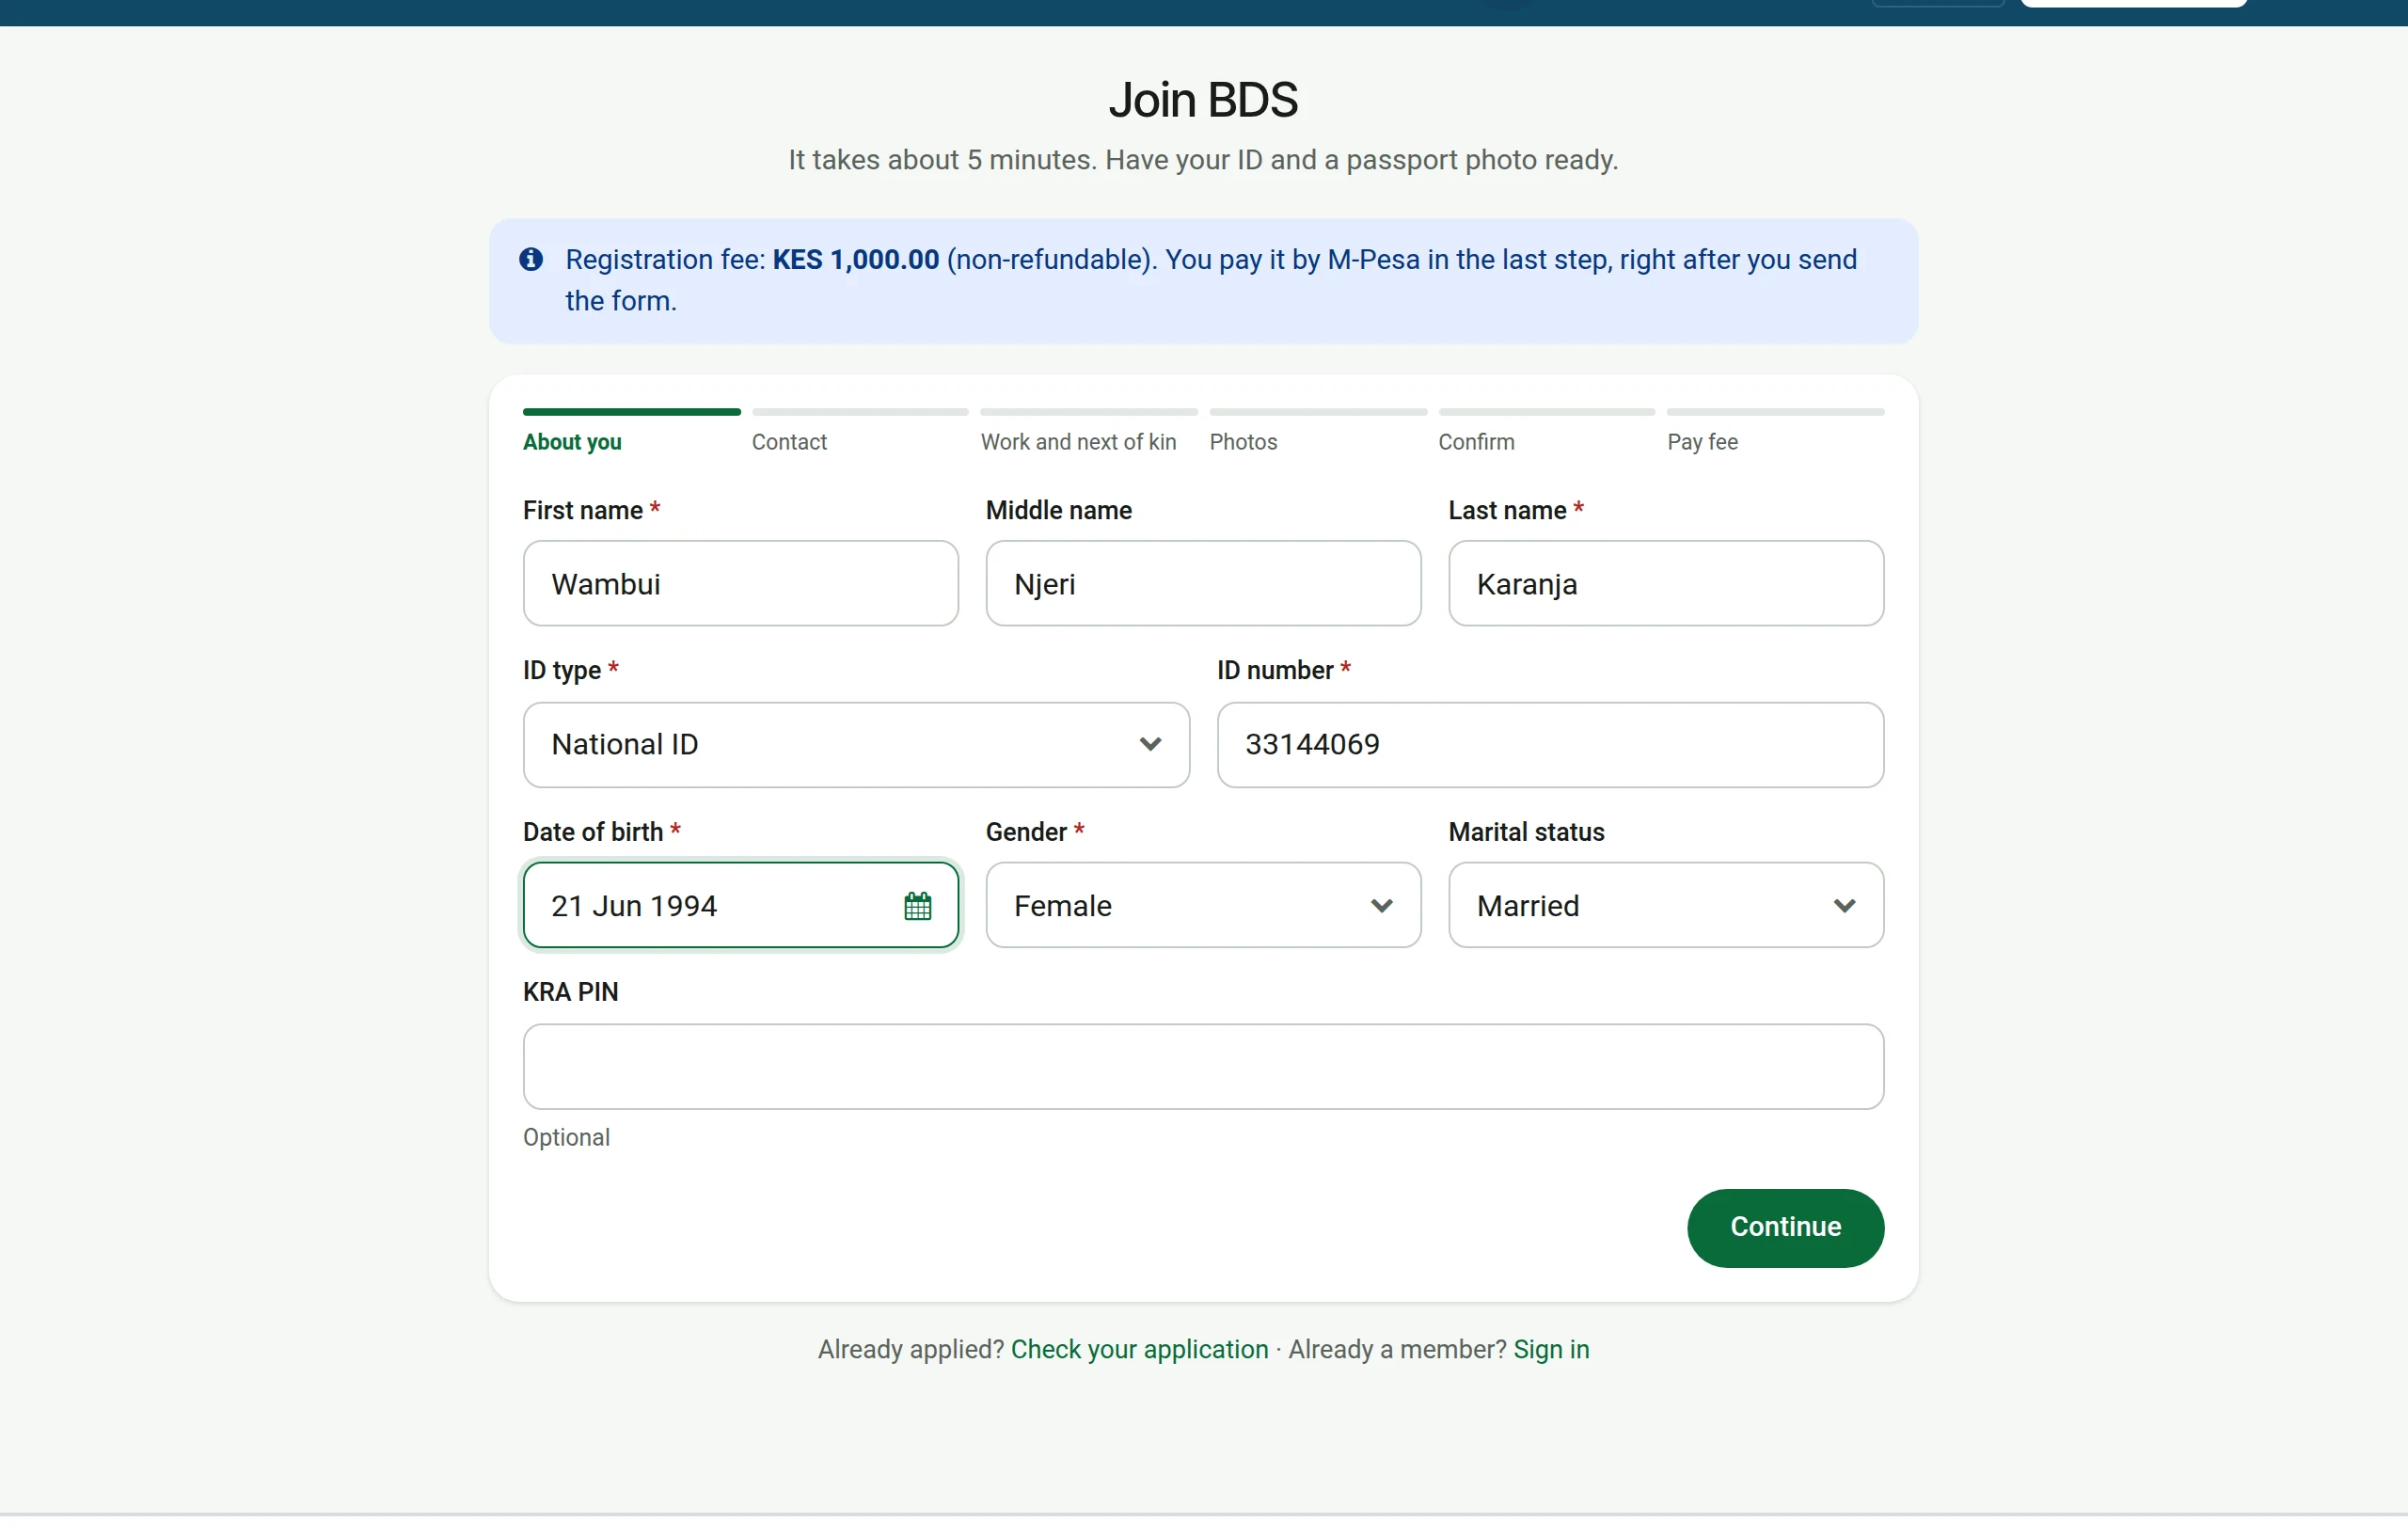
3Contact
Continue moves to the contact details: mobile number, email (it becomes the portal login), where the applicant lives and the branch they will use.
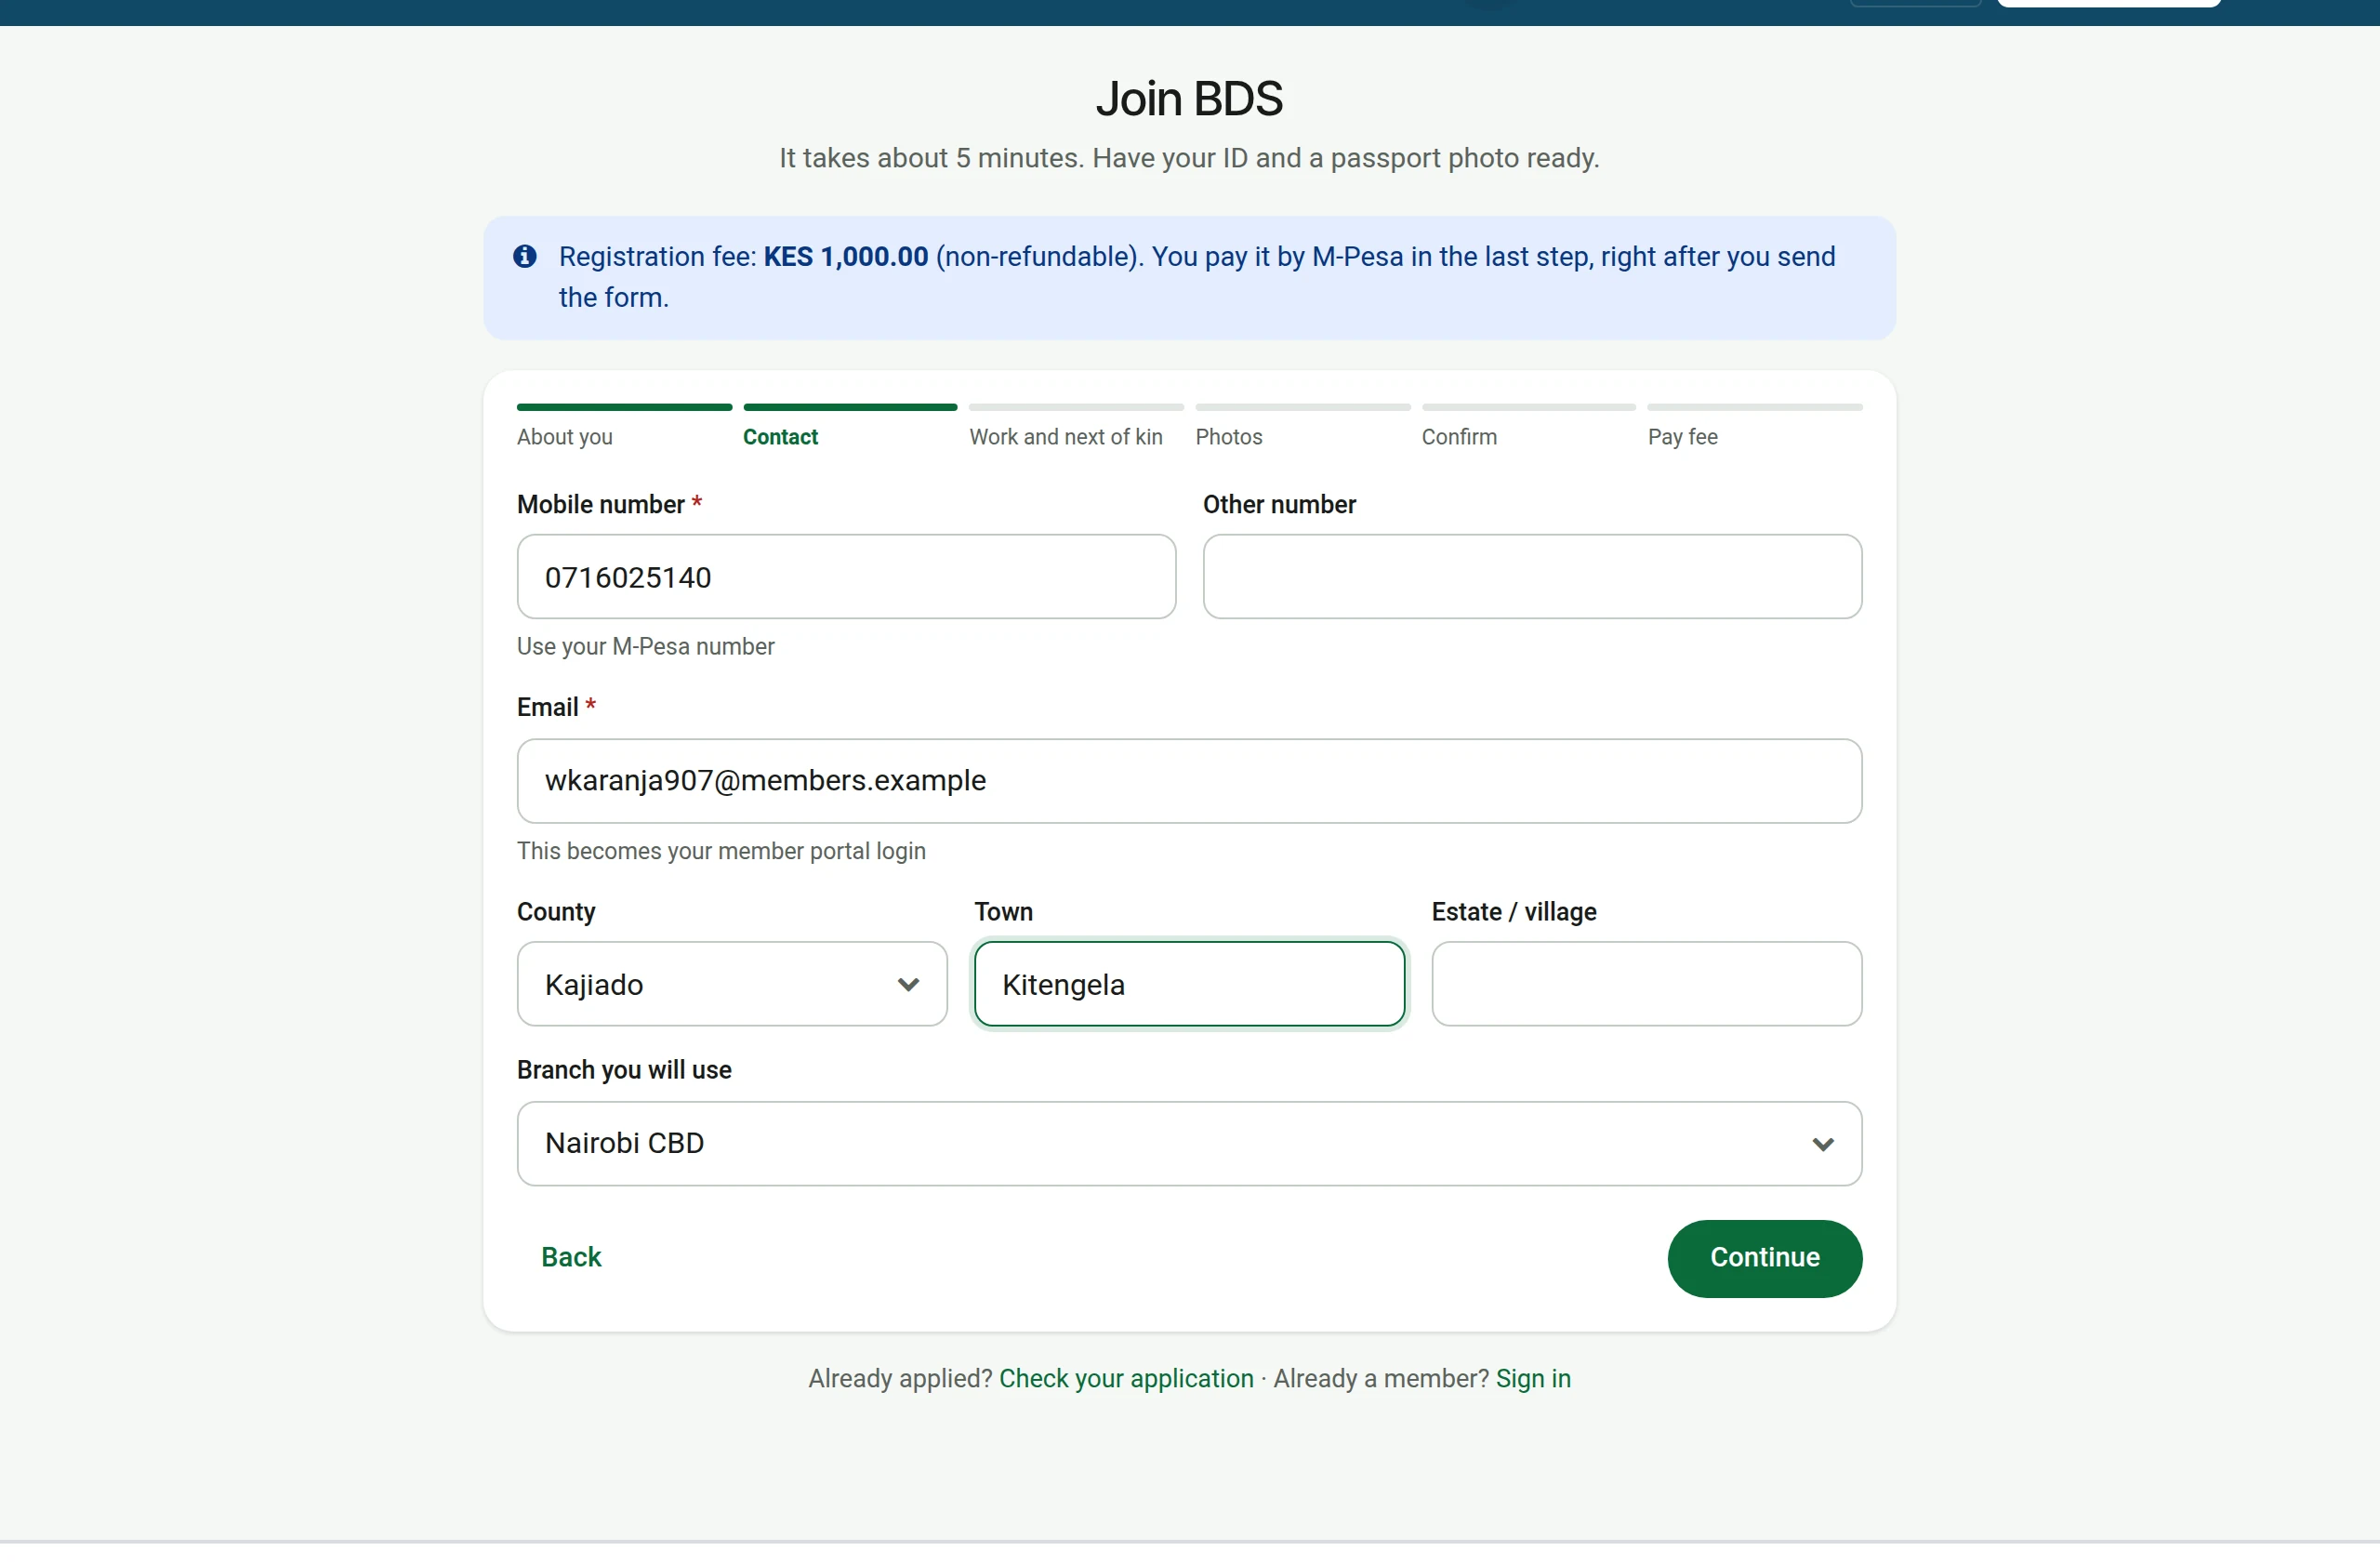
4Work and next of kin
What the applicant does for a living, and one next of kin with a phone number.
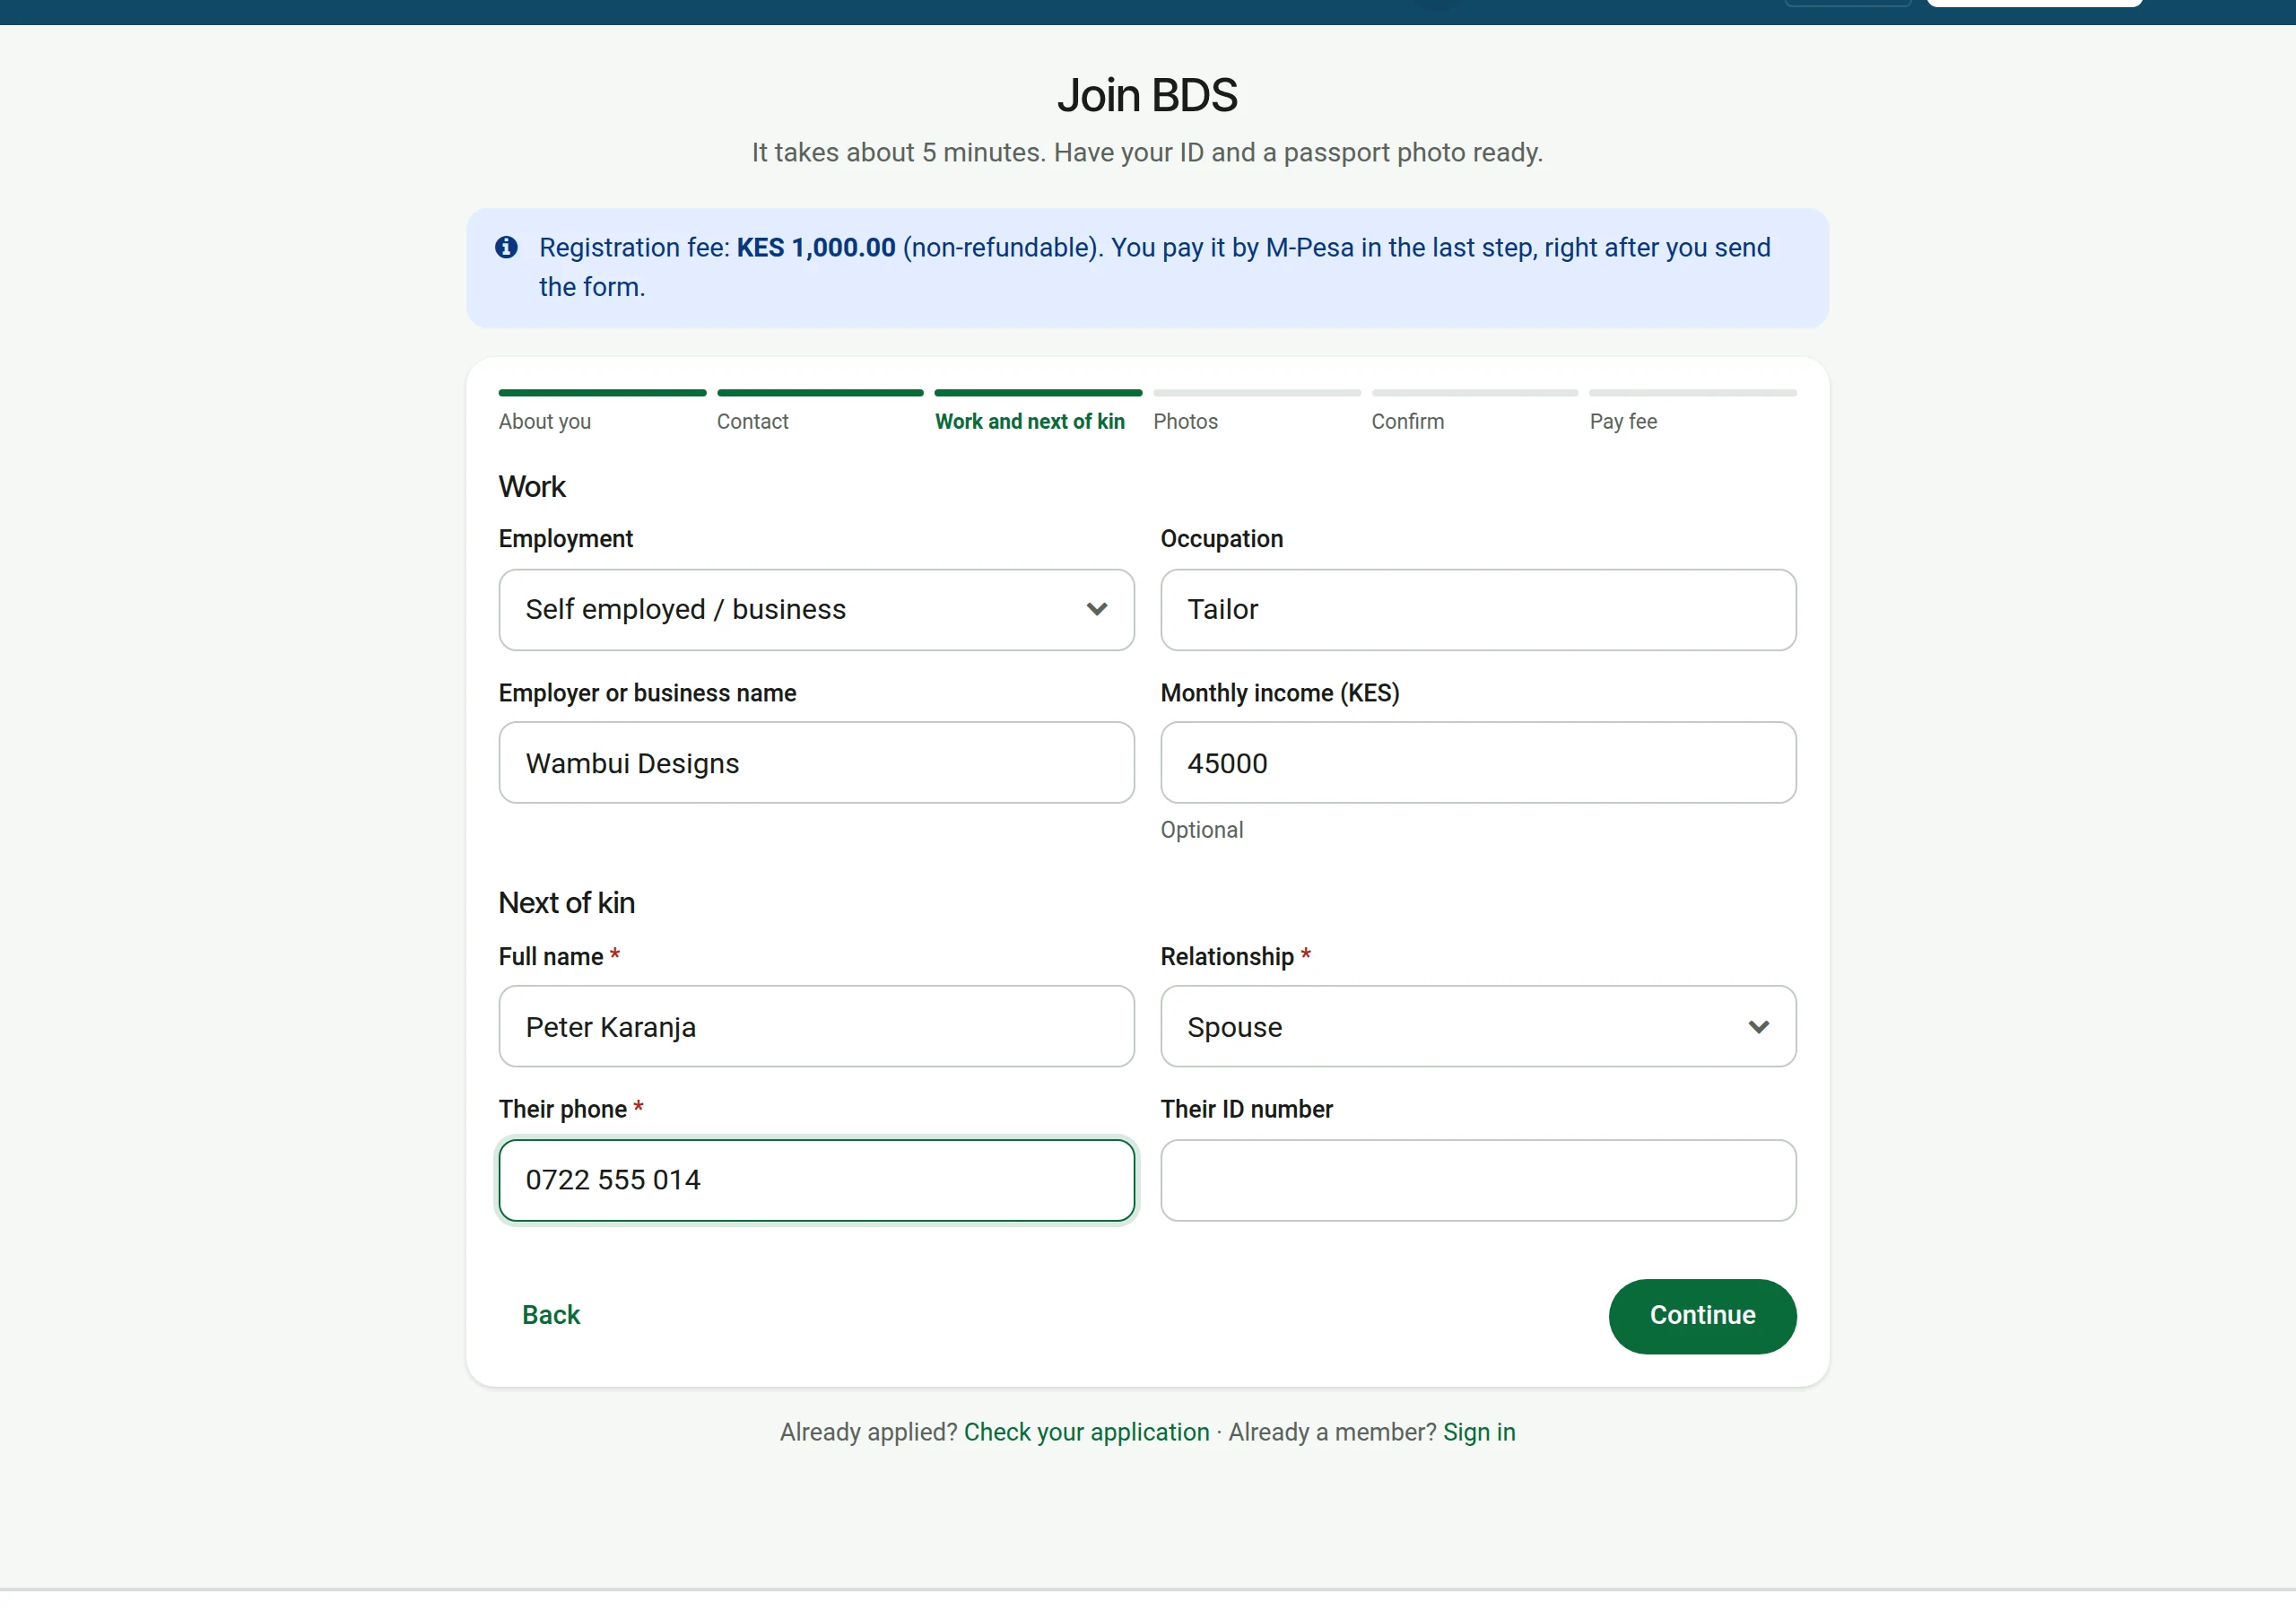
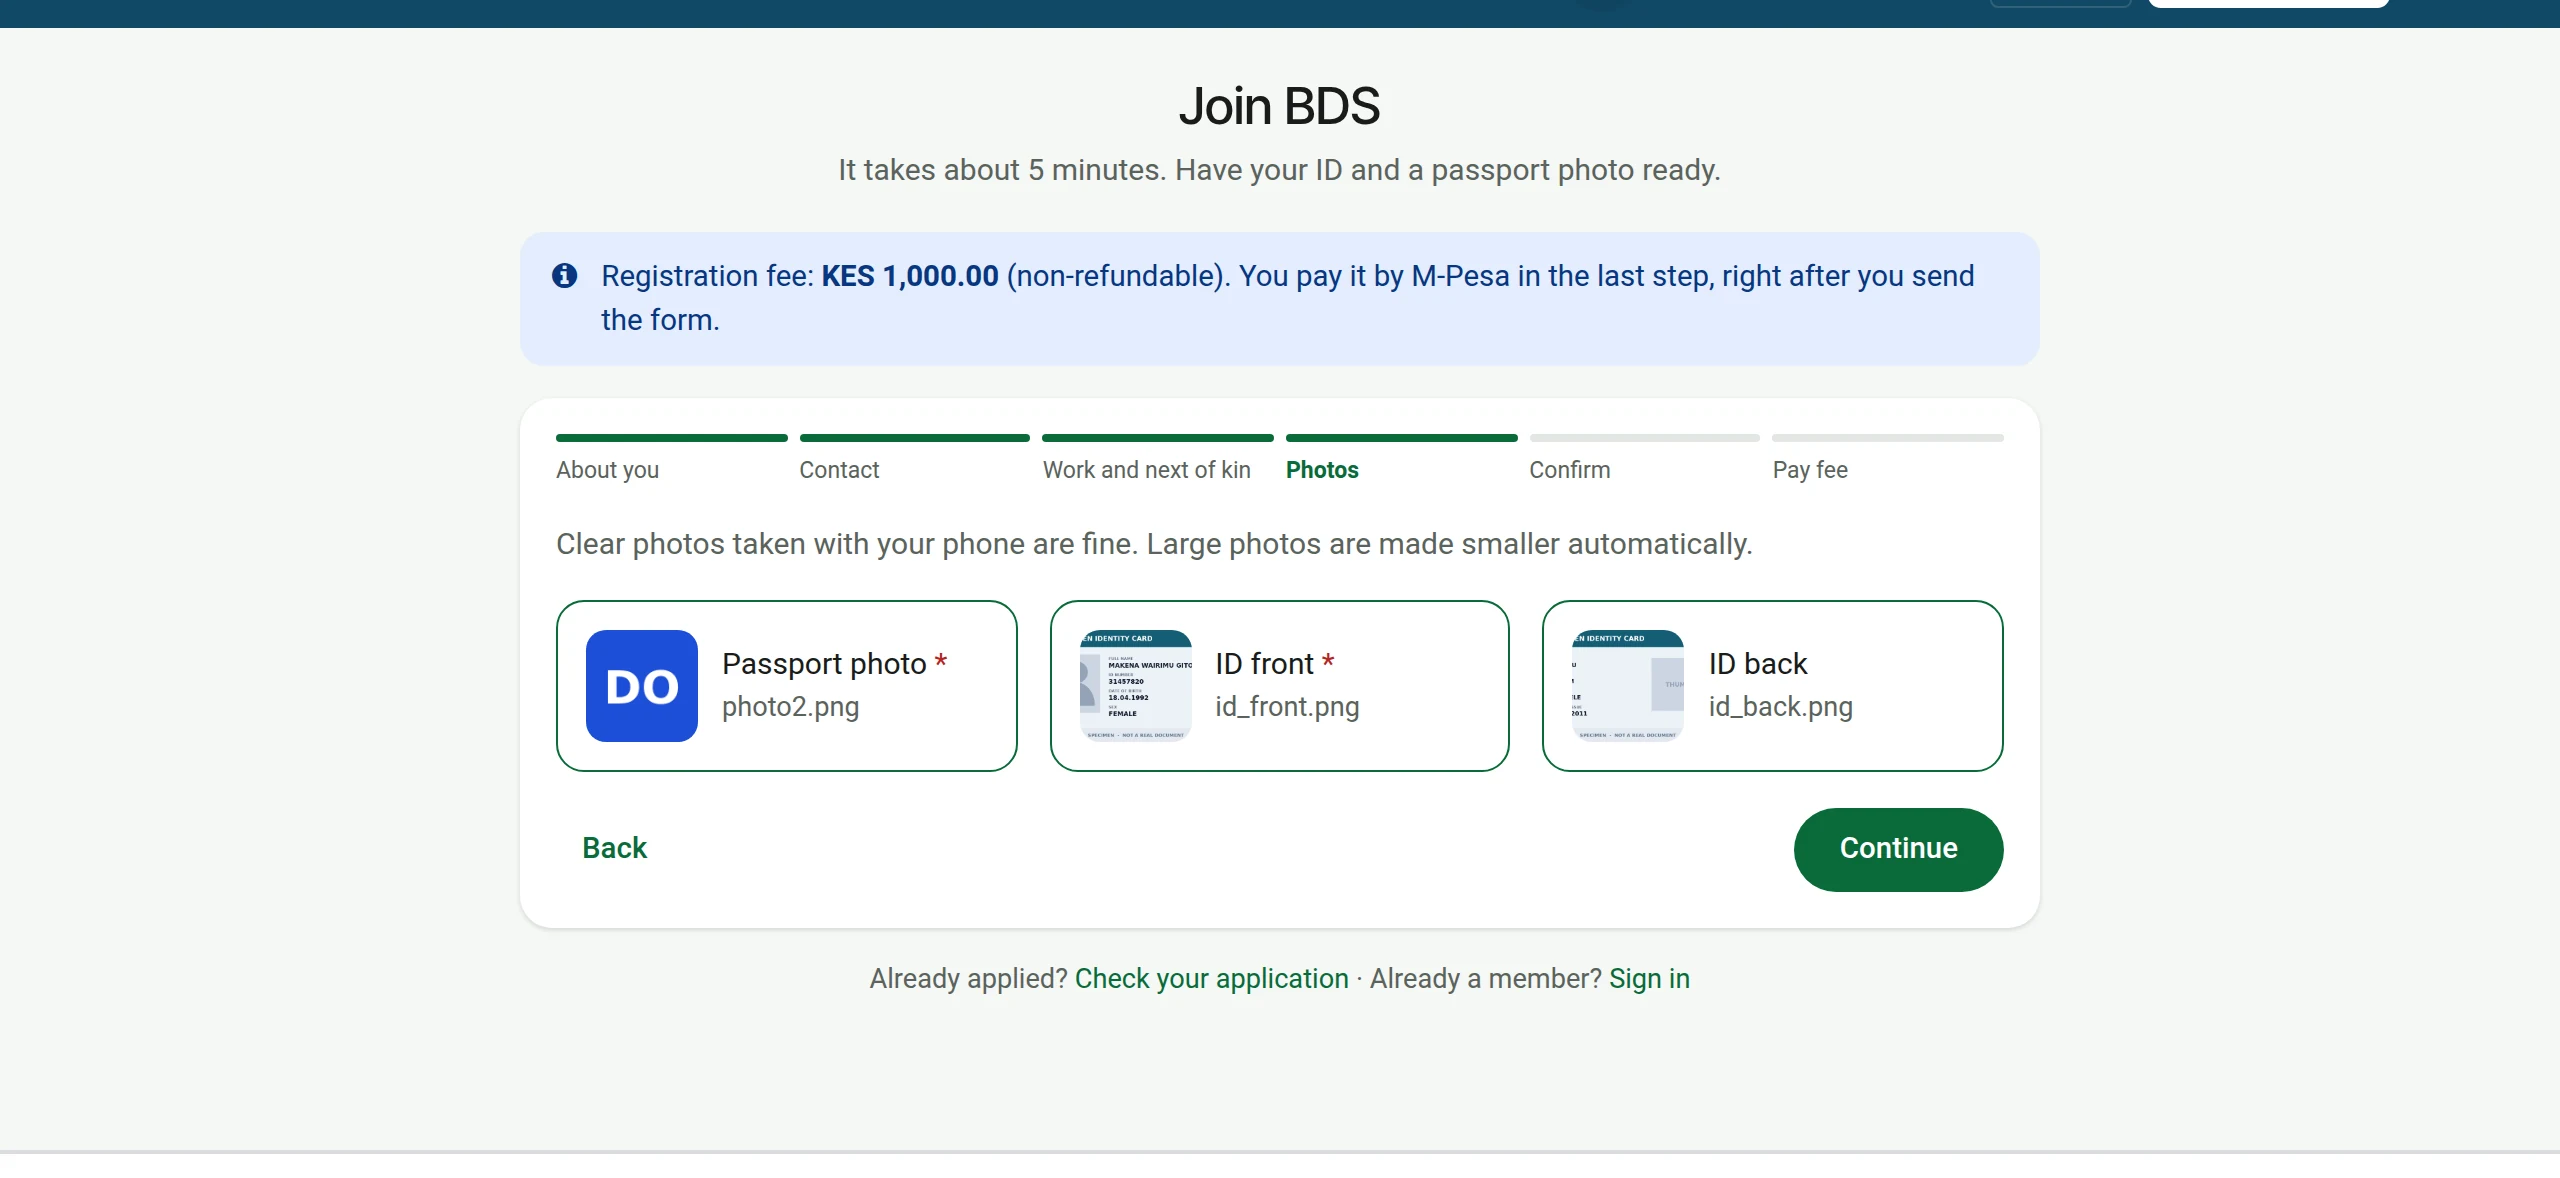
5Photos
A passport photo and the front of the ID are required; a national ID also needs its back. On a phone the camera opens.
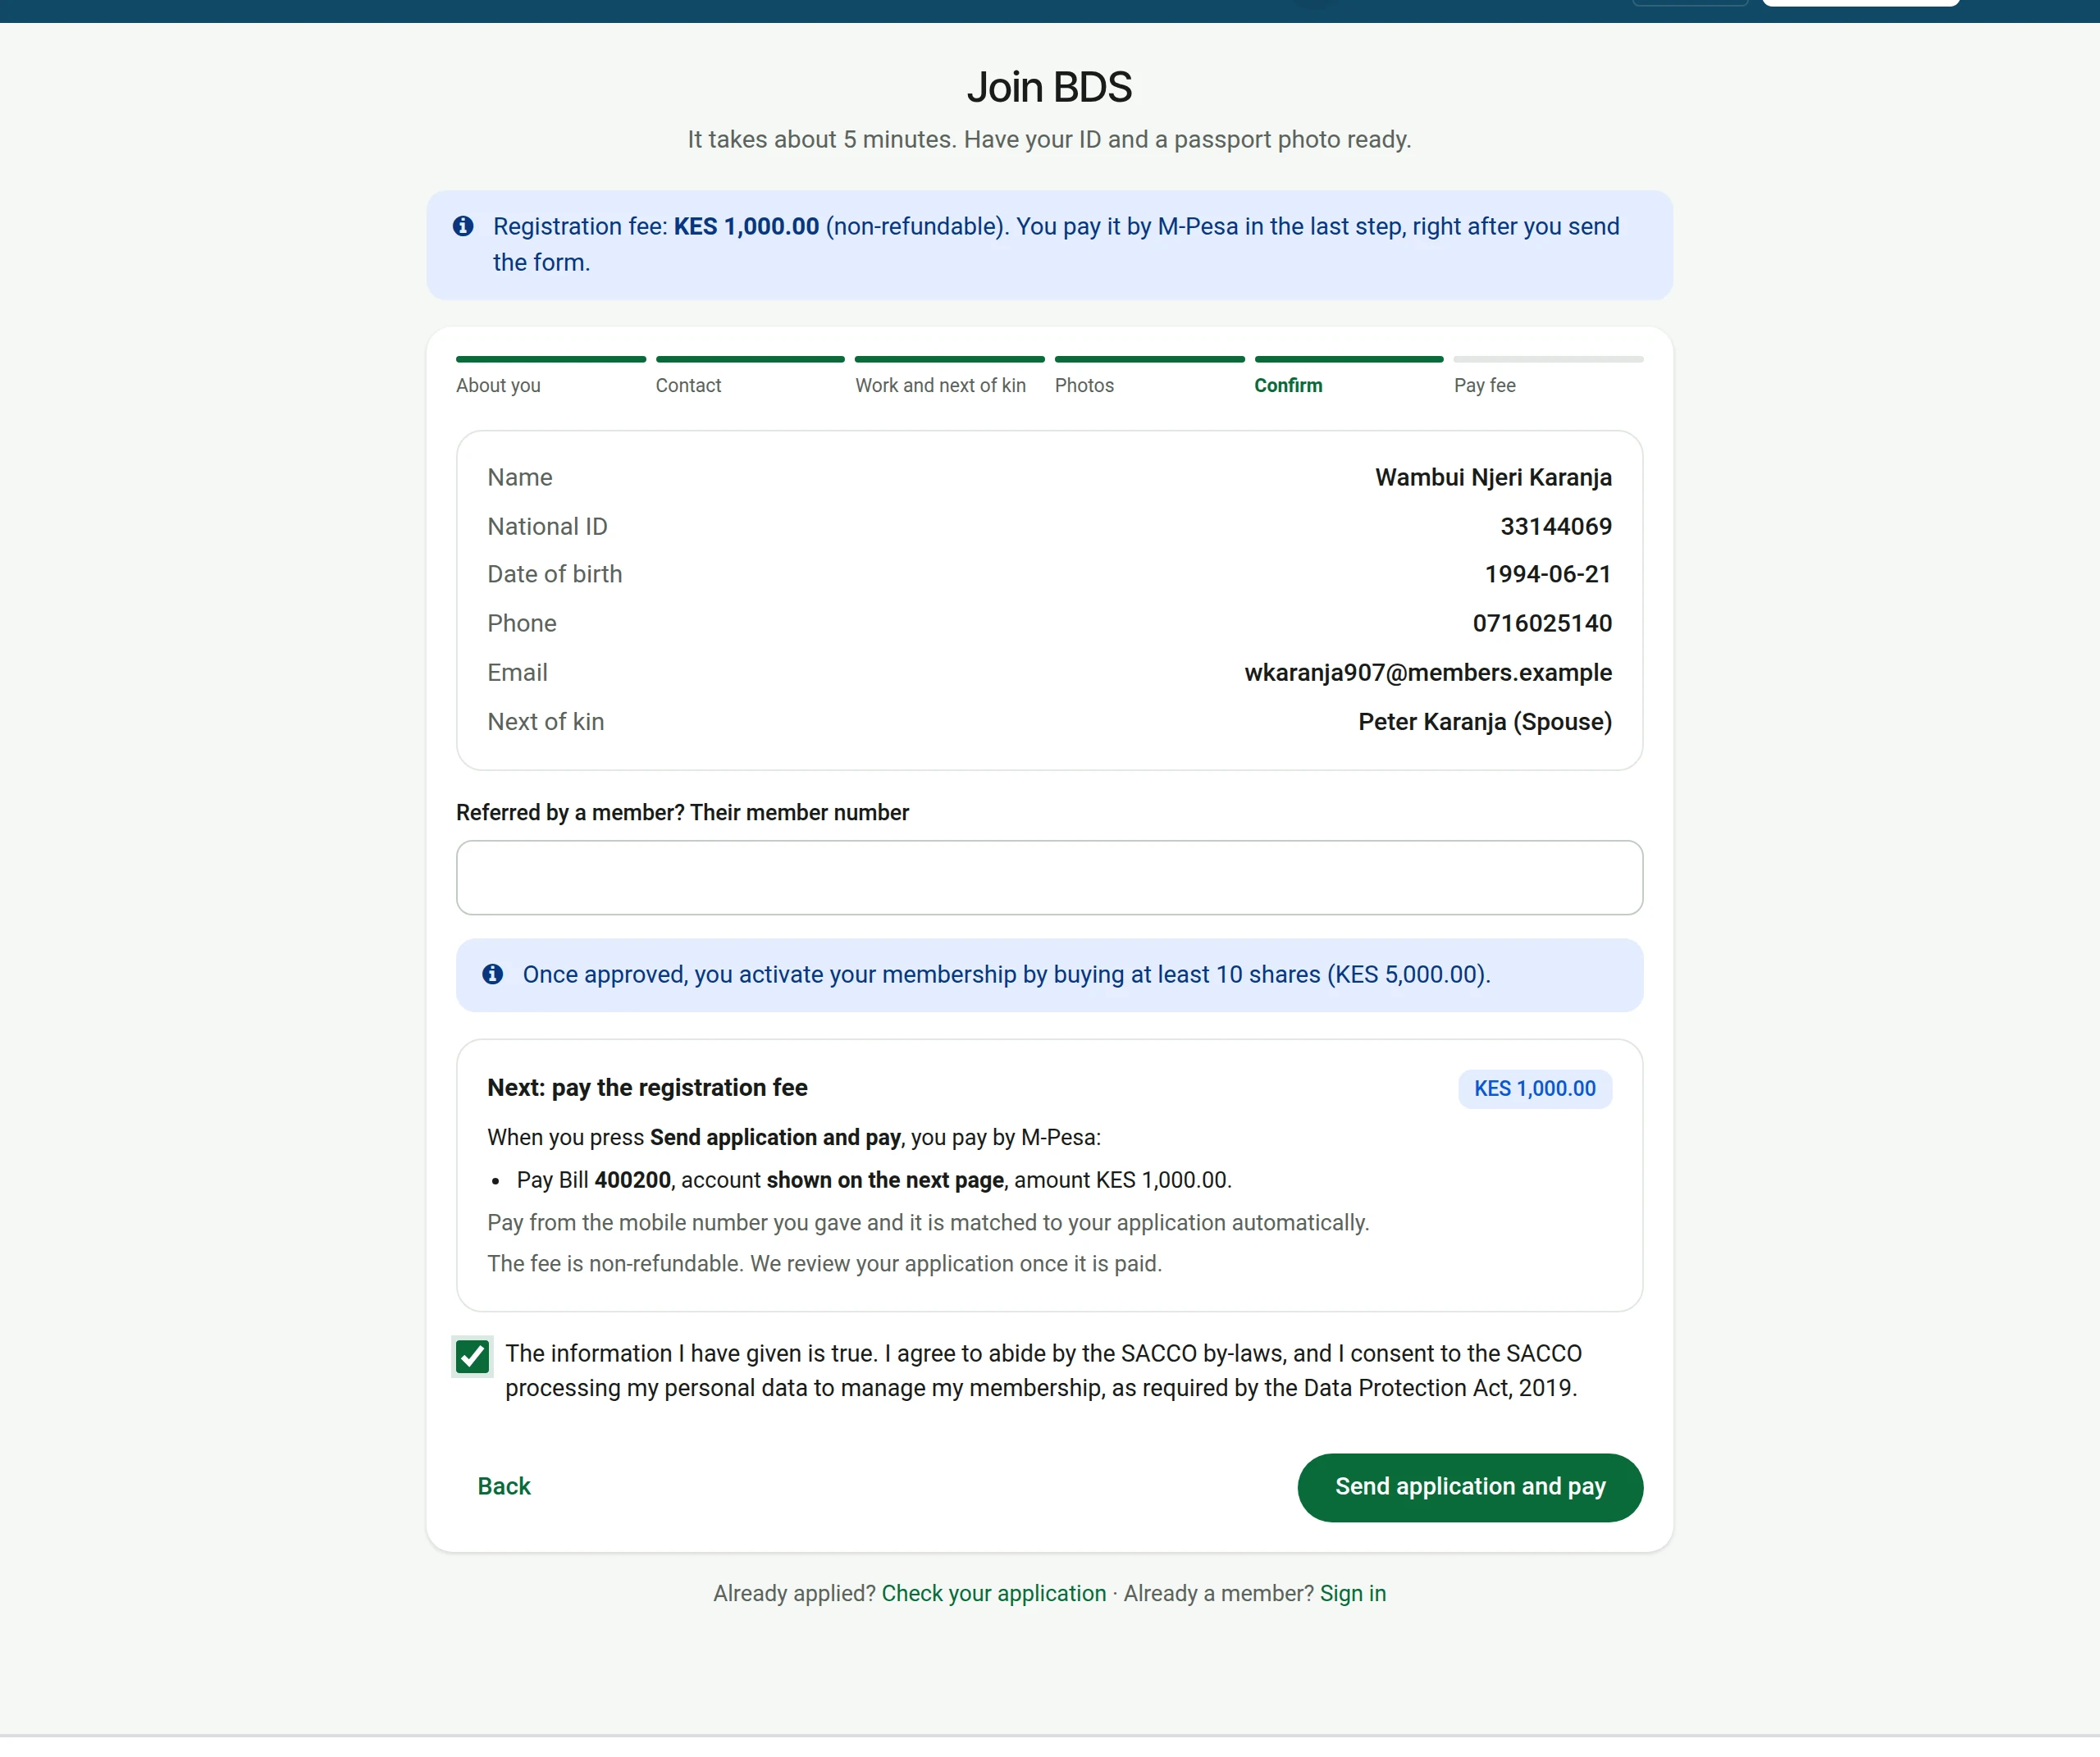
6Check and send
The last step shows everything typed, what joining costs, and the declaration to tick. The applicant presses the button at the bottom to send.
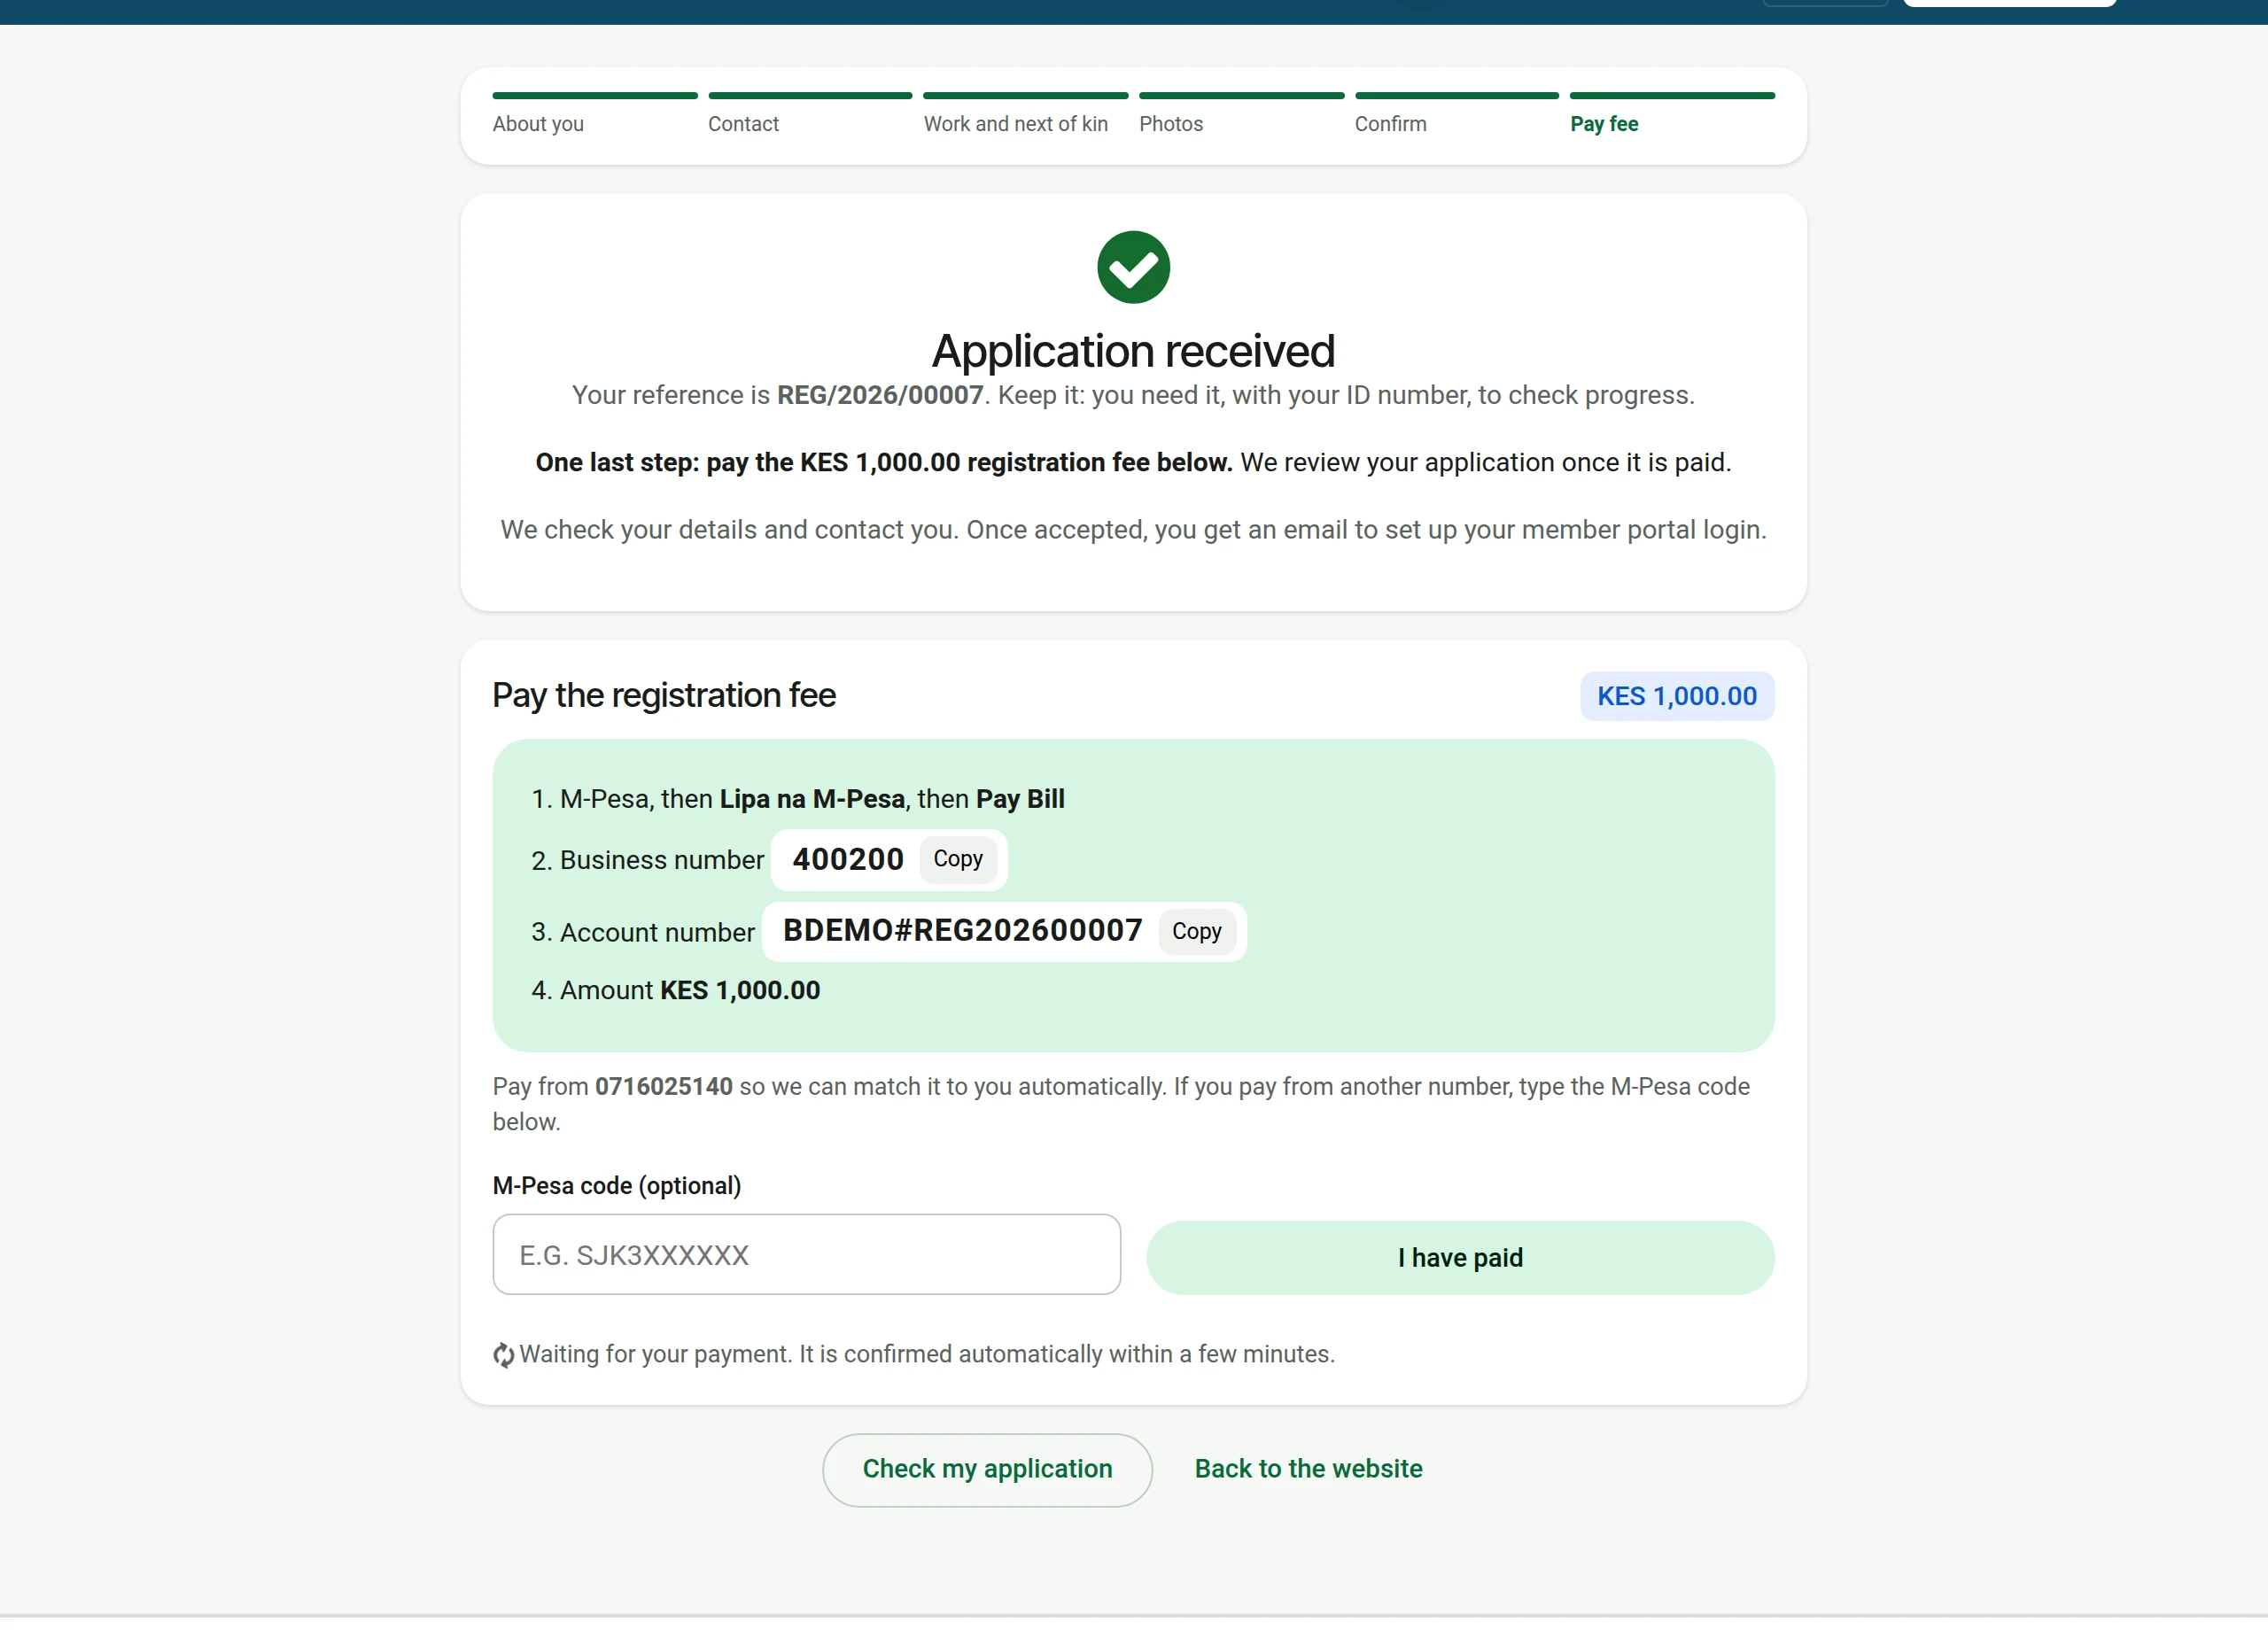
7Application received
The applicant gets a reference to keep. When a registration fee is set, this page also shows how to pay it.
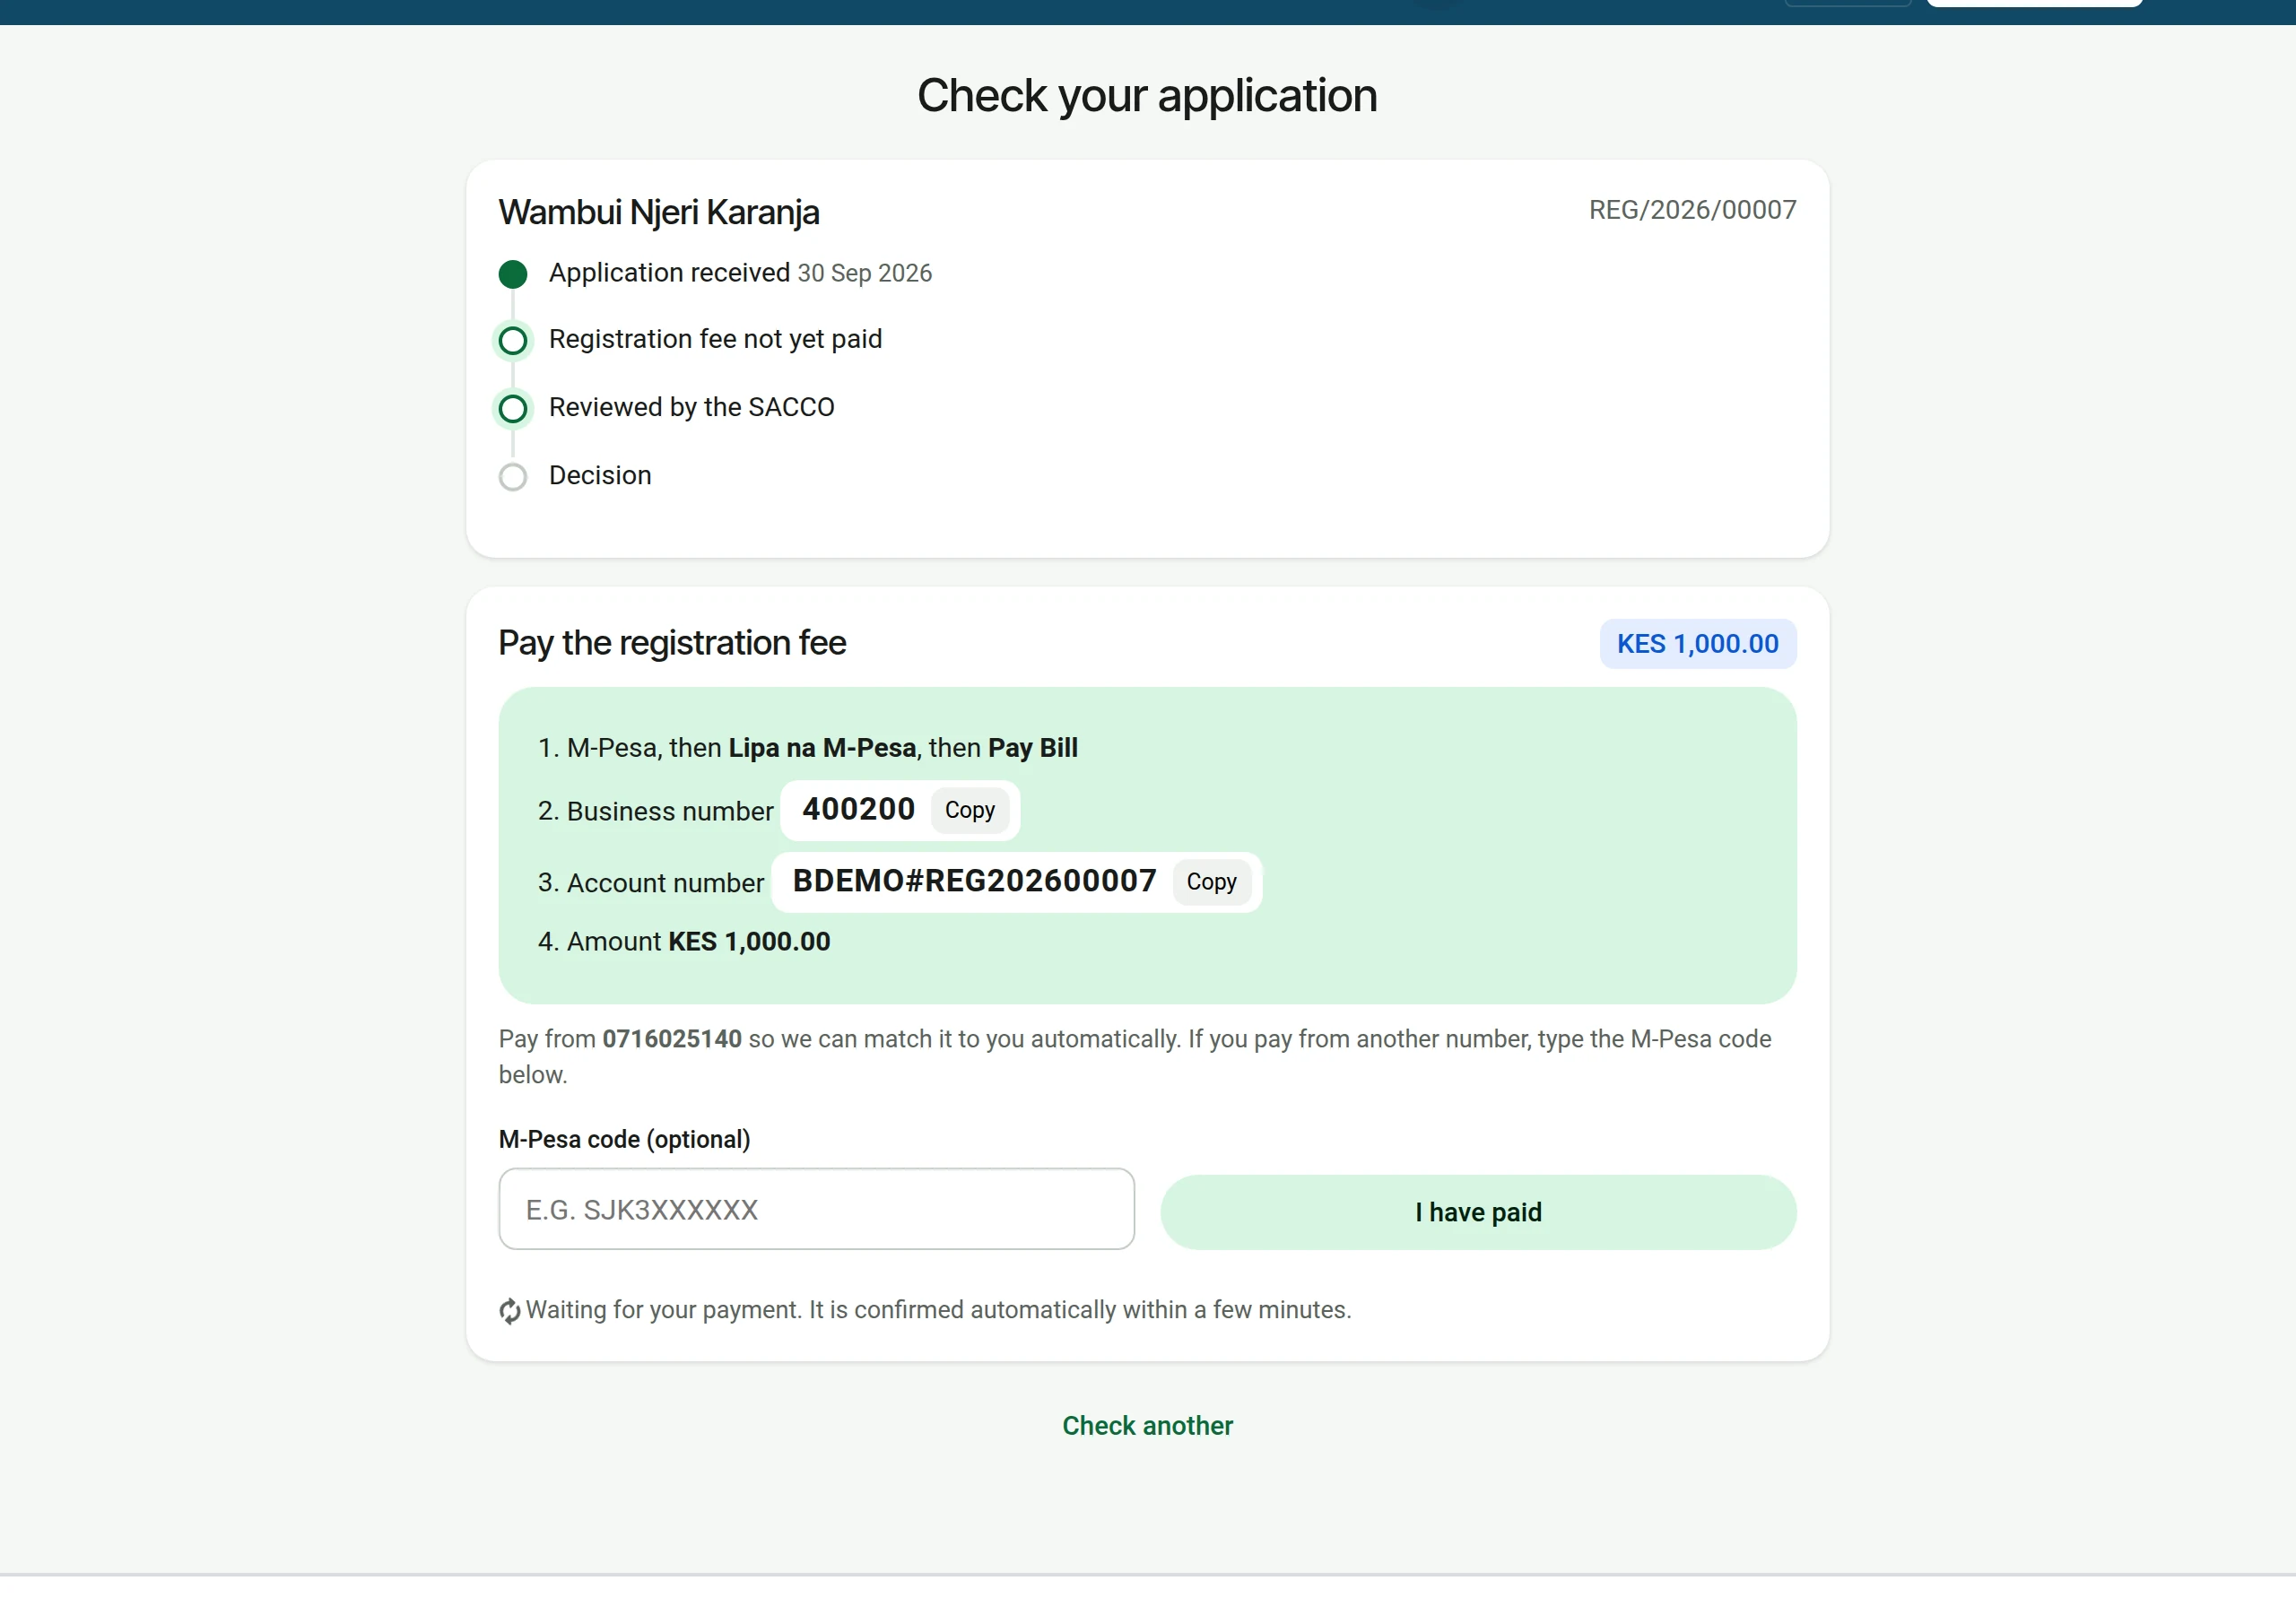
8Follow the application
At any time the applicant opens Check your application, types the reference and the ID number, and sees where it stands.
What staff do
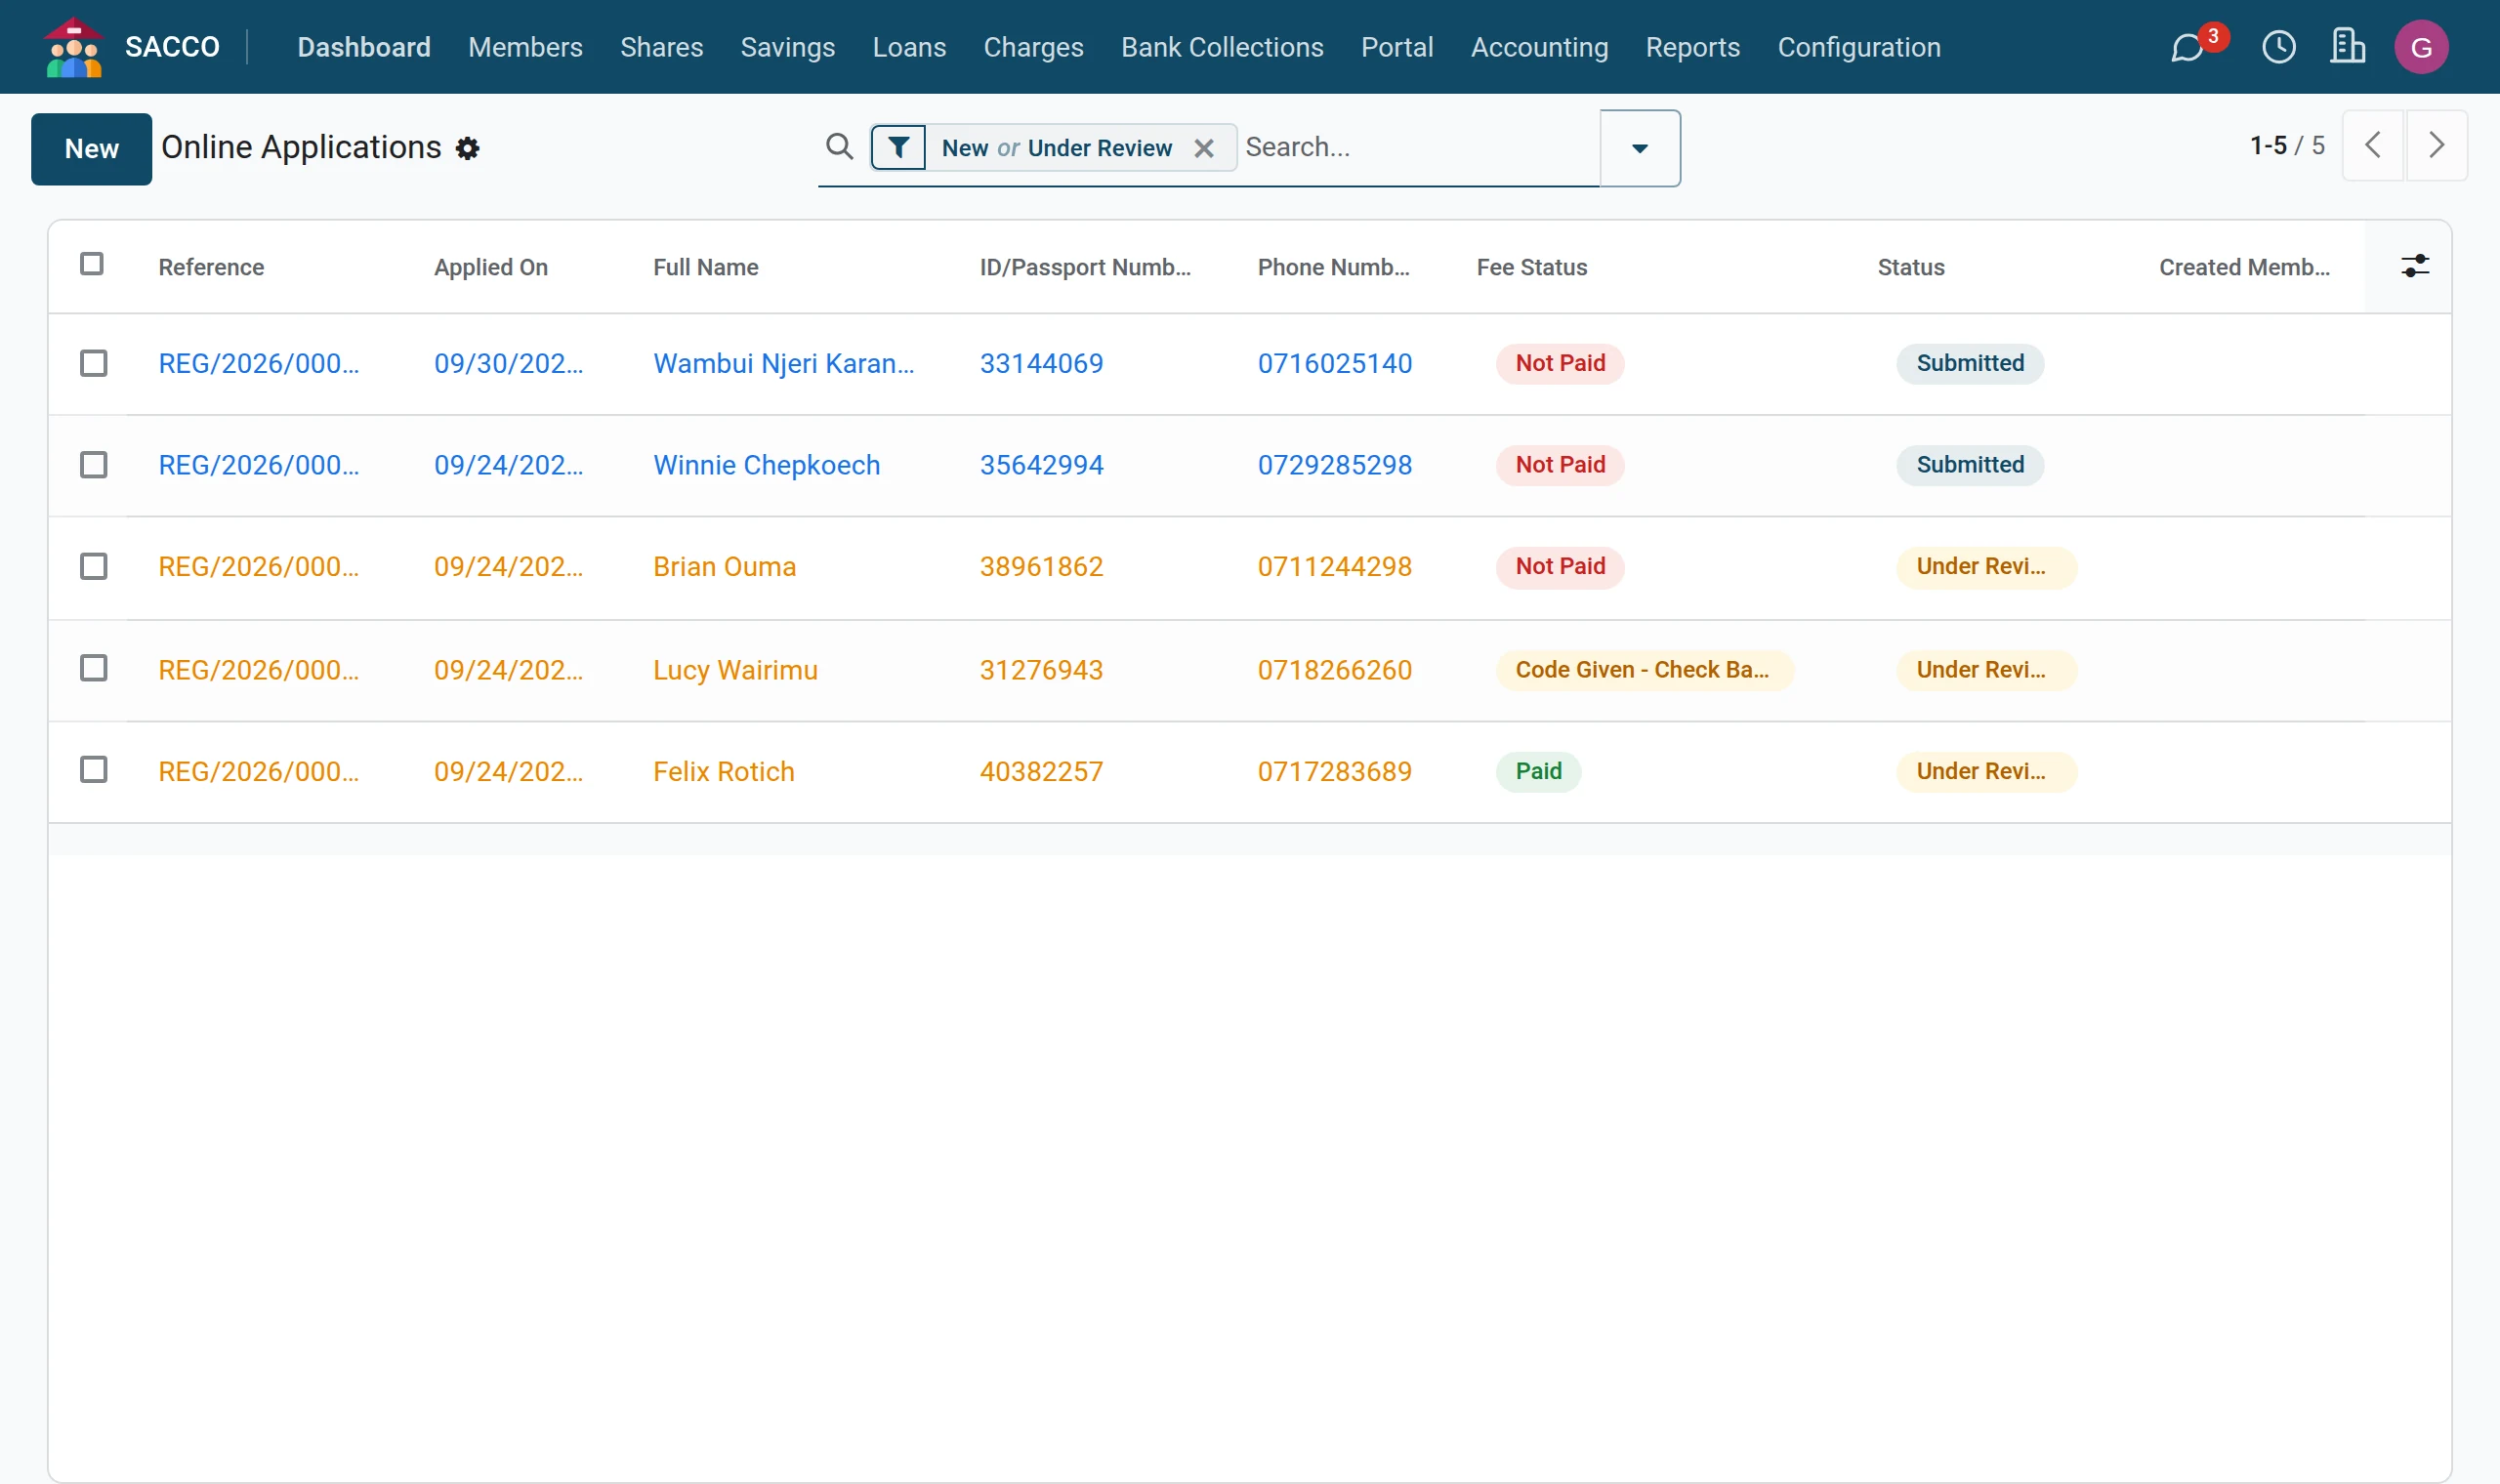
1Open the online applications
Open . New applications are Submitted.
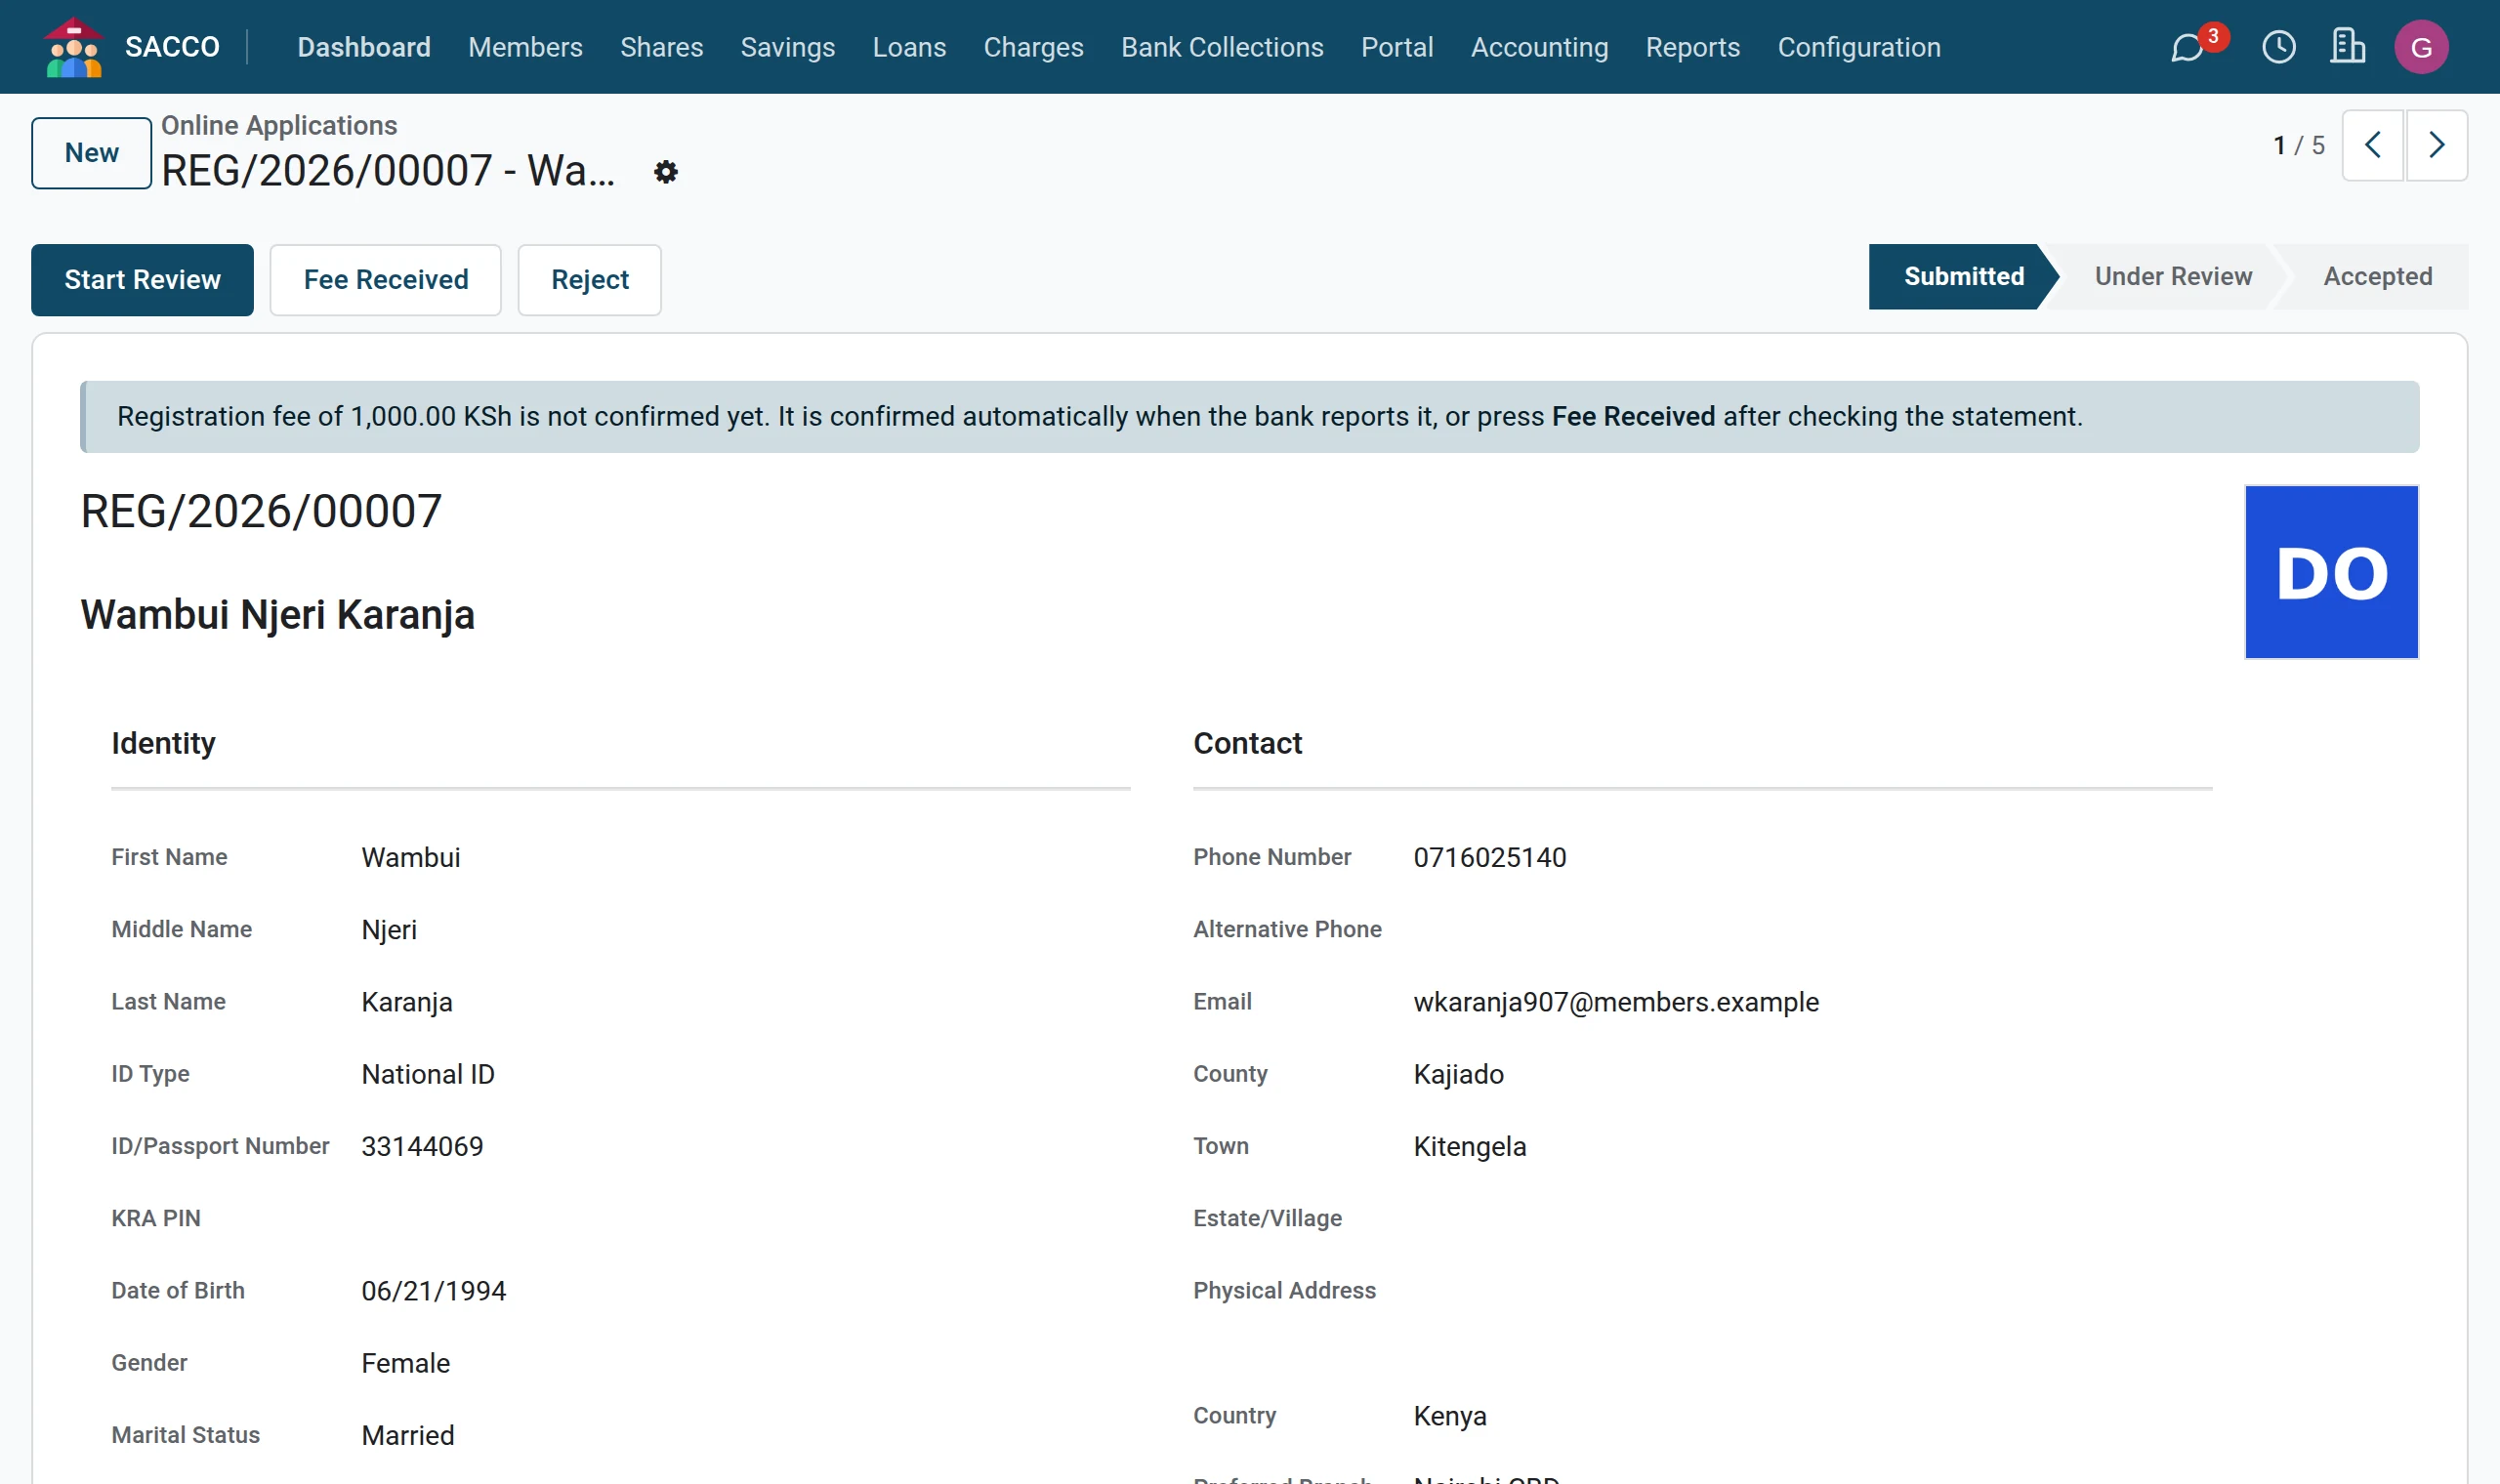
2Open the application
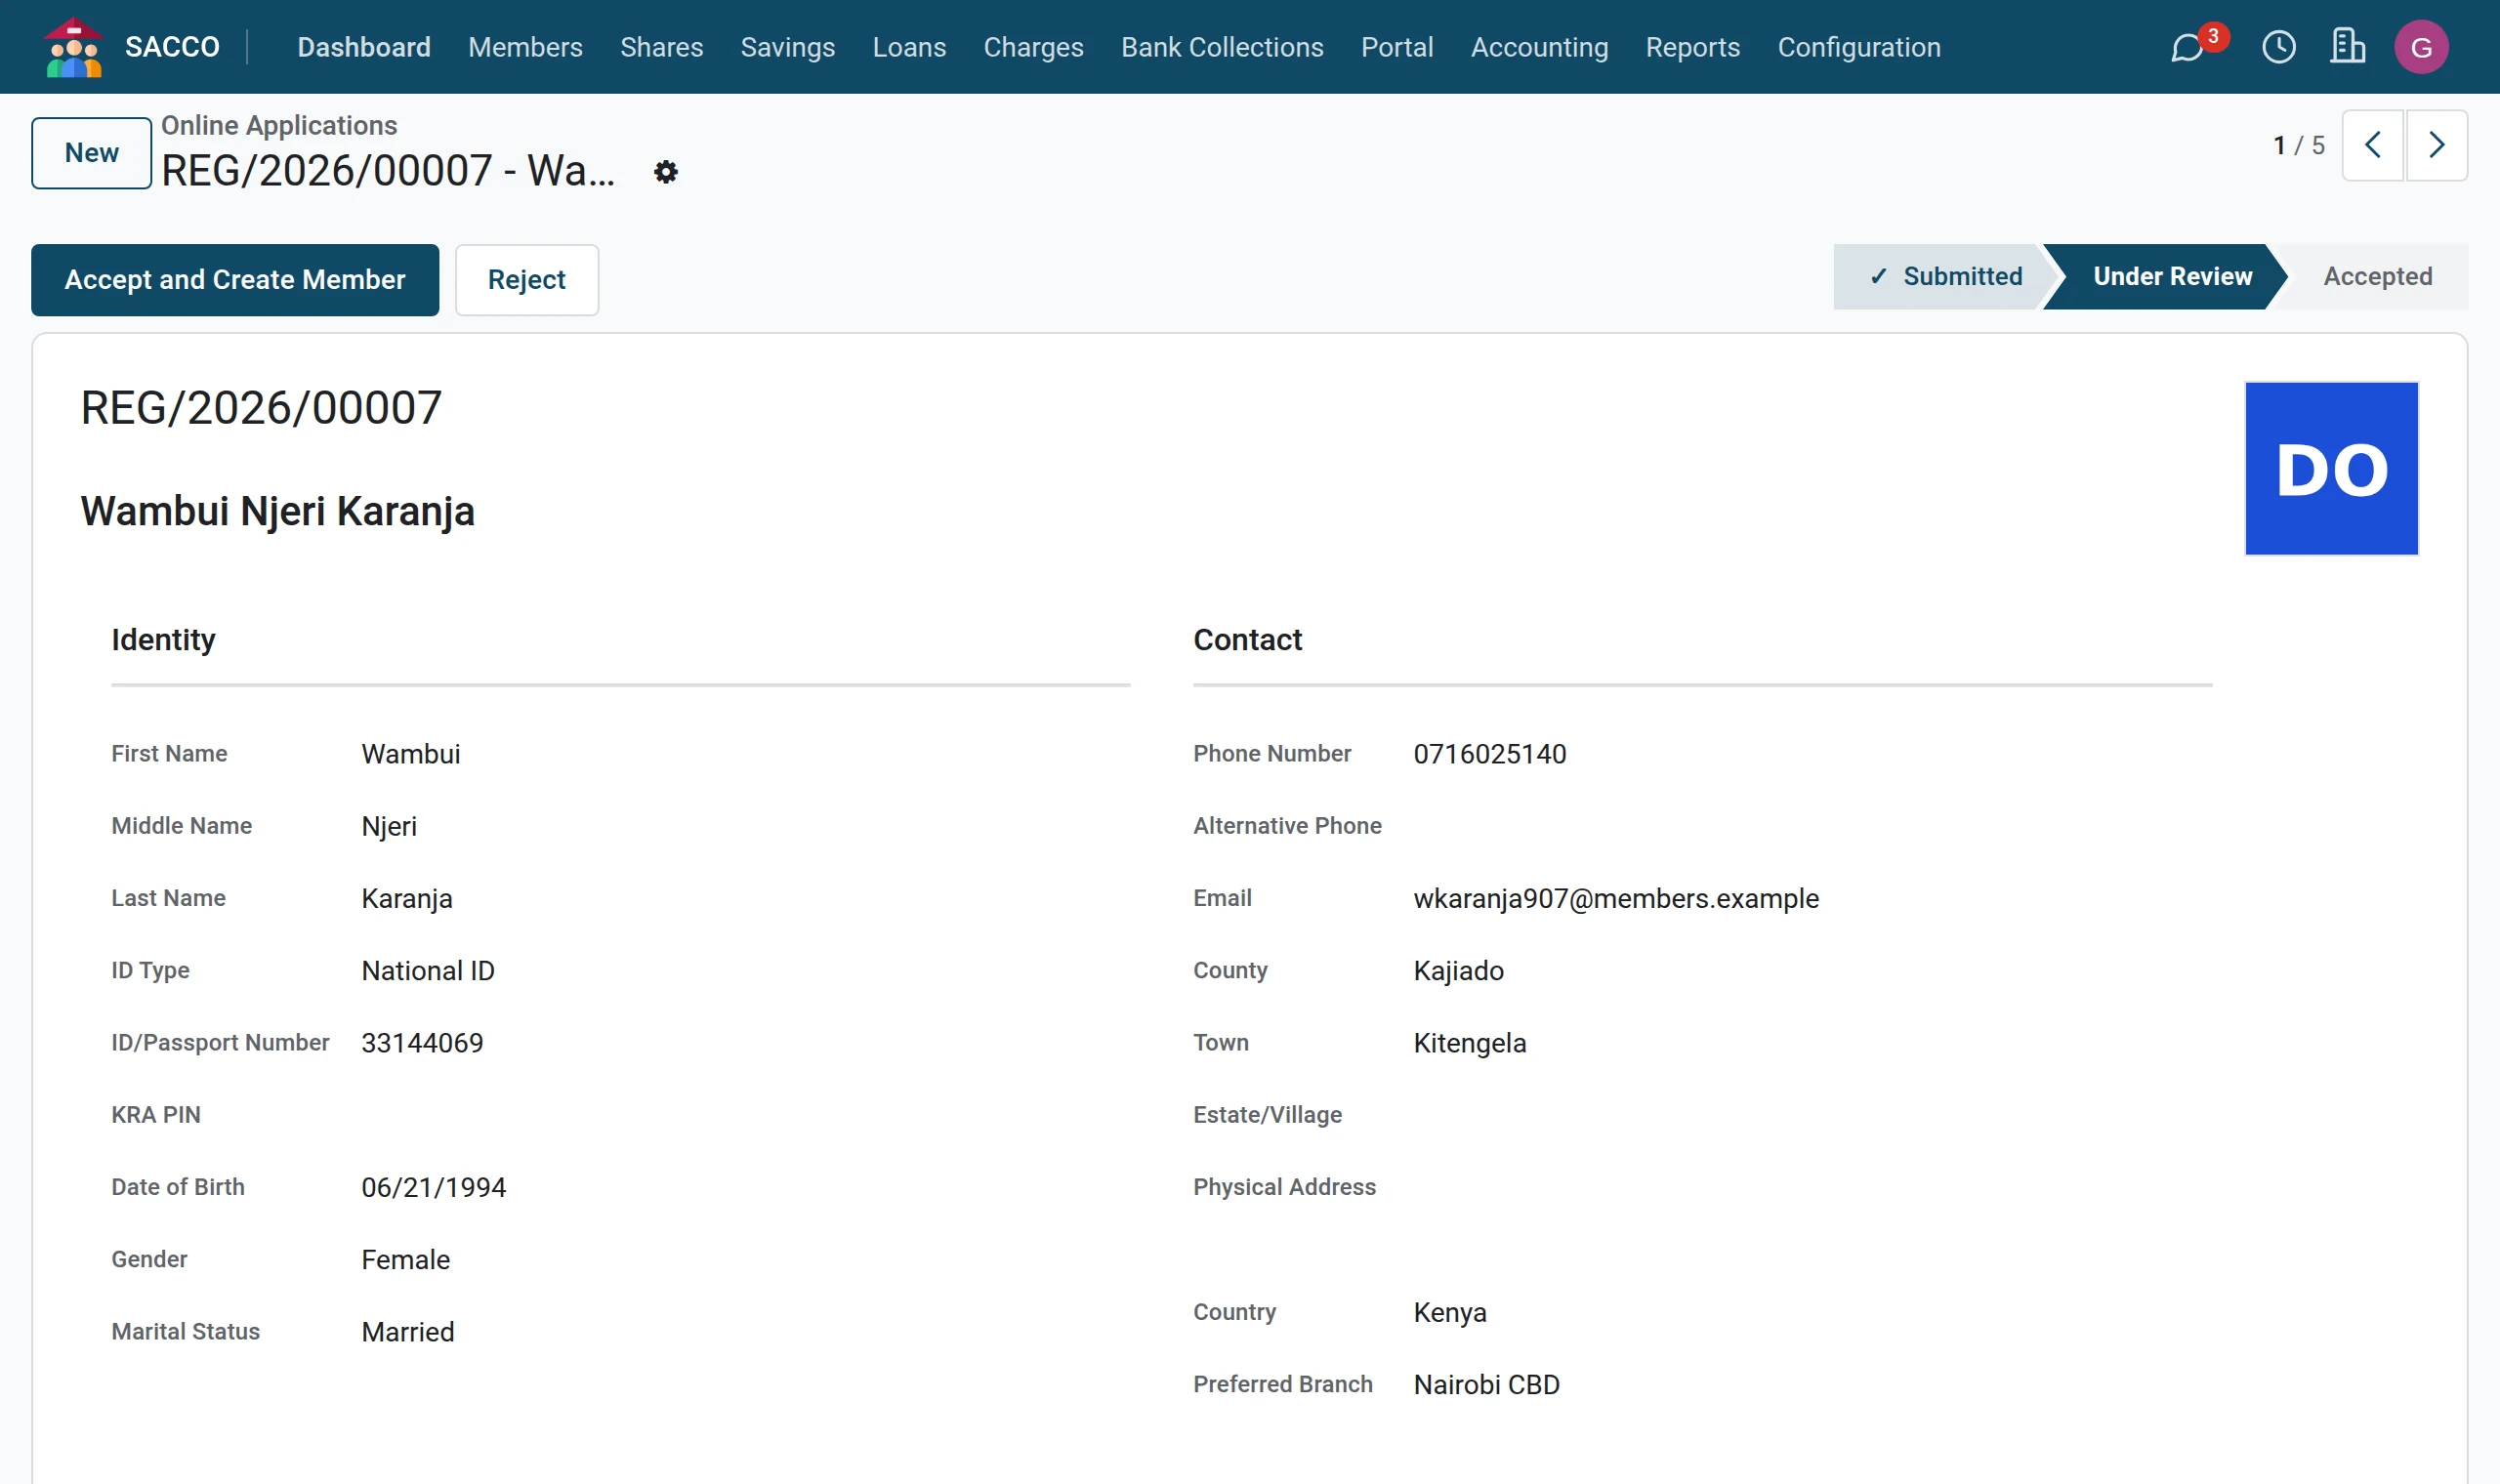
Click the line. Everything the applicant typed is there, with the photos.
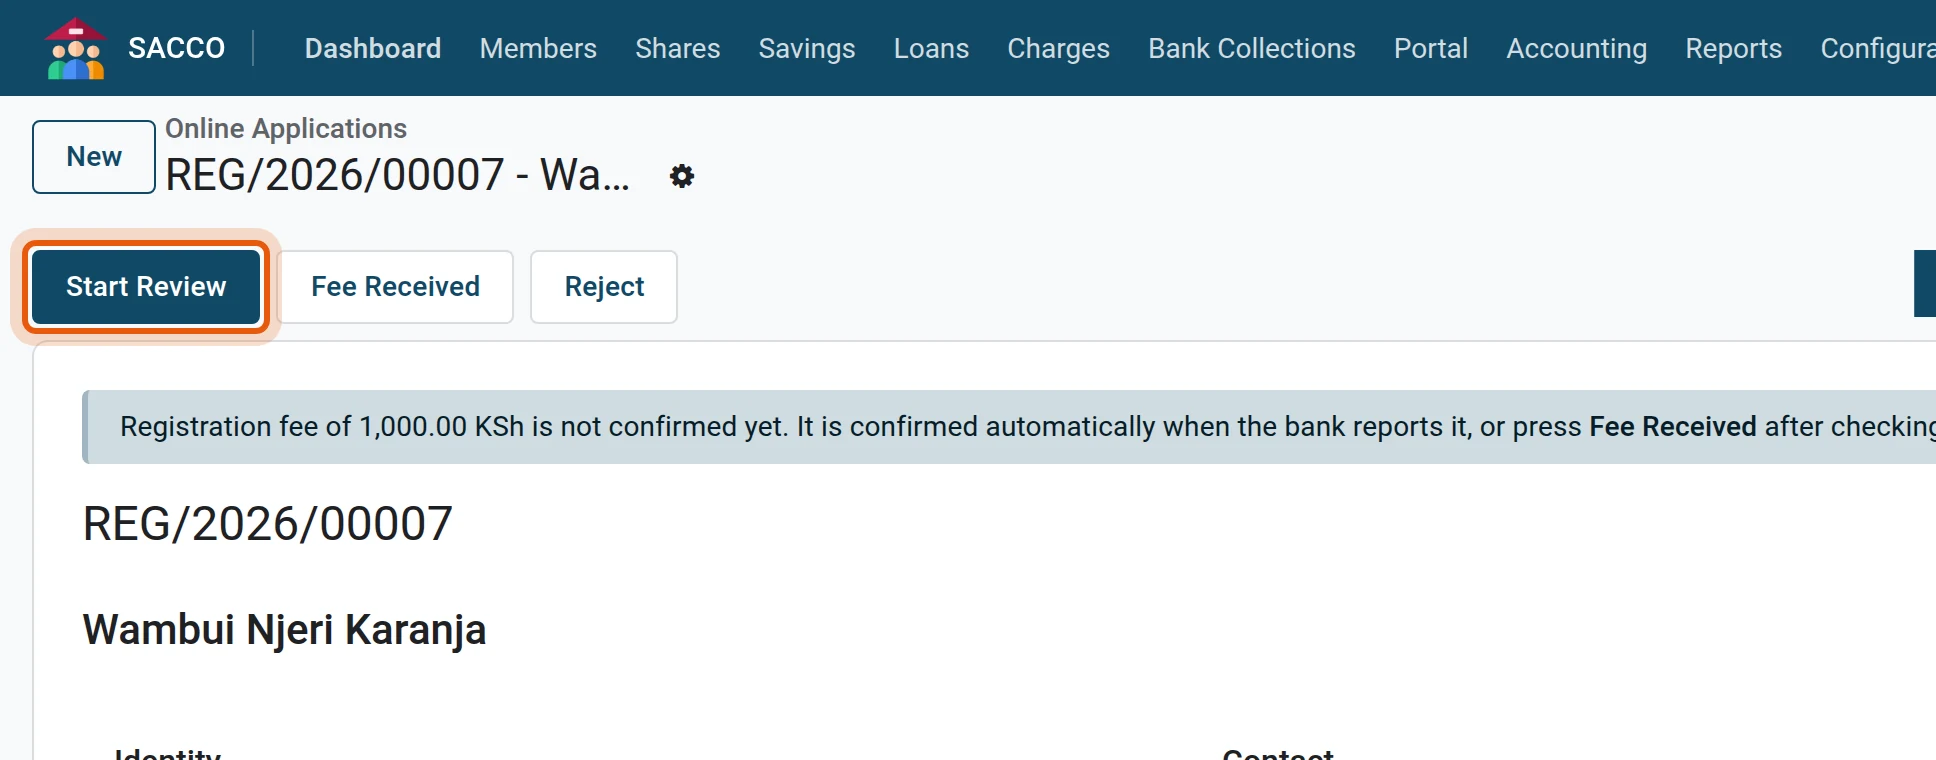
3Start the review
Press Start Review to tell your colleagues you are on it. Compare the ID photos with the details typed.
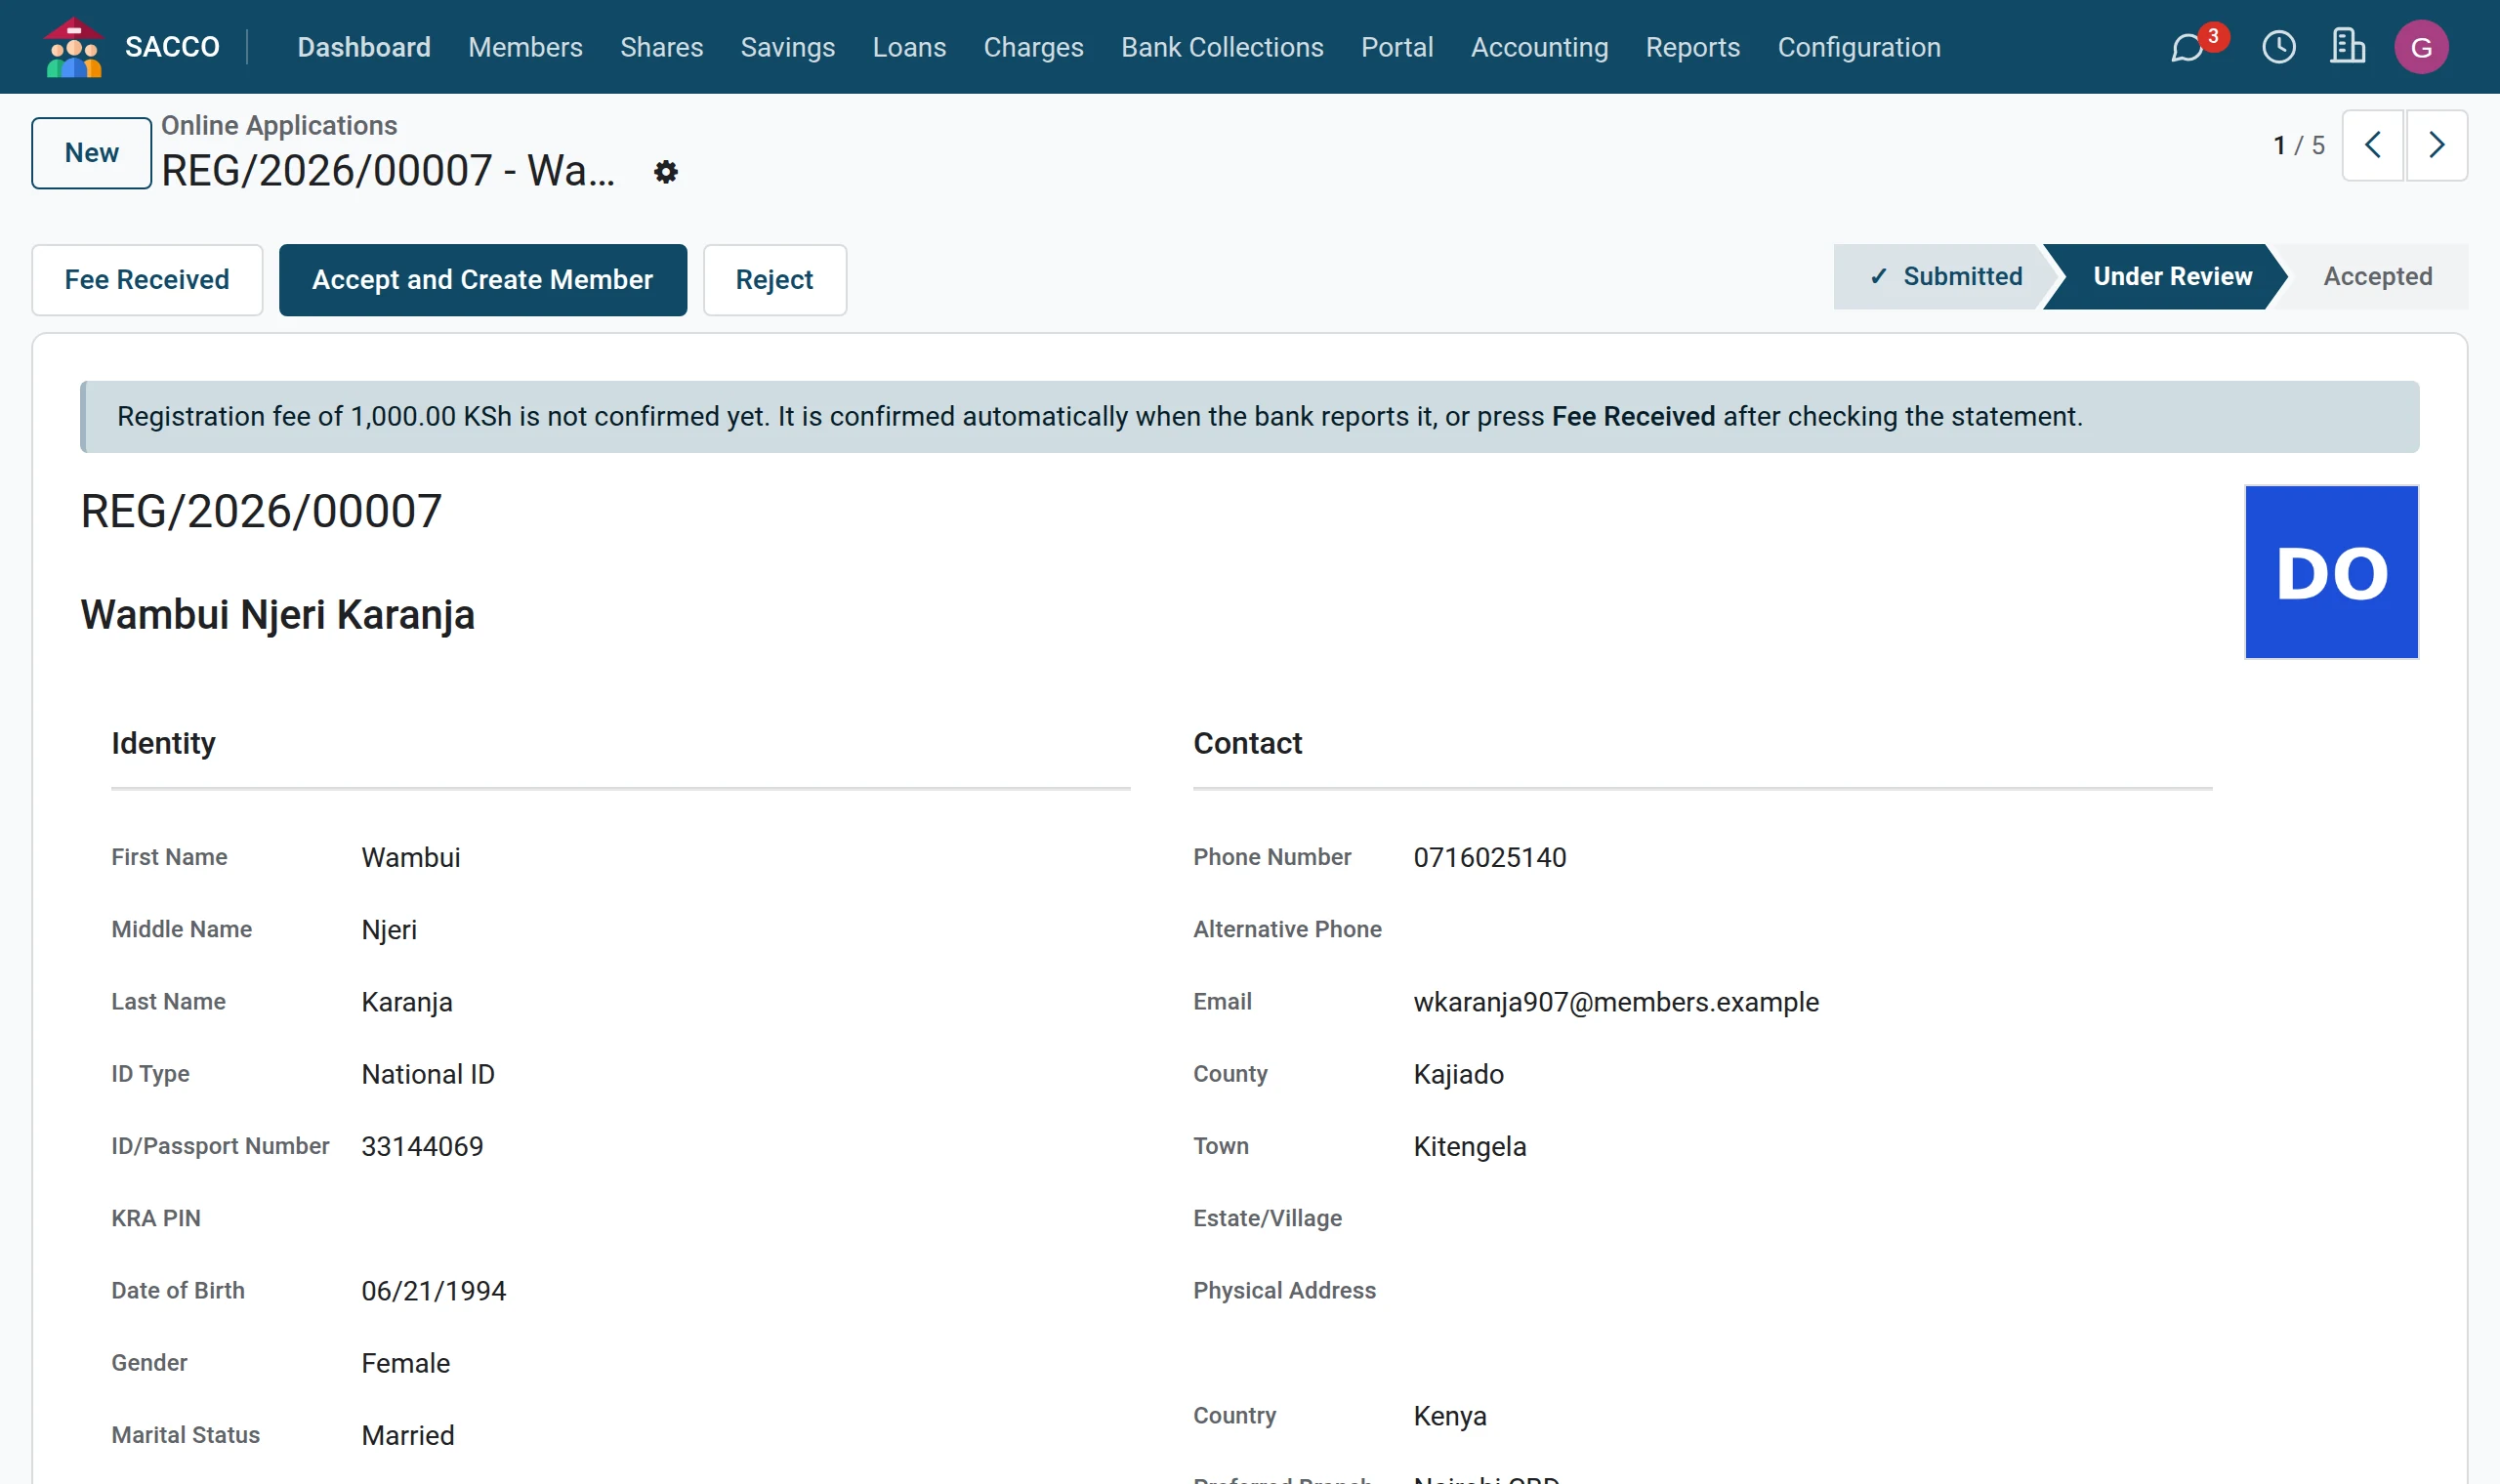
4Confirm the registration fee
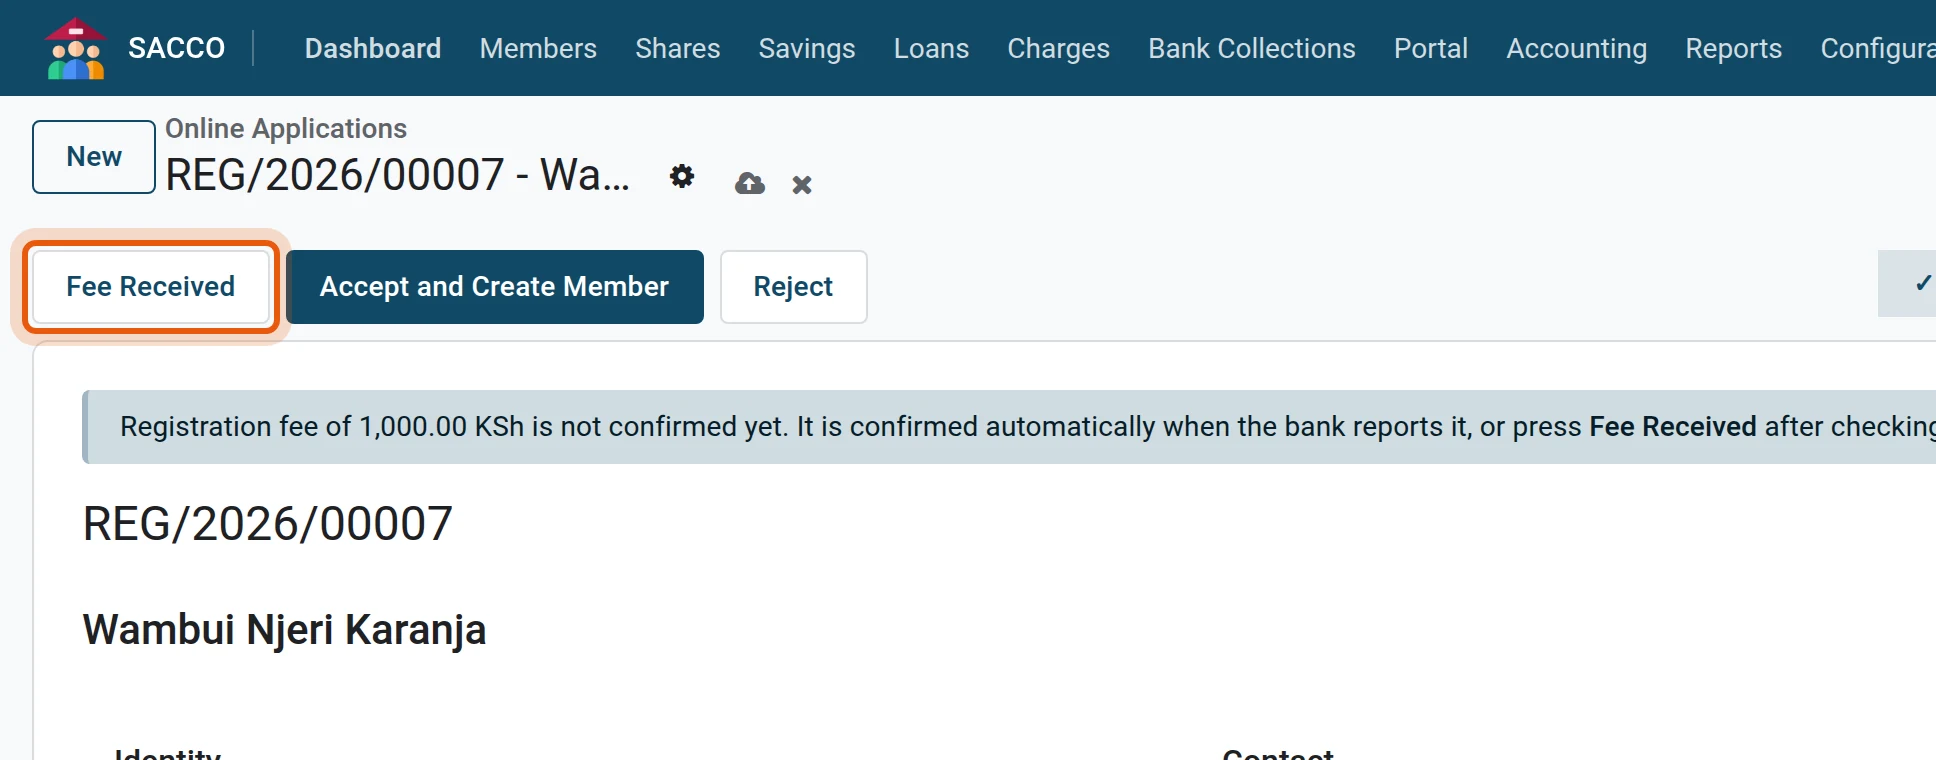
While the fee is not confirmed the form says so in blue, and the application cannot be accepted. The fee is confirmed on its own when the bank reports it. If the applicant paid otherwise, open the Registration Fee tab, check the payment on the statement, type the M-Pesa code or bank reference in Fee Payment Code, press Fee Received and confirm.
5Accept
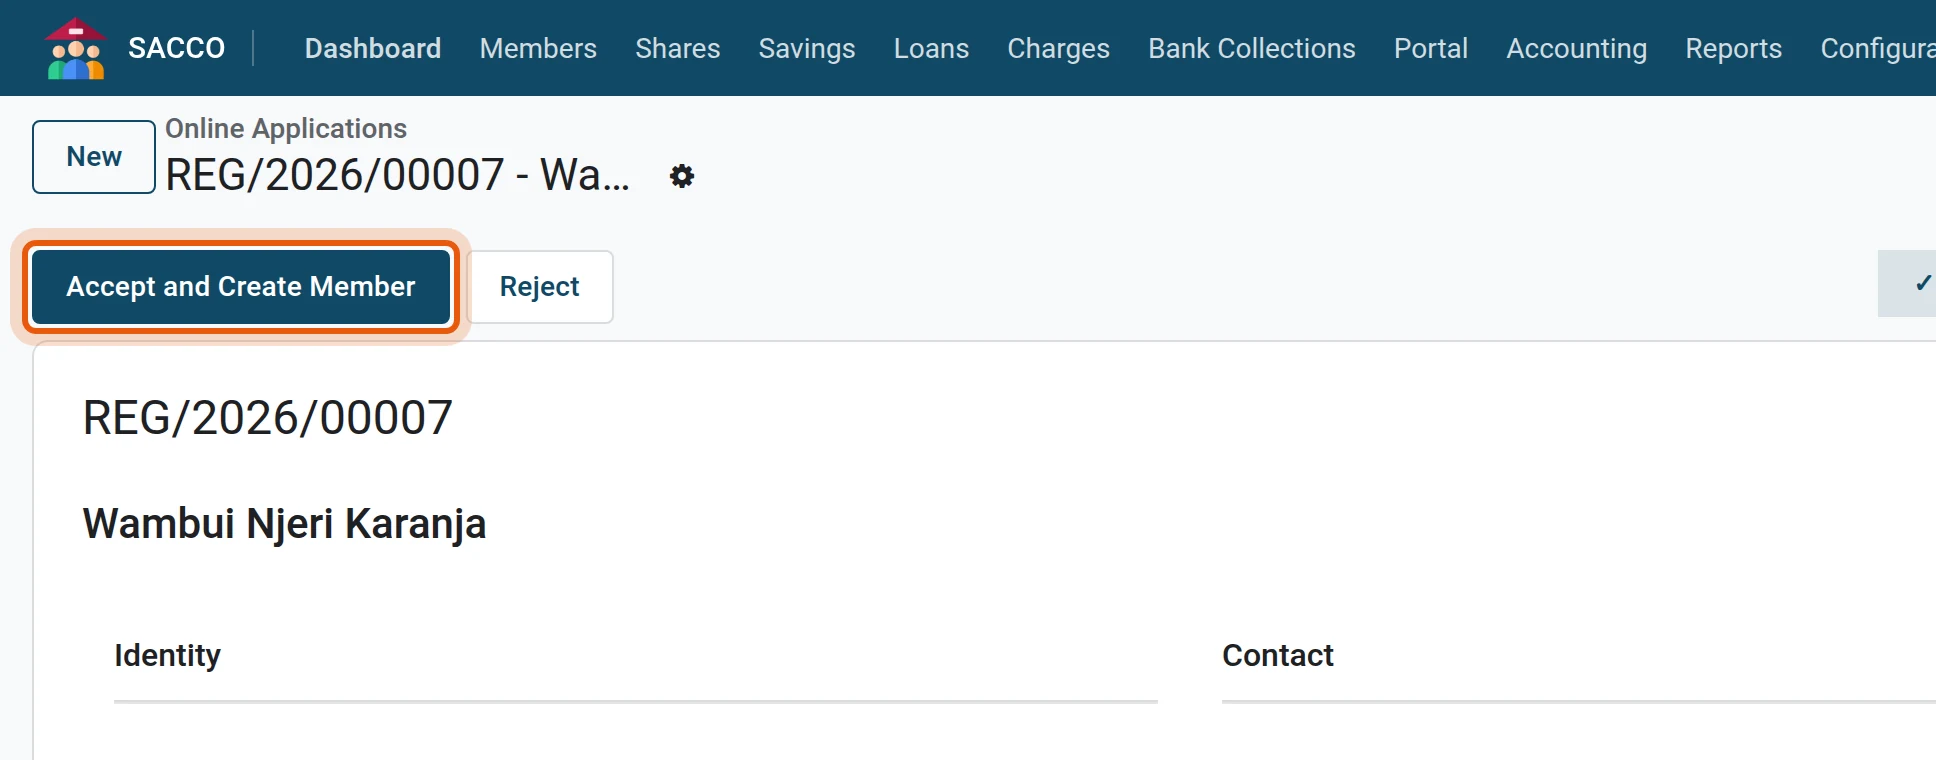
Press Accept and Create Member and confirm. The member record opens, created from the application with the status Applied, and the applicant is told by email. To refuse, press Reject and give the reason: the applicant sees it on the status page.
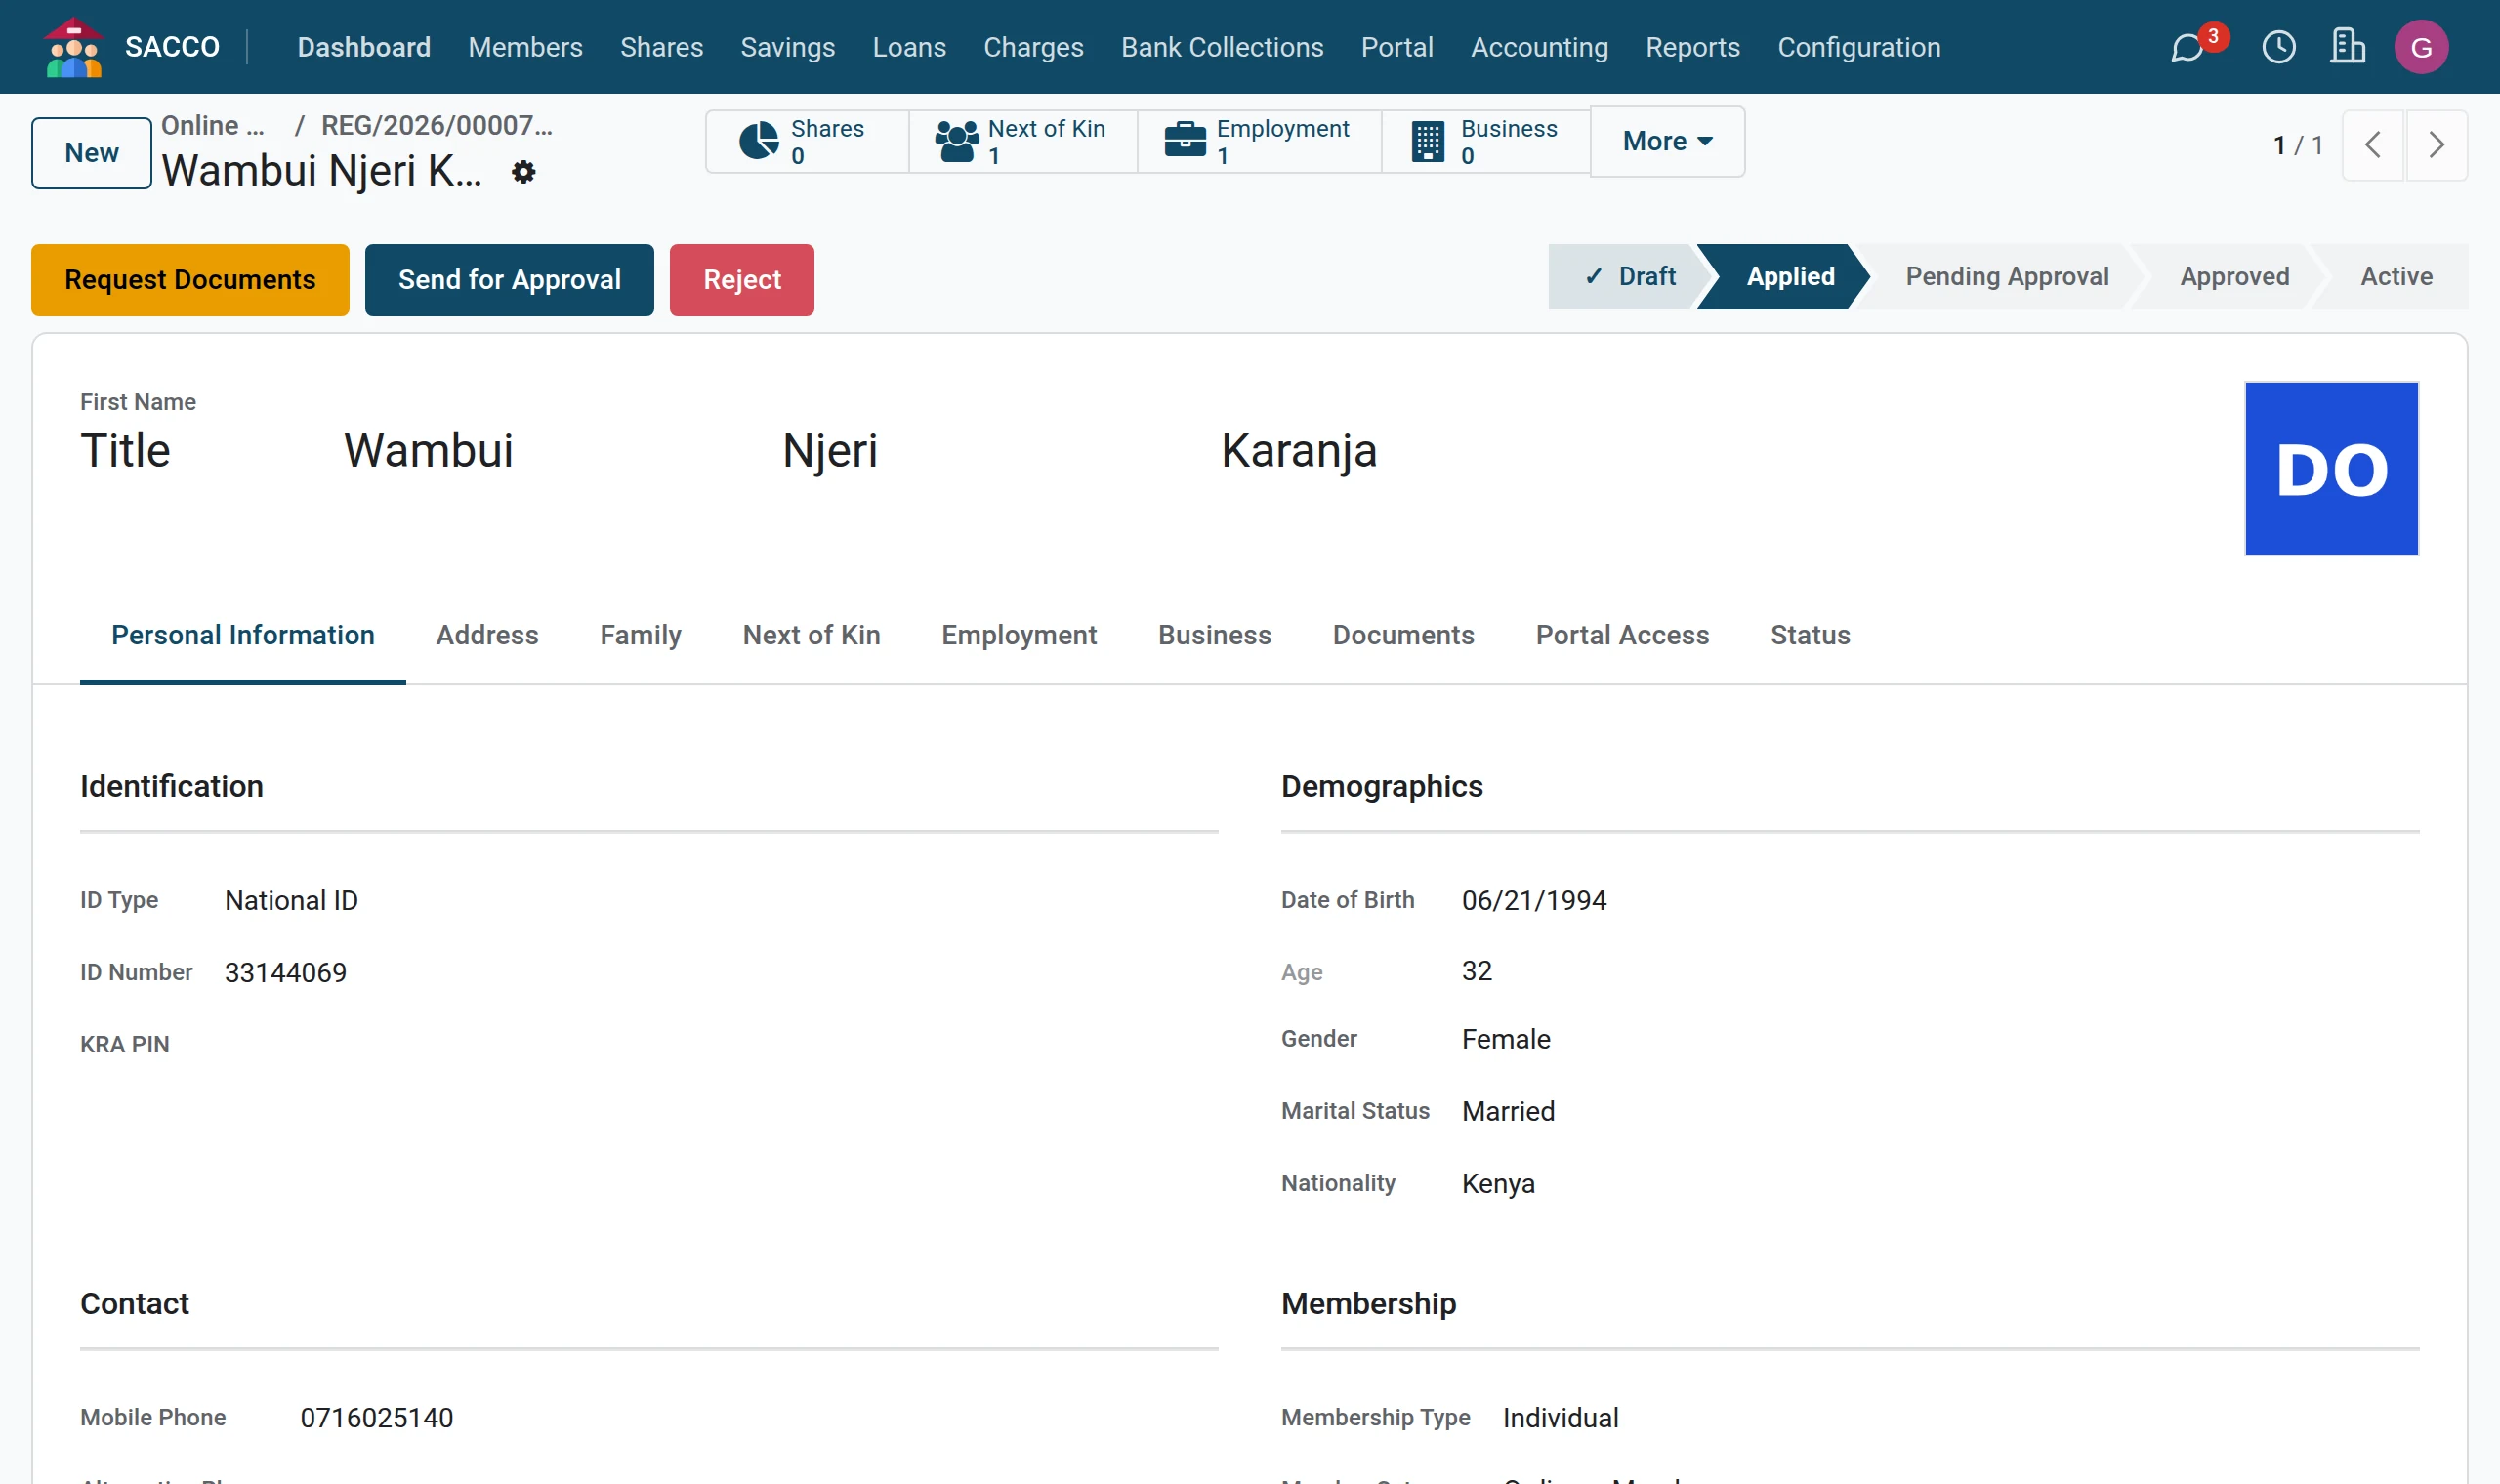
From here the new member is handled like any other: see approve and activate a member.
The registration fee
When Collect Registration Fee Online is ticked on the Portal tab of the settings and a Registration Fee is set, the last page of the form tells the applicant how to pay. With Co-op Bank collections the applicant pays by M-Pesa to the paybill and the payment is matched to the application on its own; without it the applicant pays at the office and quotes the reference.
Closing online registration
Untick Allow Online Registration on the Portal tab of the settings. The joining page then reads “Online registration is closed” and asks visitors to come to the office.