

School profile & branding
Your school profile is the identity EduPrime stamps on every invoice, report card, letter and email. Setting it correctly first means everything generated afterwards looks right.
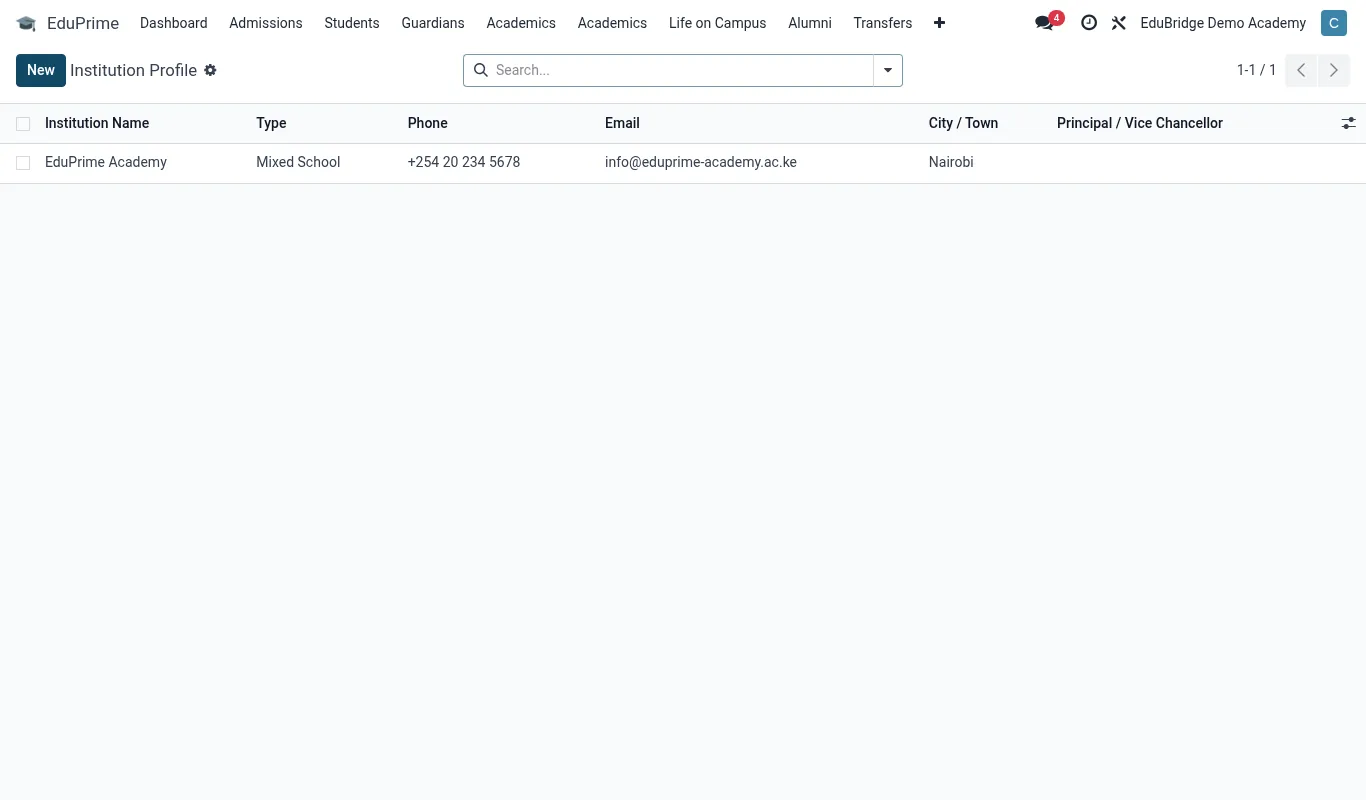
Where to set it
Open Settings → Companies (or General Settings → School Information). In a multi-campus group, each campus is a separate company — repeat these steps for each.
Core profile fields
| Field | What it controls |
|---|---|
| School name | The legal/display name shown on documents and the browser tab |
| Logo | Appears on letterheads, report cards, invoices and the portal. Upload a square PNG with a transparent background, at least 512×512 |
| Address | Physical and postal address printed on official documents |
| Phone / Email / Website | Public contact details used on receipts and parent communications |
| Registration / KRA PIN | Statutory identifiers printed where required on fee documents |
| Currency | The default currency for all fees and payments (for example KES) |
| Language | Default interface language for new users |
| Timezone | Reference timezone for the institution; individual users can override in their own preferences |
- Enter the school name exactly as it should appear on official documents.
- Upload the logo and confirm it renders cleanly on a white background.
- Fill the address, phone, email and website.
- Set the currency and default language.
- Save.
Letterhead & document branding
EduPrime prints fee statements, report cards and official letters using a document layout you can brand once and reuse everywhere.
- Go to Settings → General Settings and find Configure Document Layout.
- Choose a layout style, set the accent colour to match your school, and confirm the logo, address and footer.
- Add a footer line with contact details and any motto.
- Use the live preview to check a sample document, then save.
Multi-language schools
If you teach or correspond in more than one language, install the additional language under Settings → Translations → Languages, then let each user pick their preferred language in their profile. Parent communications can be sent in the recipient's language where templates are translated.