

Boarding overview & setup
The Boarding module (hostel) manages houses, rooms, room allocation, electronic roll call, leave passes and welfare notes. This page is the boarding master's setup checklist before students move in.
Where to find it — App drawer → Labs & Equipment → Bookings.
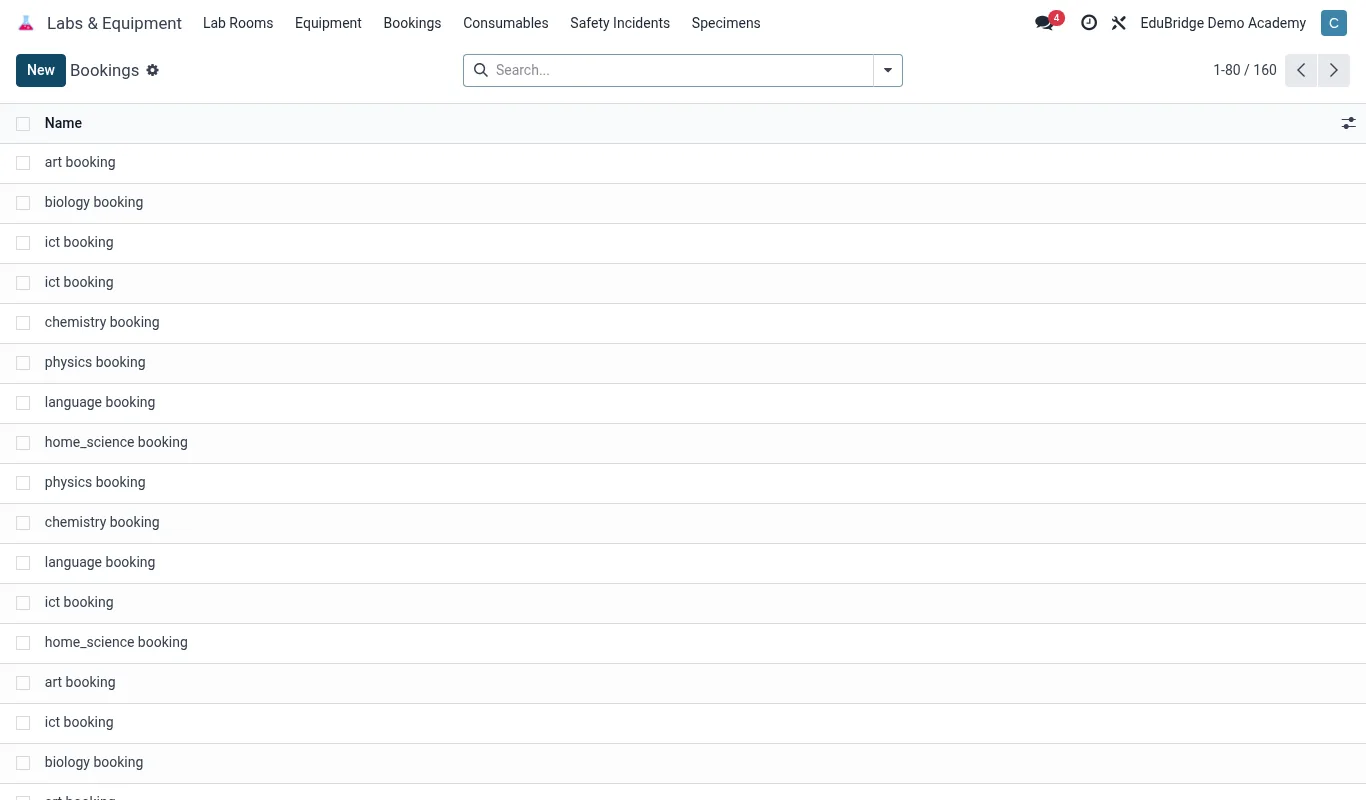
Houses & rooms
The hierarchy is house → room → bed. Build it top-down.
- Open Boarding → Houses → New. Name the house and assign a house master/matron.
- Set the gender of the house (boys, girls, mixed where permitted).
- Inside the house, add rooms, each with a capacity (number of beds).
- Optionally number individual beds for precise allocation.
| Level | Holds | Key setting |
|---|---|---|
| House | Rooms | House master, gender |
| Room | Beds | Capacity |
| Bed | One student | Bed number |
Capacities
Capacity is enforced at the room level. The system shows beds occupied versus total so you never double-book a bed. A live occupancy figure rolls up to the house and to a whole-boarding dashboard.
Boarding fees
Boarding is billed per term and tied to the student, exactly like tuition and transport.
- Open Configuration → Boarding fees.
- Set a per-term boarding fee, optionally varying by room type (standard dormitory vs cubicle).
- When a student is allocated a bed, the boarding charge posts to their student invoice automatically.
Tip – Because the boarding fee follows the bed allocation, a day-scholar who converts to boarder mid-term is billed automatically from the allocation date – no manual invoice editing.
Important – Set room capacities to the real number of beds, not the number you wish you had. Roll call, fire-safety headcounts and welfare all depend on capacity being truthful.
Related pages
Was this page helpful?