

Users and roles
Every person who works in the system signs in with their own user. The roles you tick on the user decide which menus they see and what they may do: a teller cannot approve a loan, and an officer cannot change a product.
Who: The administrator (the user with the Administration: Settings right).
The roles
Core brings six roles; Savings, Loans and Accounting each add their own. A higher role includes the ones under it.
| Role | From | May |
|---|---|---|
| User | Core | See members, shares and basic information. Cannot create or change anything. |
| Officer | Core | Register and edit members and record share transactions: the front office. |
| Loan Officer | Core | Officer, plus loan applications, review and disbursement. |
| Accountant | Core | Officer, plus confirming transactions and the financial reports. |
| Credit Committee | Core | Loan Officer, plus approving or rejecting loan applications. |
| Manager | Core | Everything above: approves members and exits. For branch managers and supervisors. |
| Administrator | Core | Manager, plus the SACCO settings. |
| Savings User / Savings Officer / Savings Manager | SACCO Savings | See accounts / record deposits and withdrawals / approve them and change savings products. |
| Loans User / Loans Officer / Loans Credit Committee / Loans Manager | SACCO Loans | See loans / work on applications and repayments / approve at committee / approve and disburse loans and change loan products. |
| SACCO GL Accountant / SACCO GL Manager | SACCO Accounting | See and post the SACCO journal entries / change the journals and accounts. |
What to tick for each job
| Job | Tick |
|---|---|
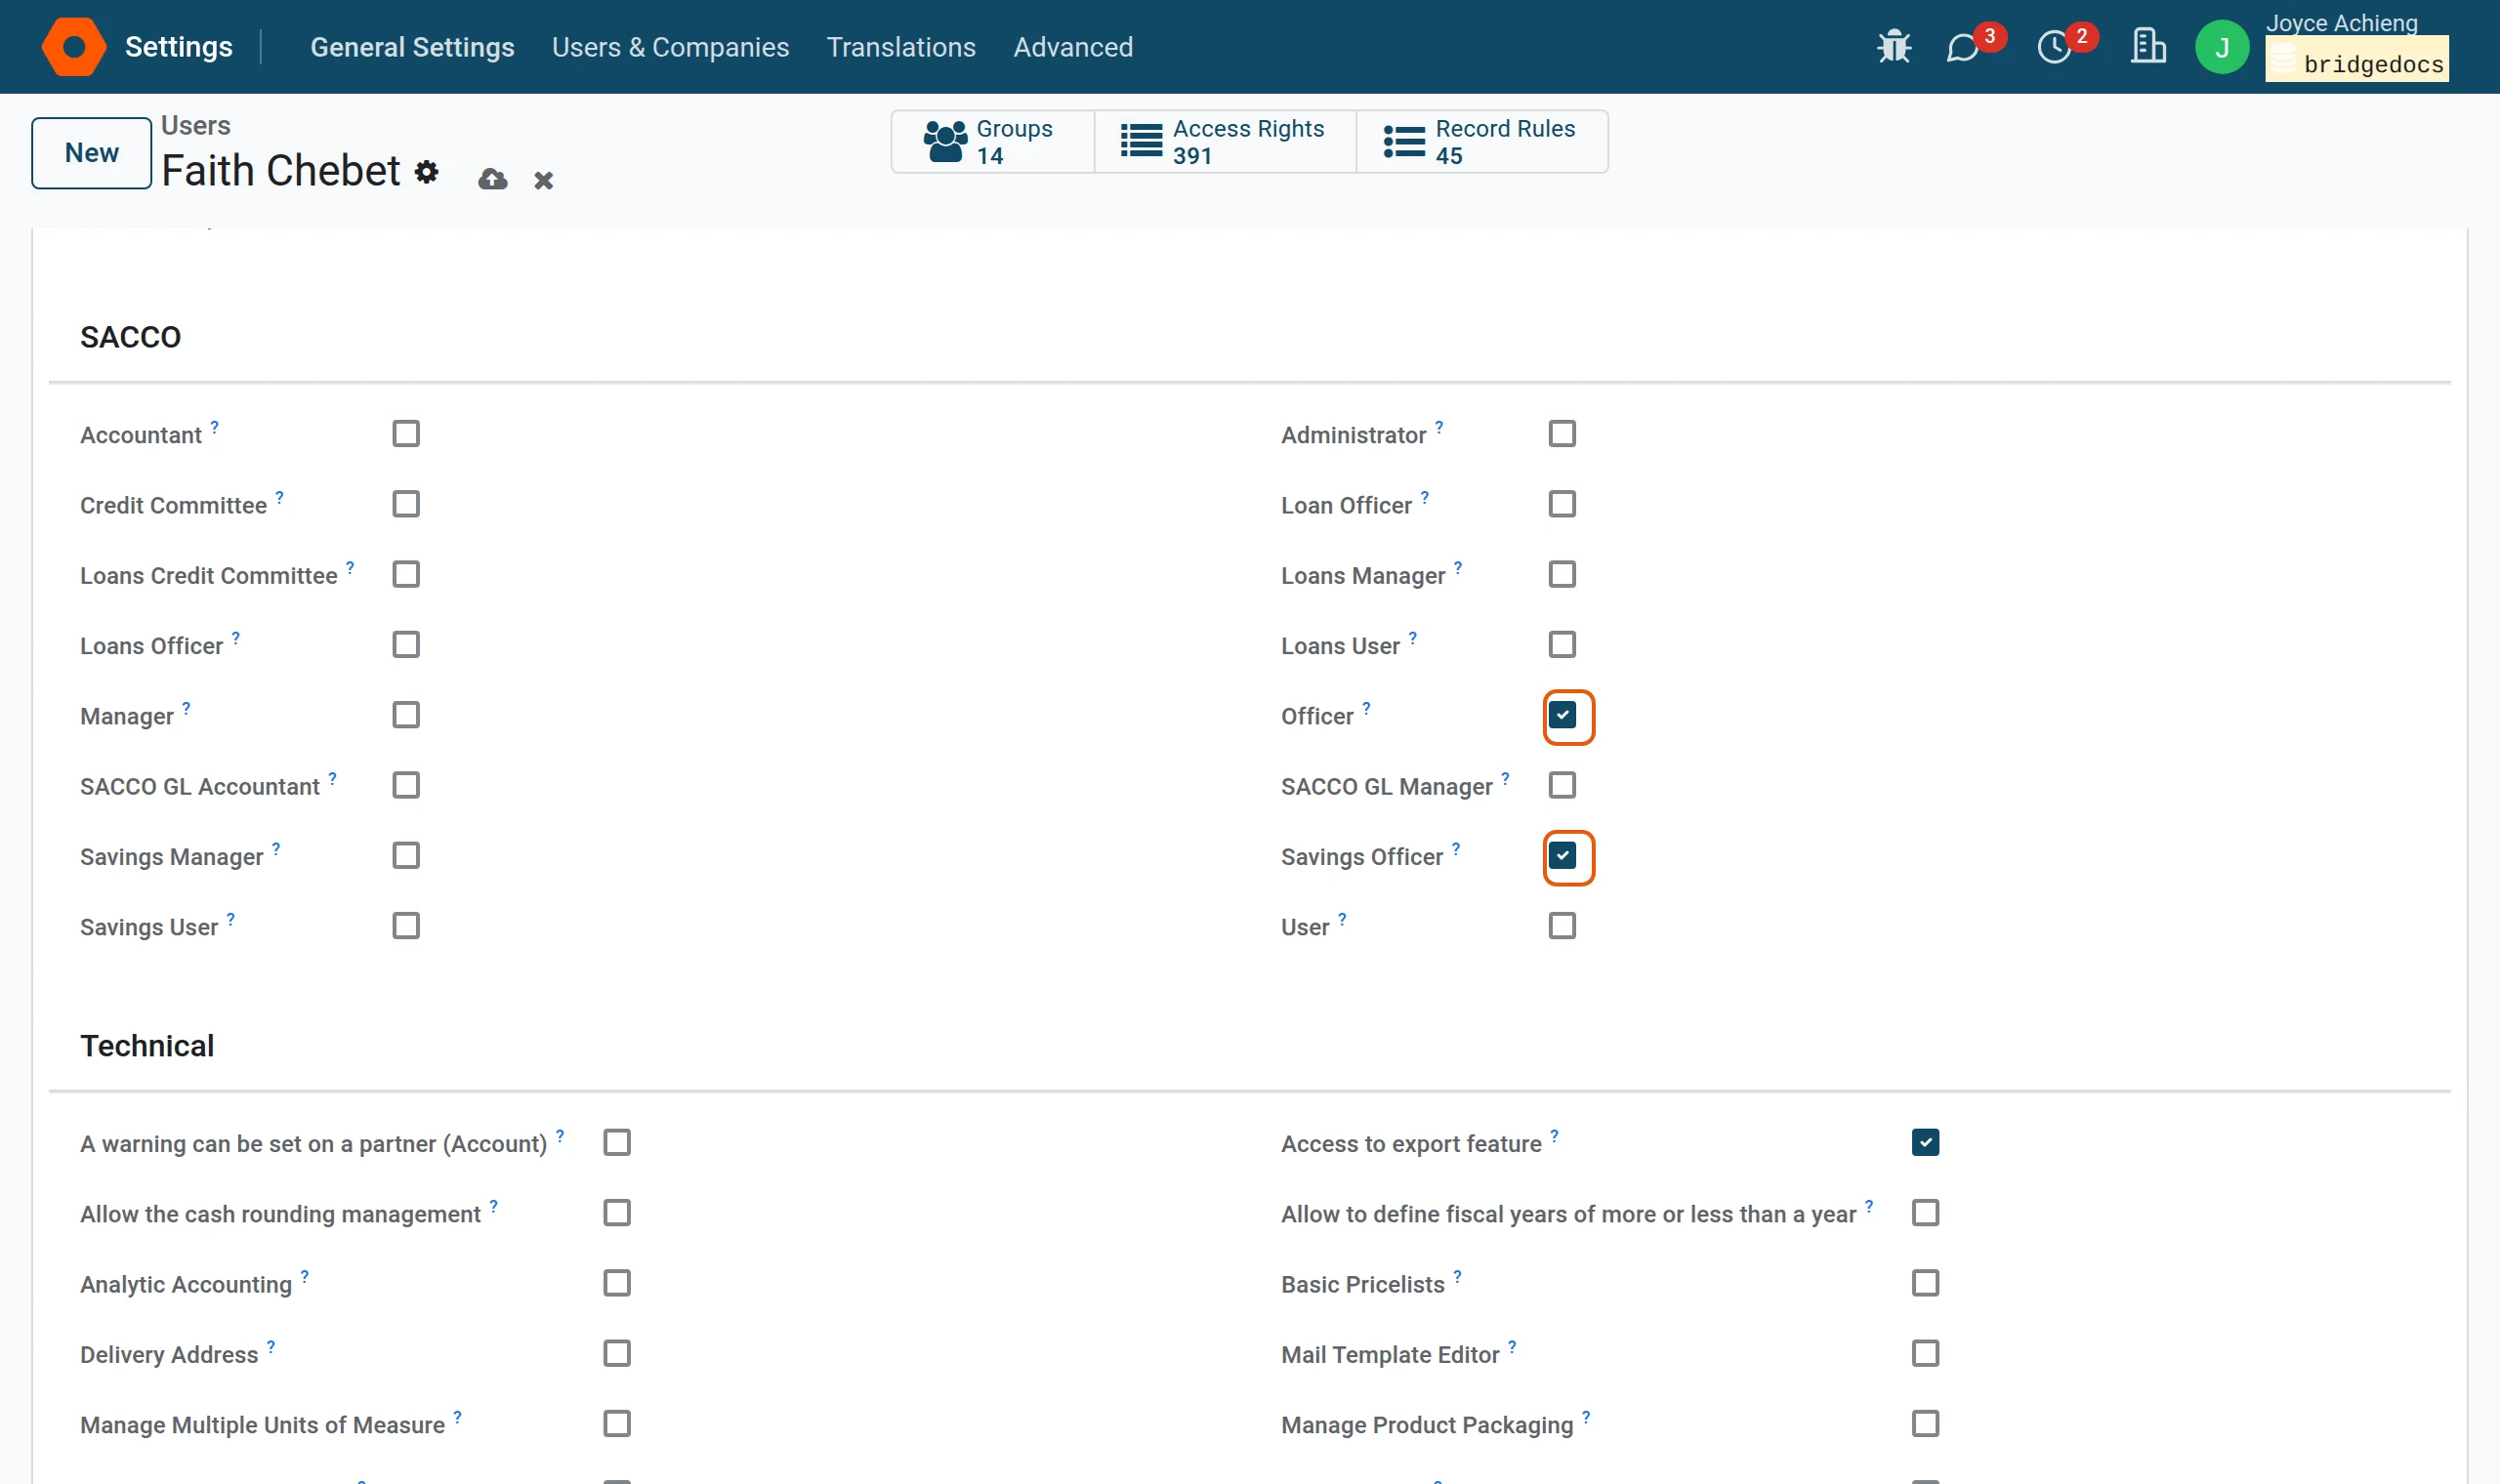
| Teller, front office | Officer and Savings Officer |
| Loans officer | Loan Officer and Loans Officer |
| Credit committee member | Credit Committee and Loans Credit Committee |
| Accountant | Accountant and SACCO GL Accountant |
| Branch manager, general manager | Manager, Savings Manager, Loans Manager and SACCO GL Manager |
| The person who configures the system | Administrator on top of the manager’s roles |
| Board member, auditor (read only) | User, Savings User and Loans User |
Important
The SACCO roles appear on the user form only while the developer mode is on (step 2 below). Without it you see the Accounting, Website and Administration rights but no SACCO heading. The same is true of Access to export feature, the right to download lists to Excel.
Note
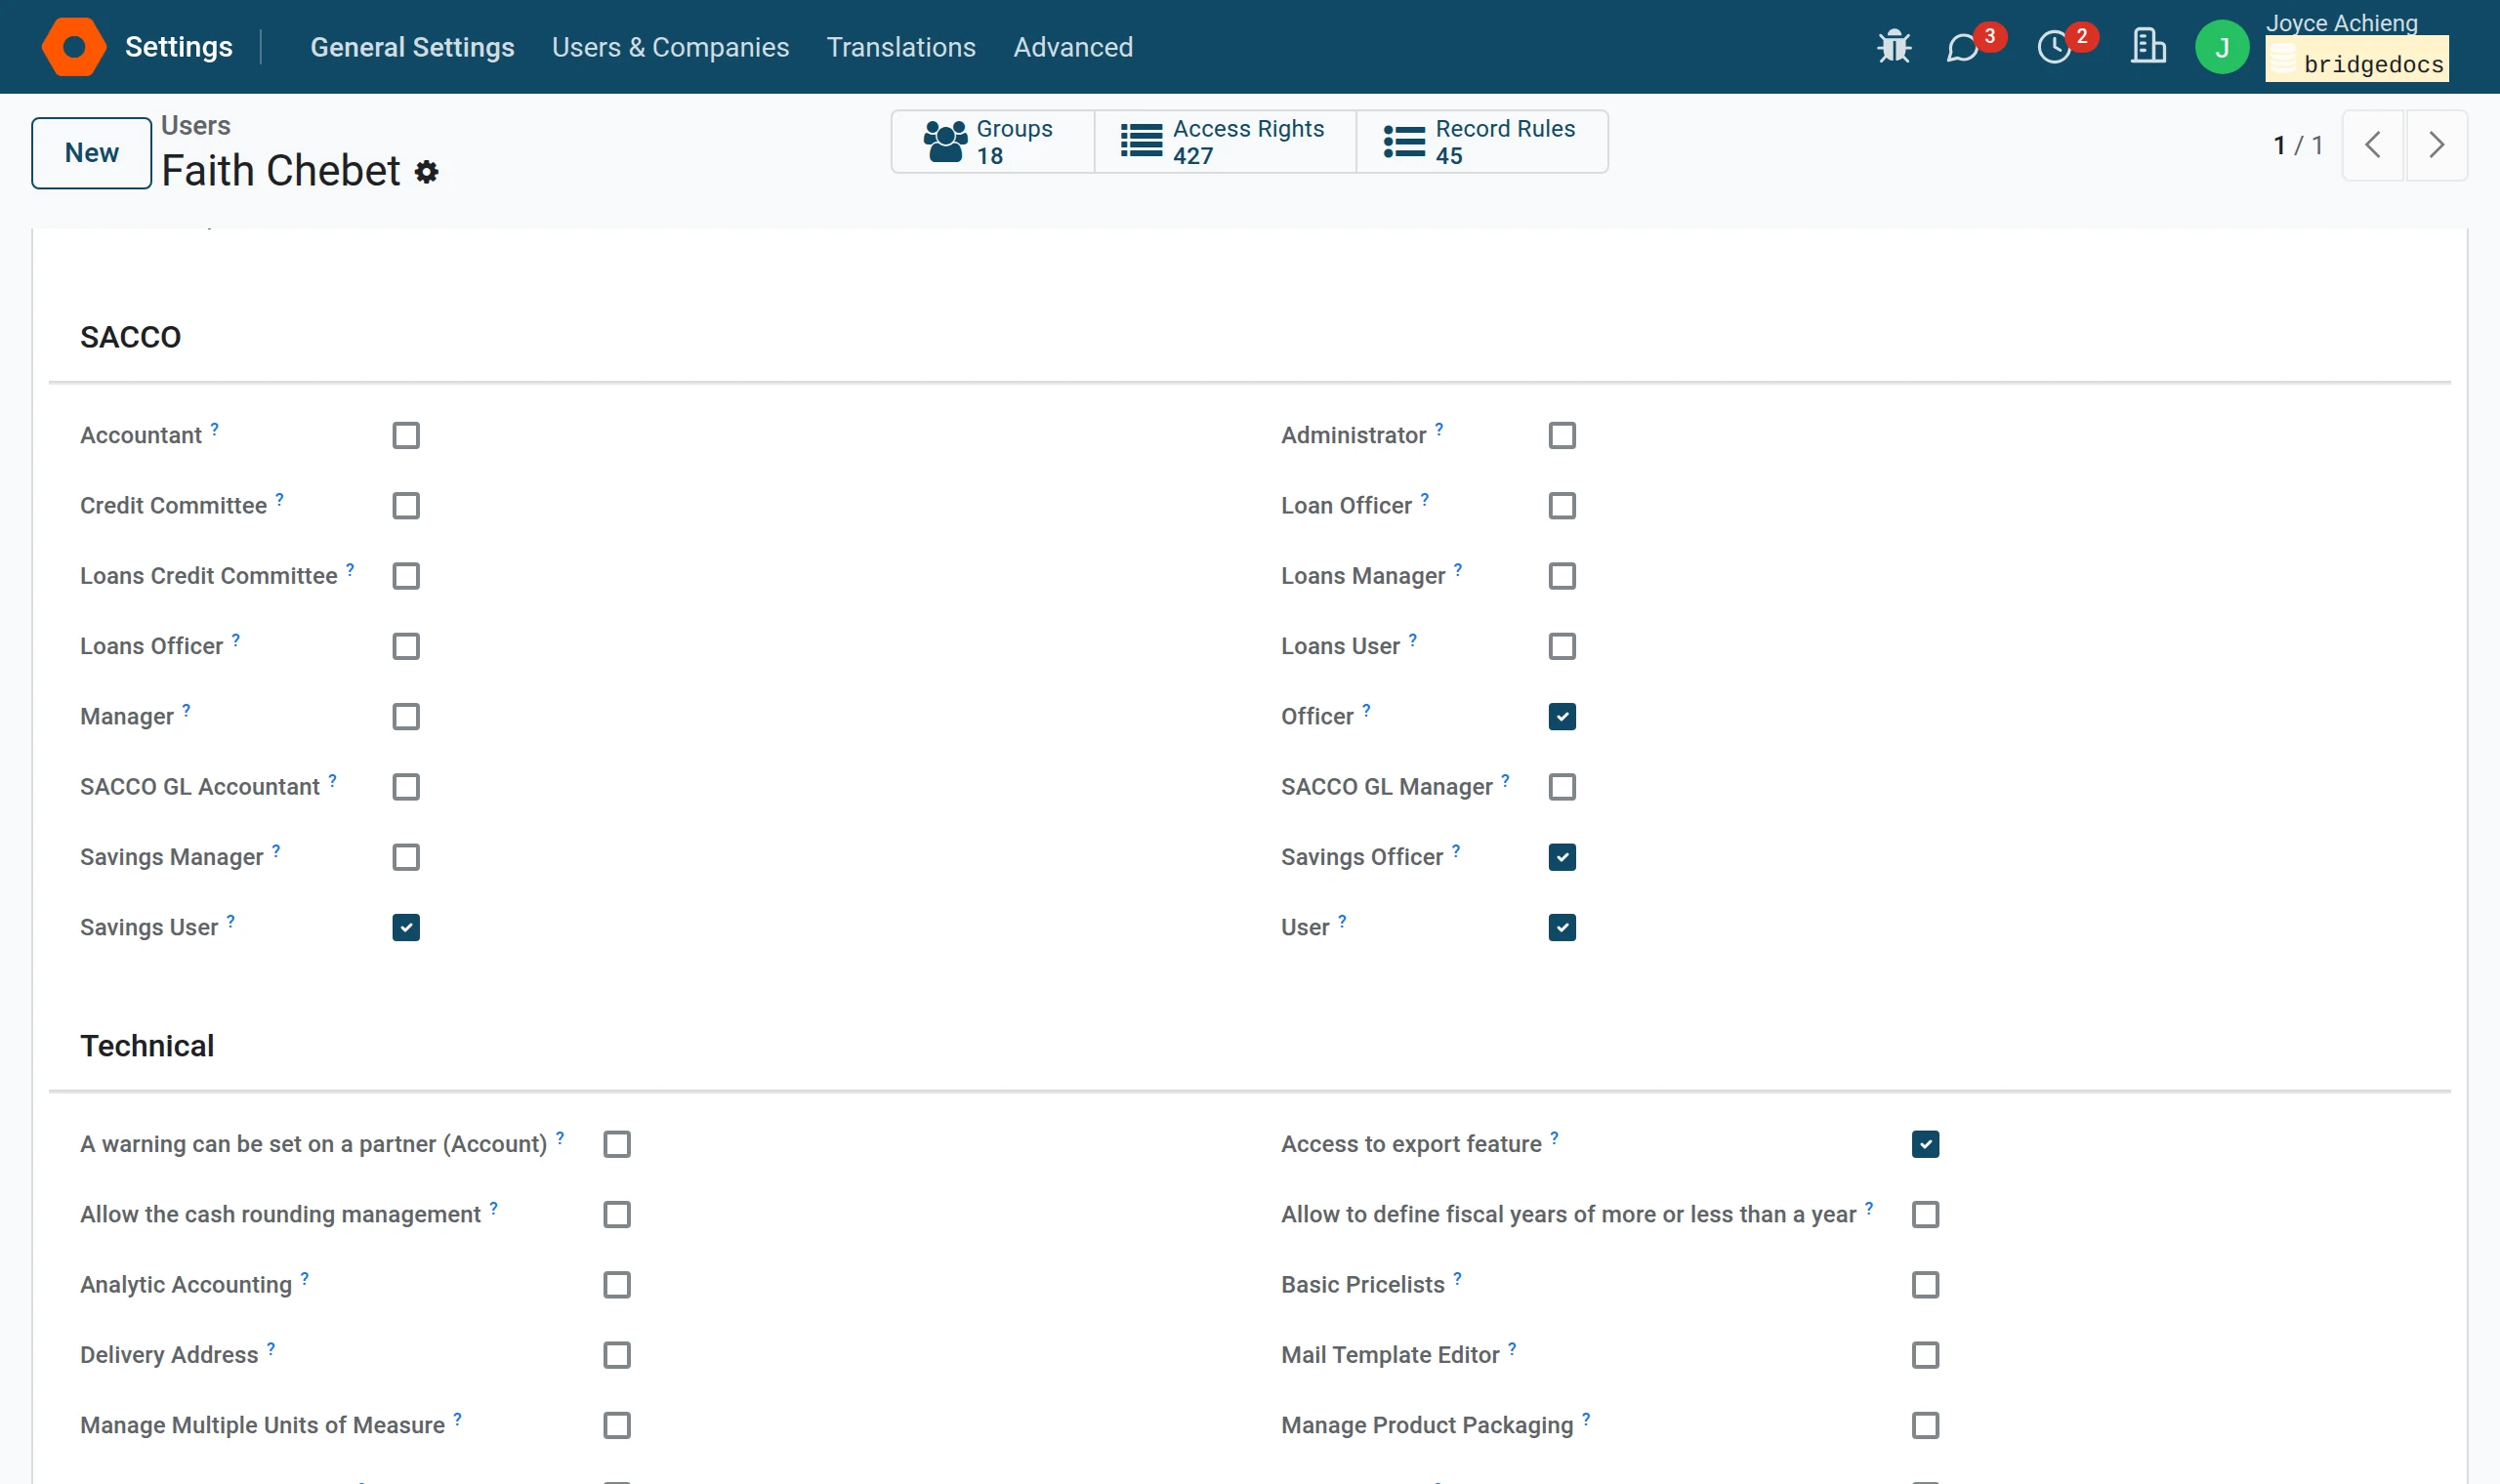
A role that includes another ticks it for you when you save: tick Savings Officer and Officer, Savings User and User come with it.
Add a member of staff
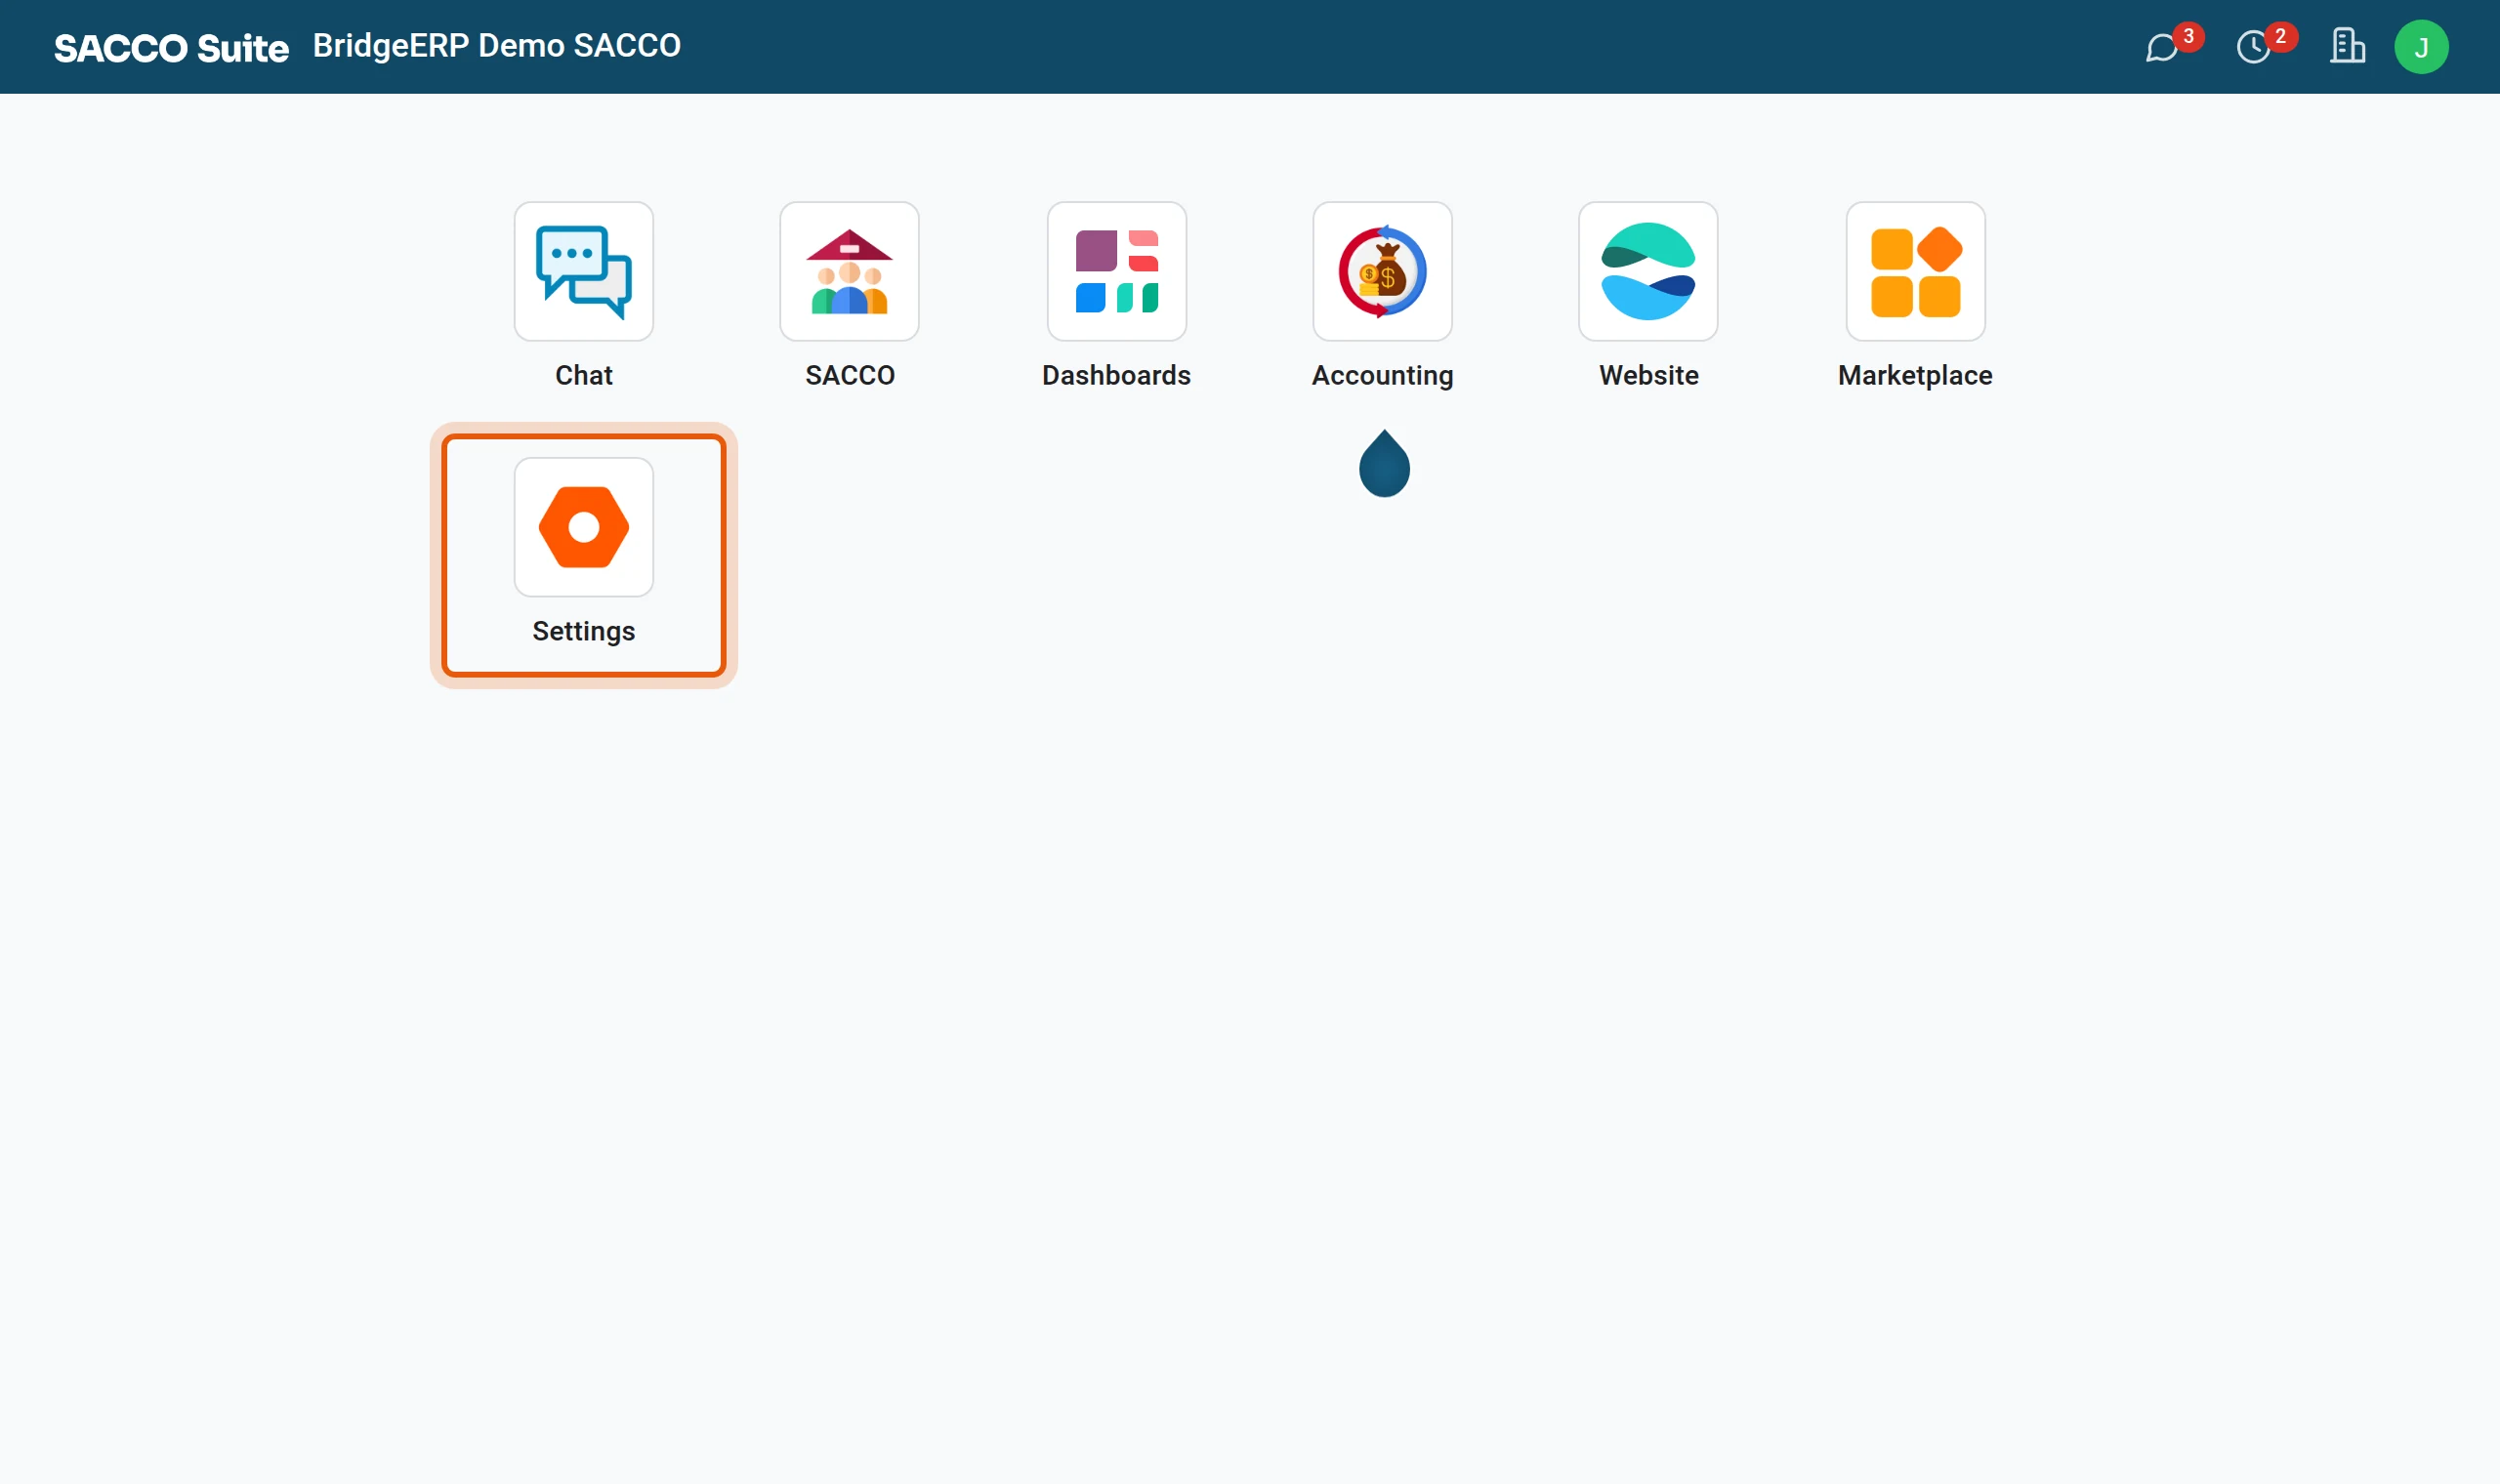
1Open the Settings app
From the home screen open Settings. (This is the system’s own Settings app, not the Configuration menu of the SACCO app.)
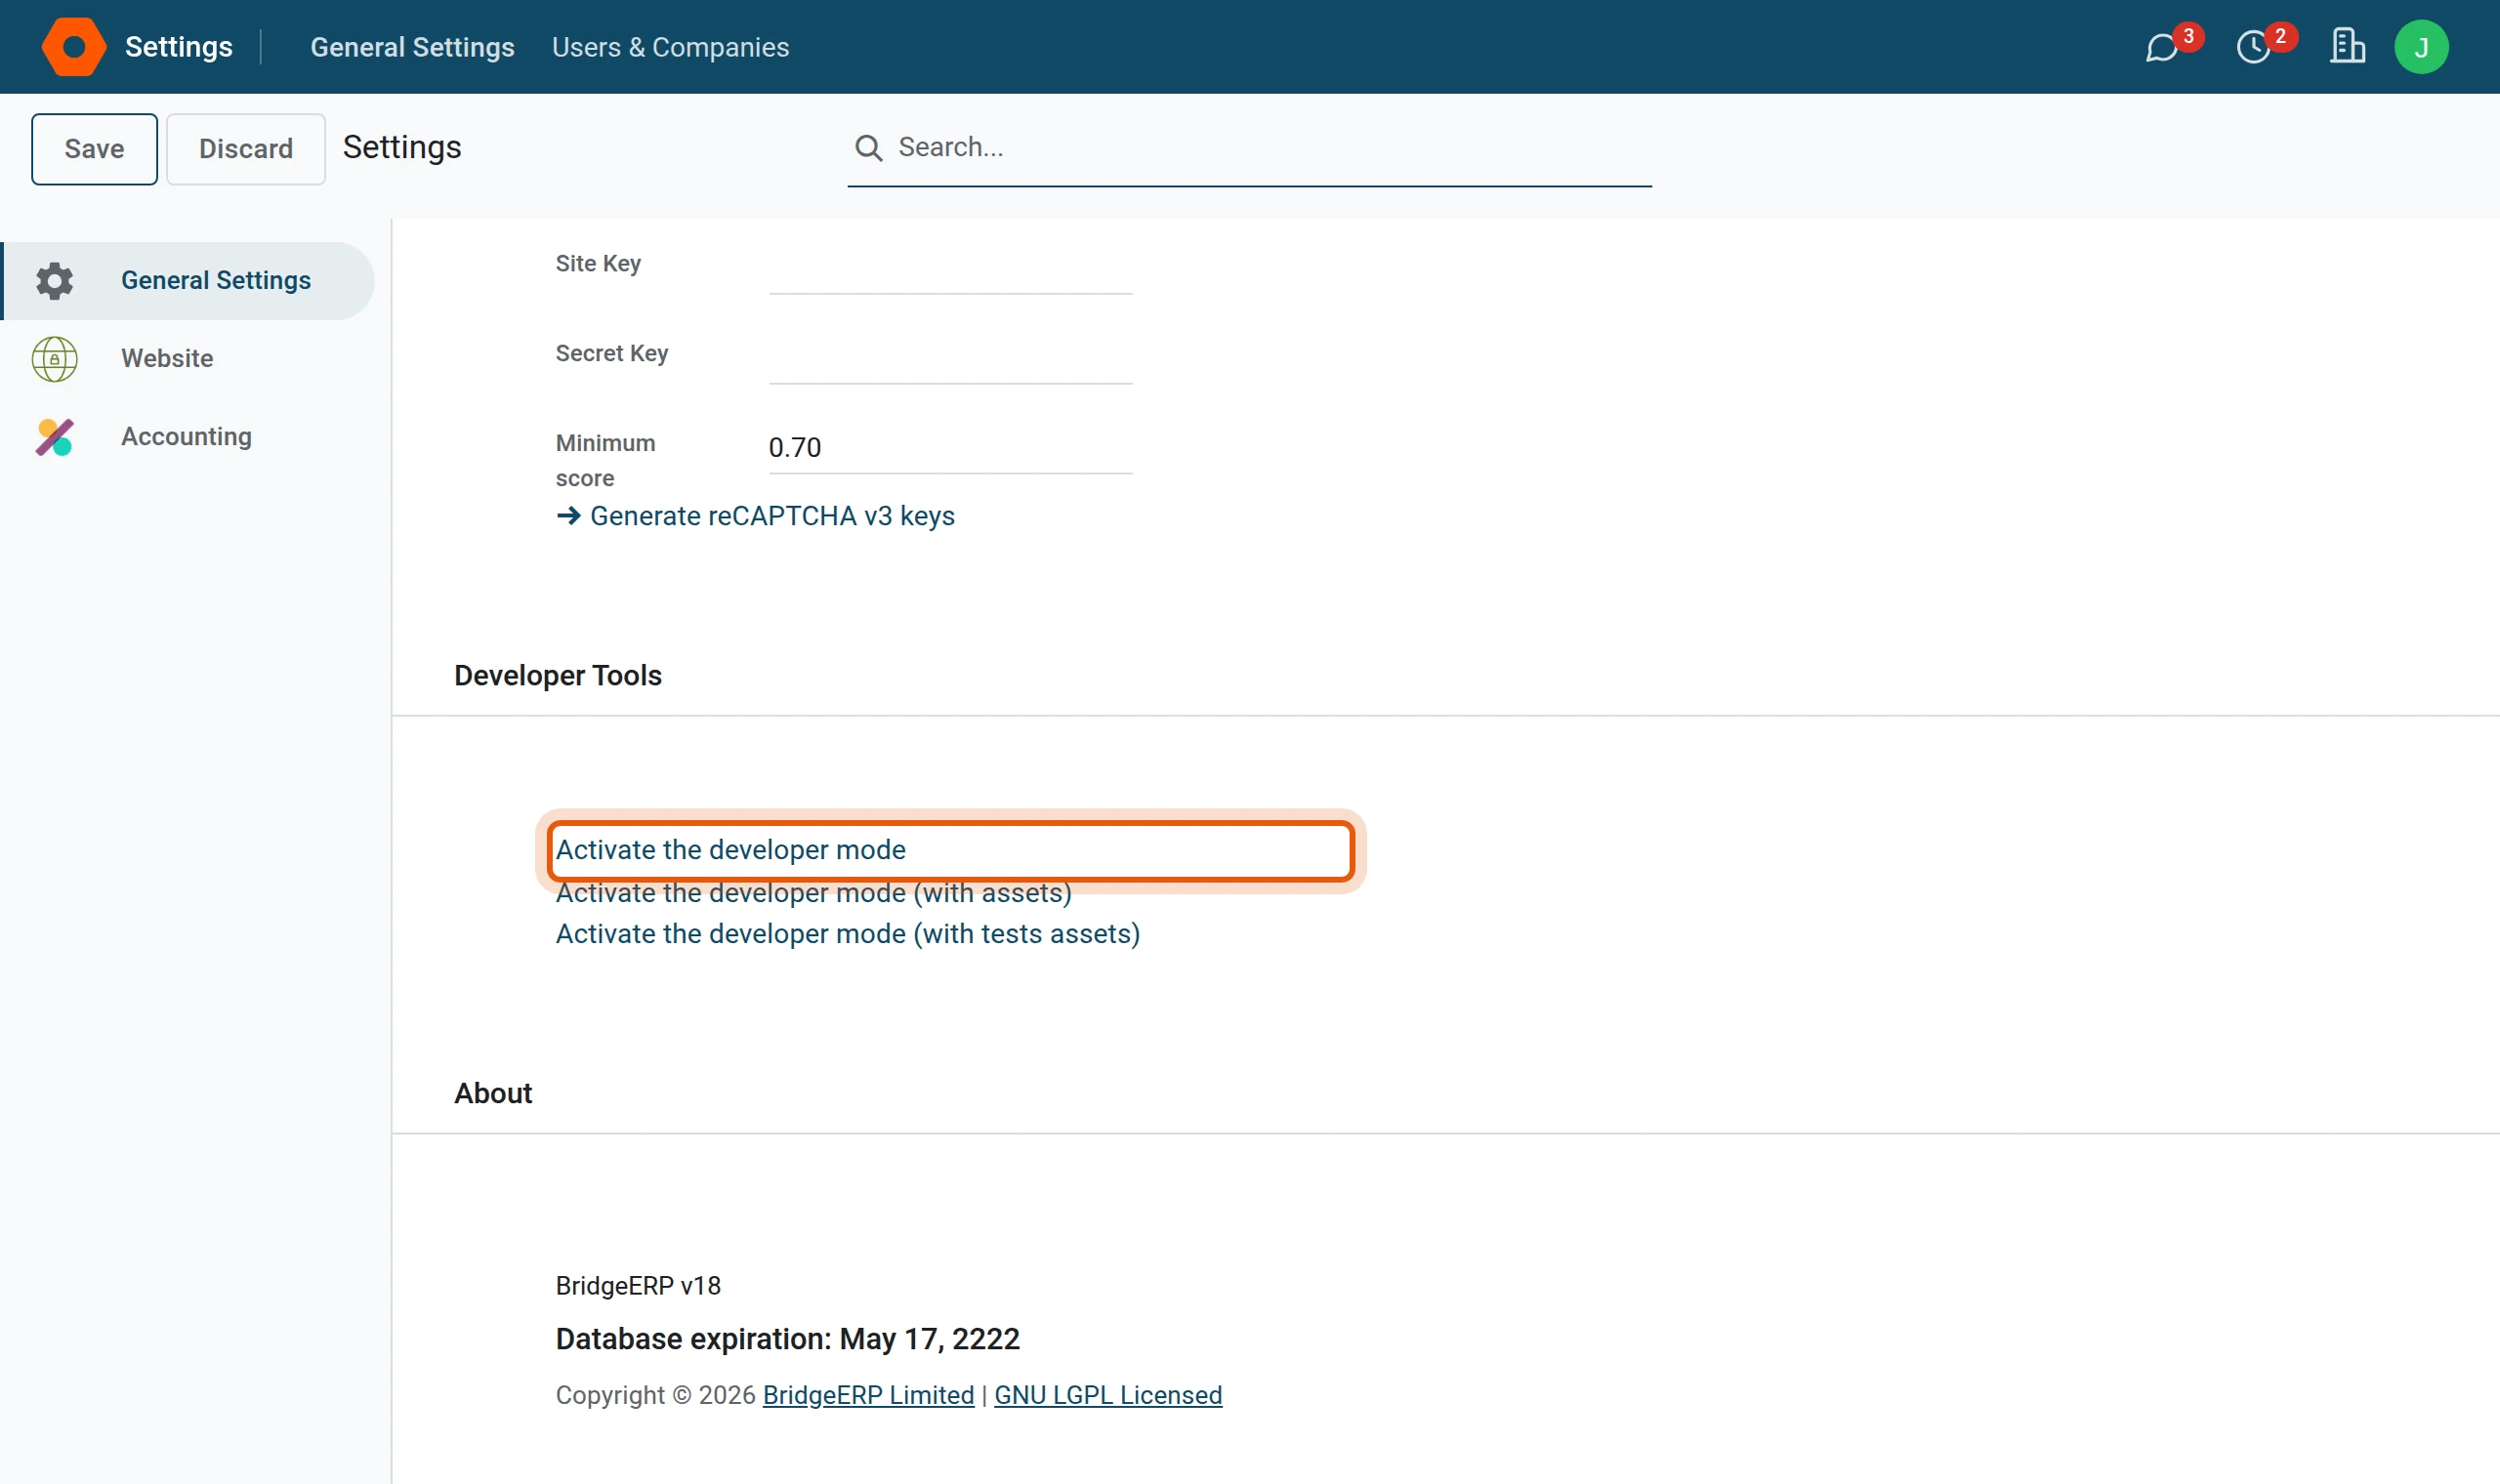
2Turn on the developer mode
Scroll to the bottom of the settings page and click Activate the developer mode under Developer Tools. The SACCO roles are tick boxes, and the user form shows tick-box rights only in this mode.
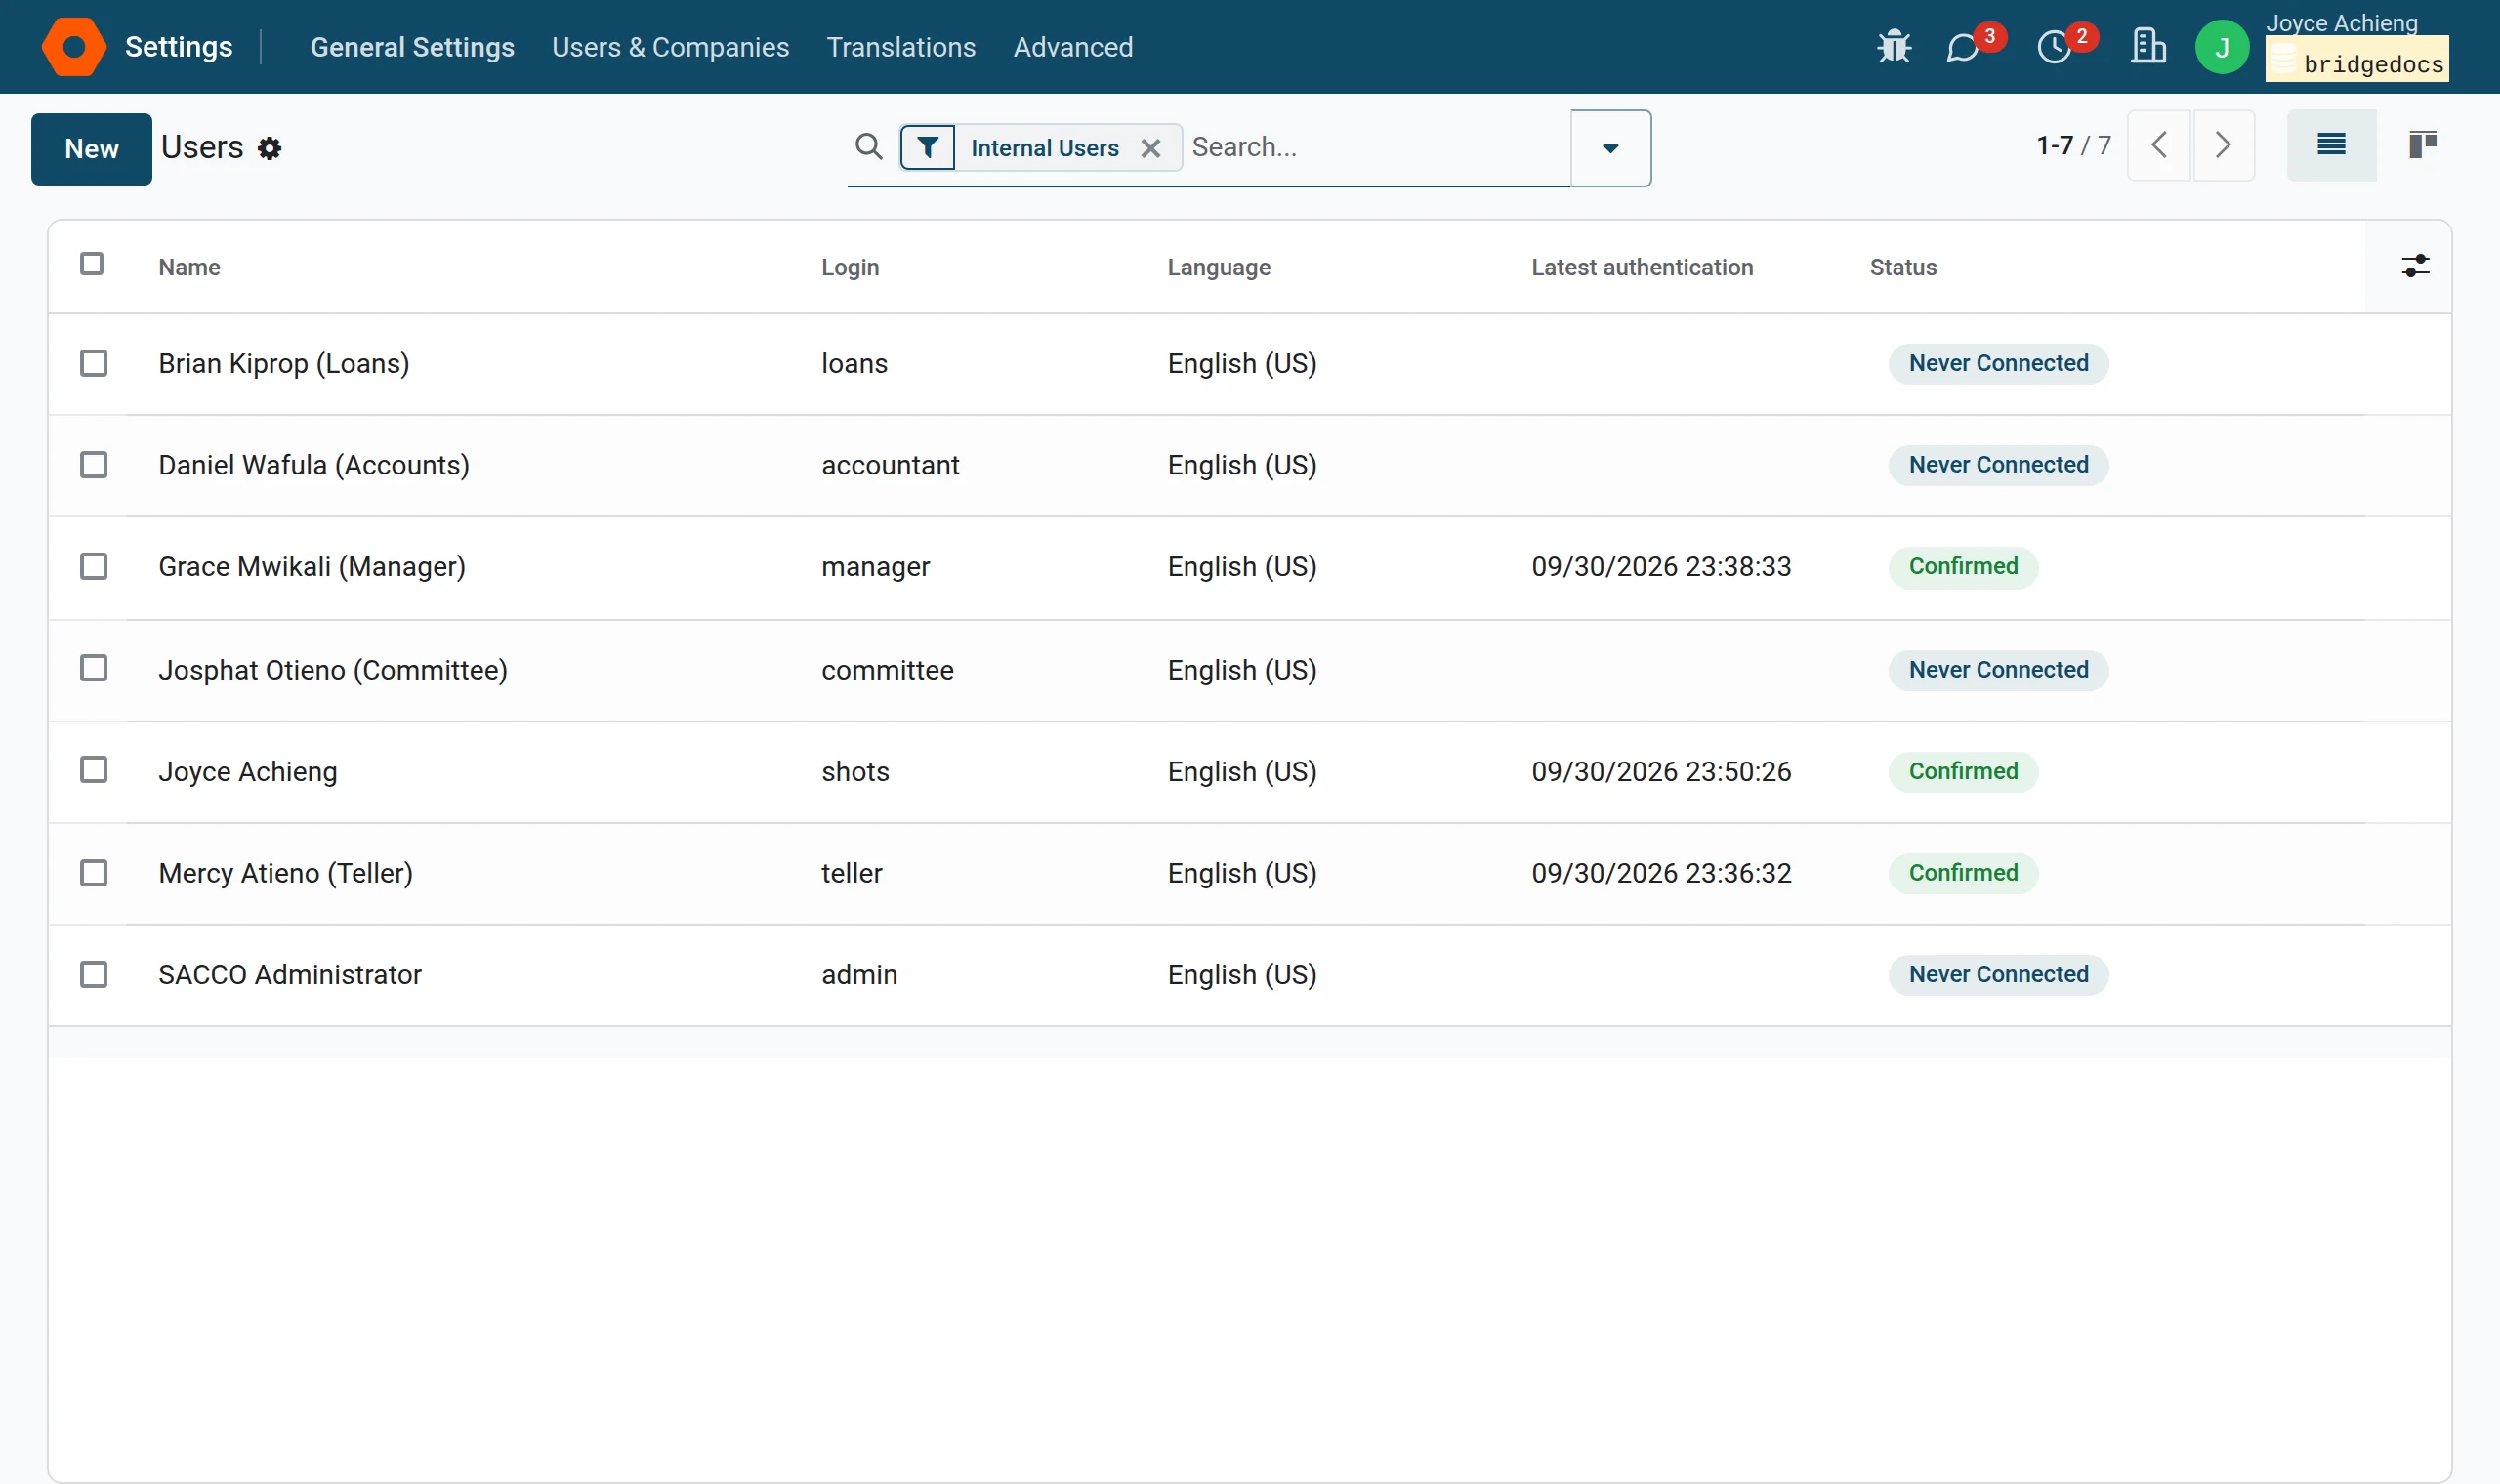
3Open the users
In the menu bar open . The list shows every person who can sign in.
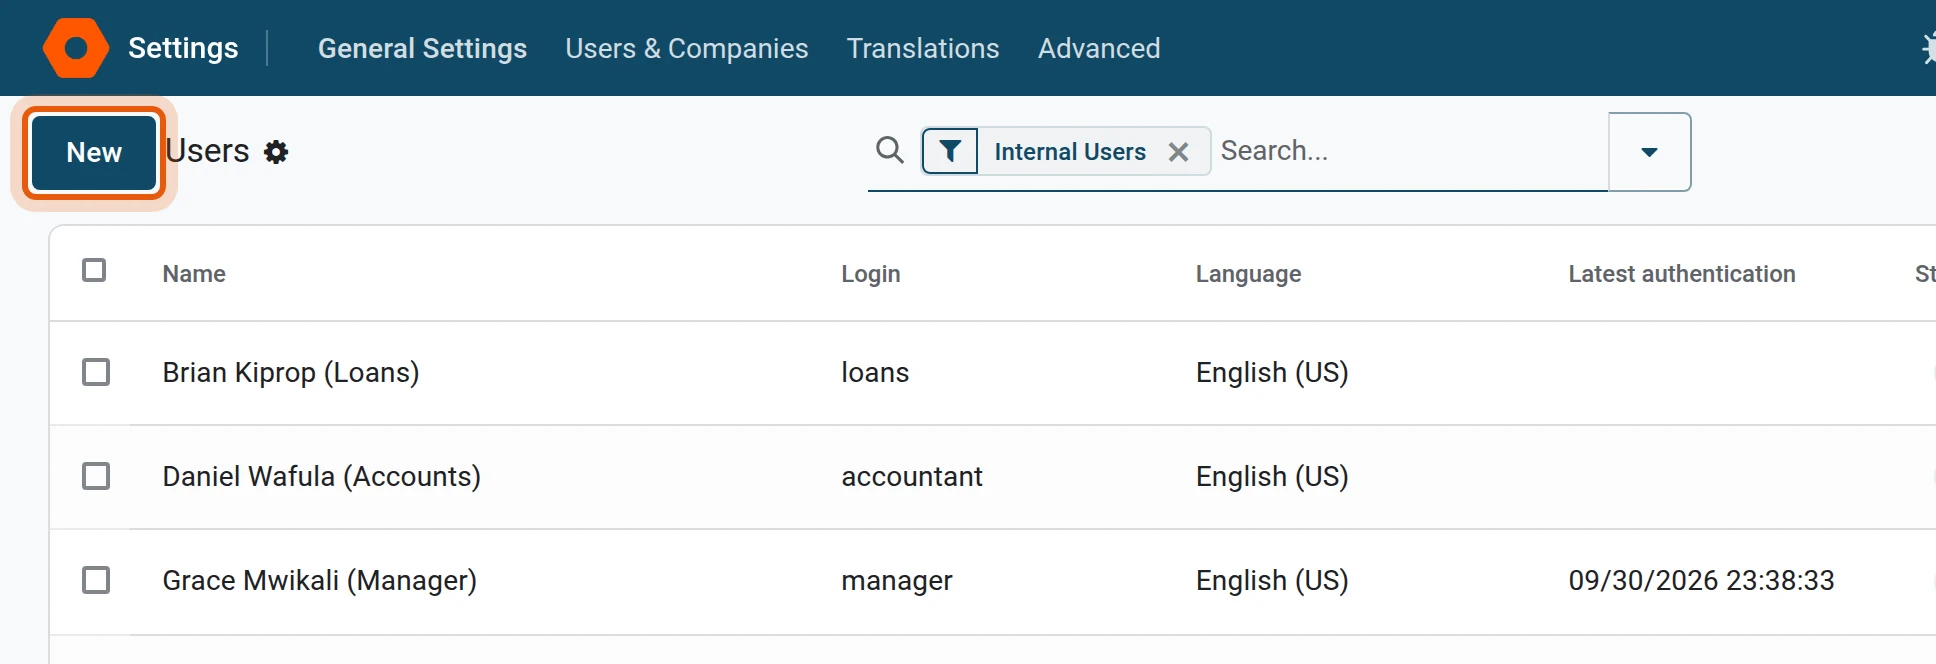
4Press New
Press New.
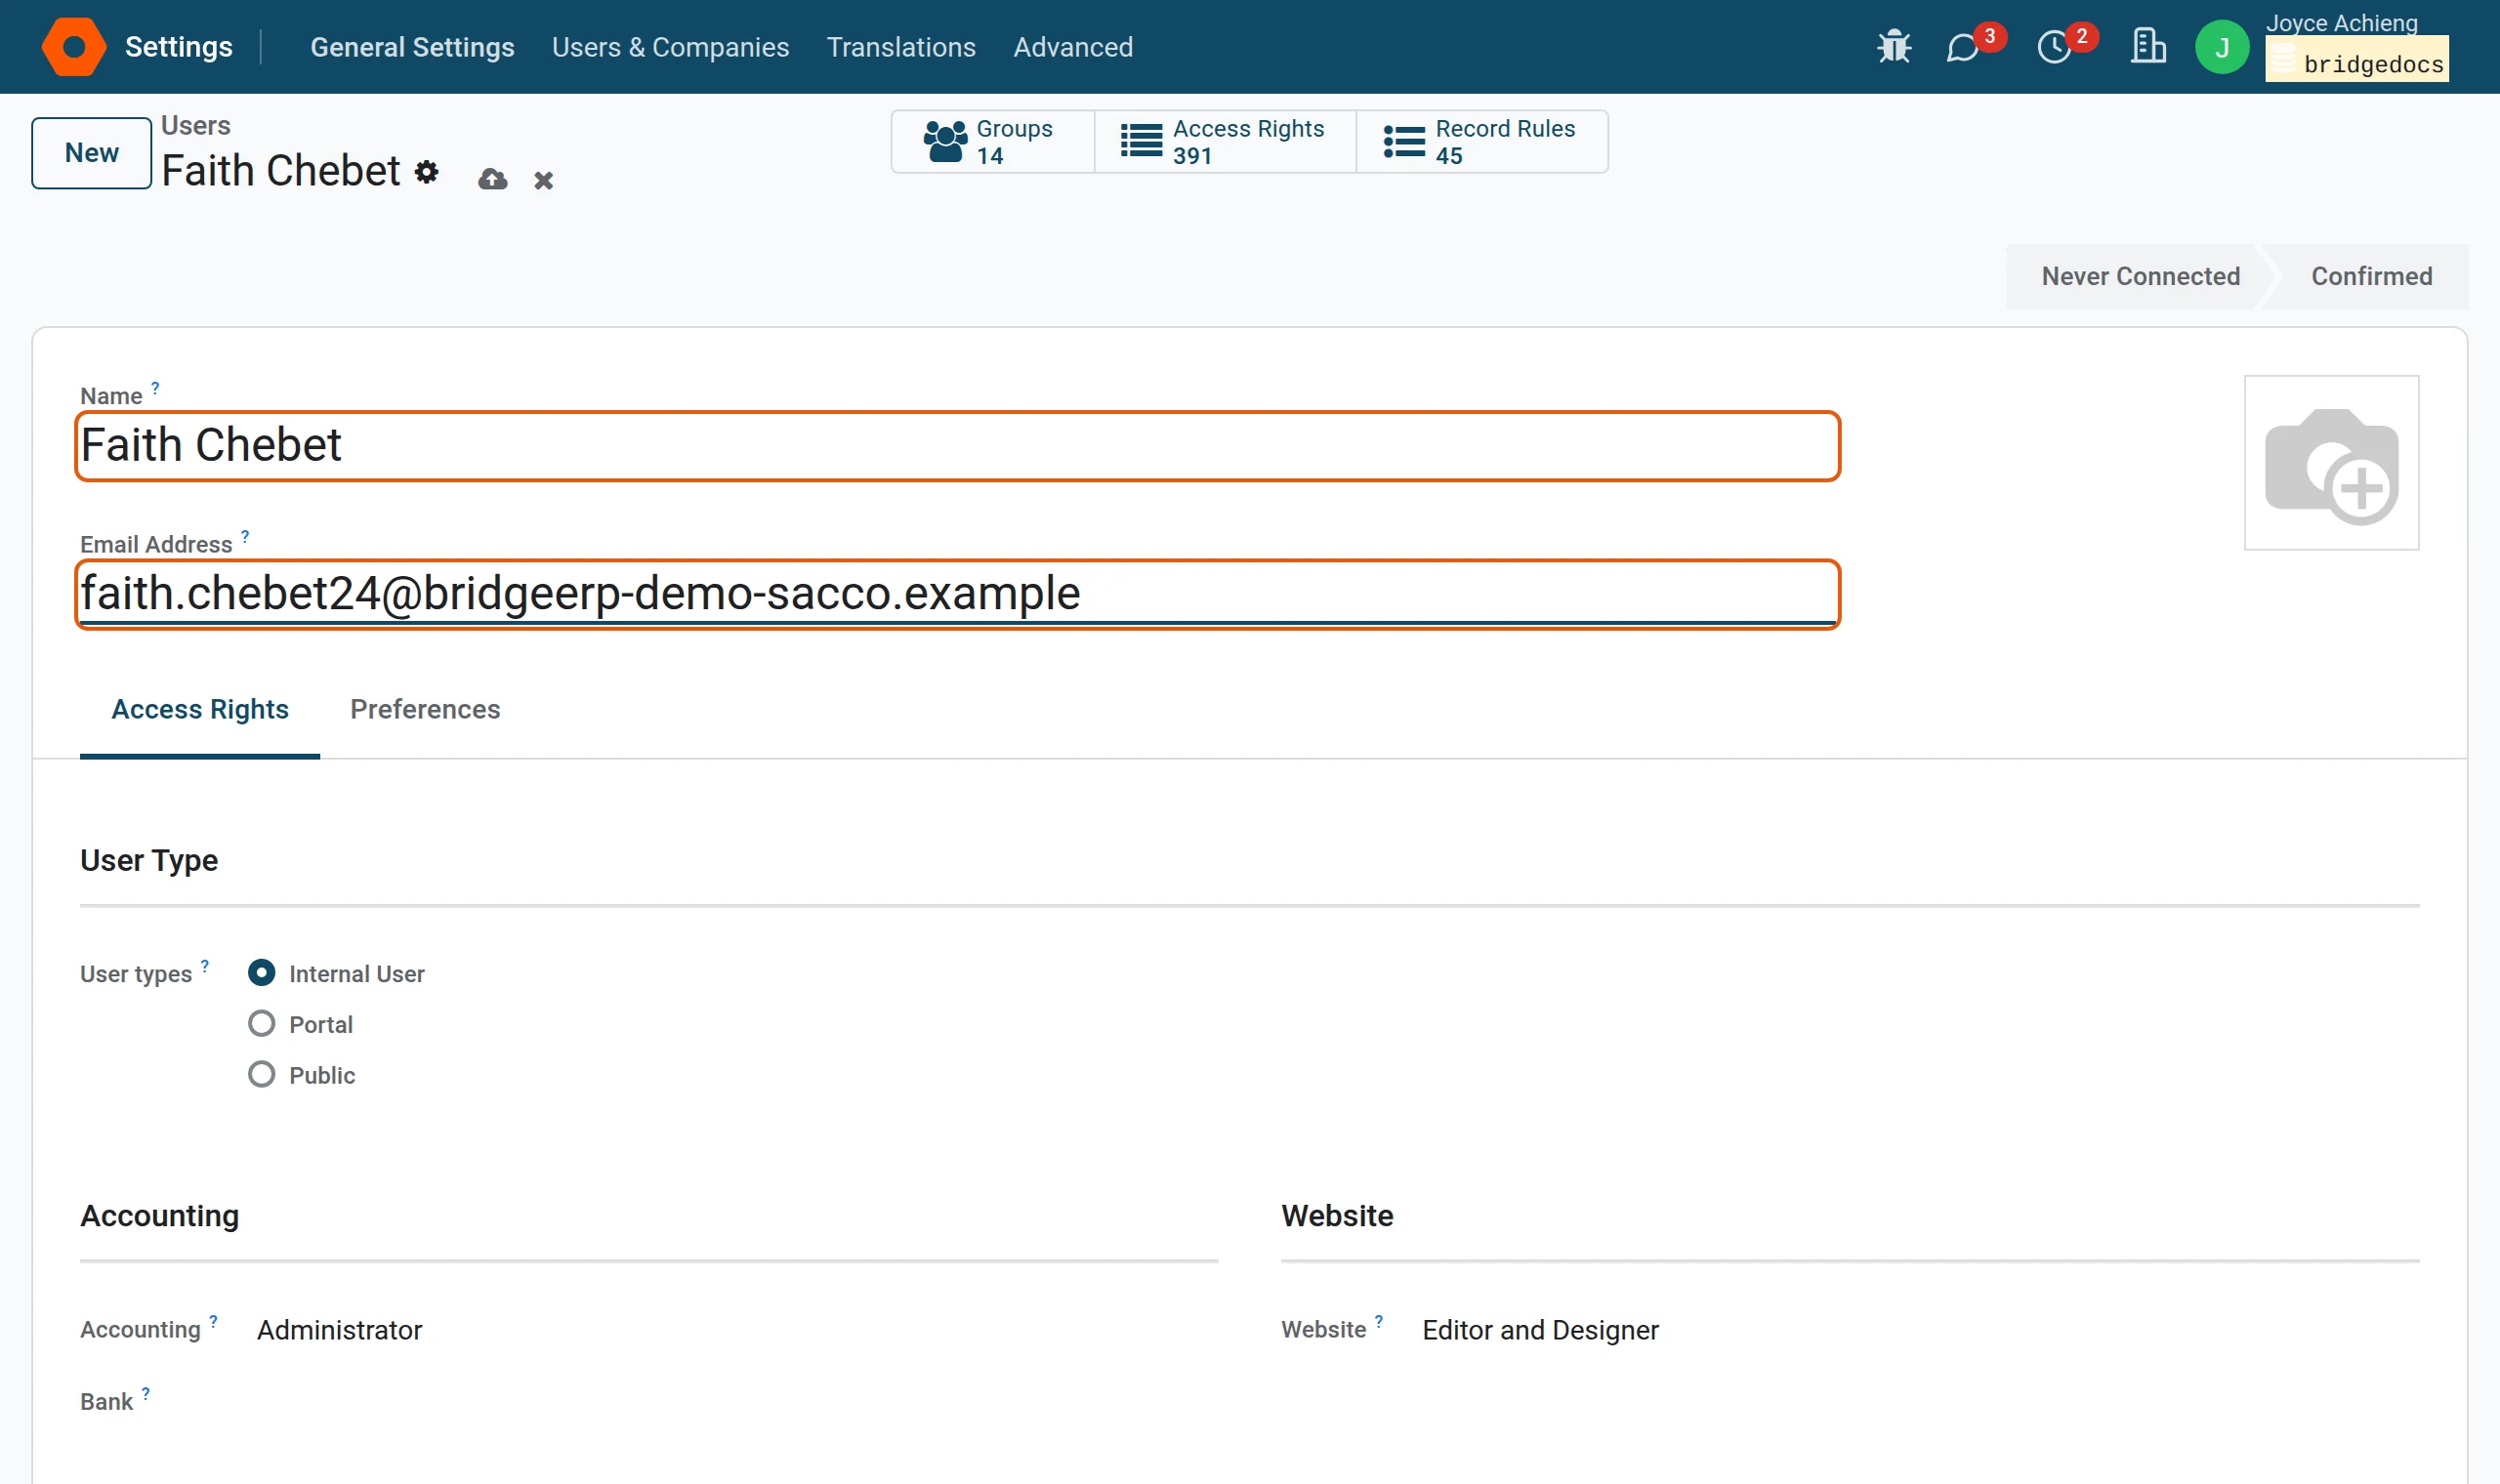
5Type the name and the email
Type the person’s full name and their Email Address. The email is what they sign in with, and where the invitation goes.
6Tick the roles
On the Access Rights tab scroll to the SACCO heading and tick the roles for the job. For a teller: Officer and Savings Officer.
7Save
Press the save icon next to the title. The person receives an email with a link to choose a password, the same way a member does. The status at the top right turns from Never Connected to Confirmed after their first sign-in.
Change what a person may do
With the developer mode on, open the user from the same list, tick or untick roles on the Access Rights tab and save. The change applies the next time the person opens a screen; ask them to reload the page.
A forgotten password
The person presses Reset Password on the sign-in page and types their email; a link arrives by email. You can also open the user and press Send Password Reset Instructions.
When someone leaves
Open the user, open the gear menu next to the name and press Archive. The person can no longer sign in; everything they recorded keeps their name. Do not delete users.
Good practice
- One user per person. Never share a login: the history under every record names who did what.
- Give the lowest role that does the job. Managers approve; officers record.
- The person who records a withdrawal, a loan or a cash movement should not be the one who approves it.
- Review the list of users every quarter and archive those who left.
See also
- Give a member portal access (members are not staff users)