

A first look around
Five minutes on how the screens work saves hours later. Every SACCO screen is built from the same few parts: the menu bar, lists, forms, the search bar and the record history.
The home screen and the SACCO app
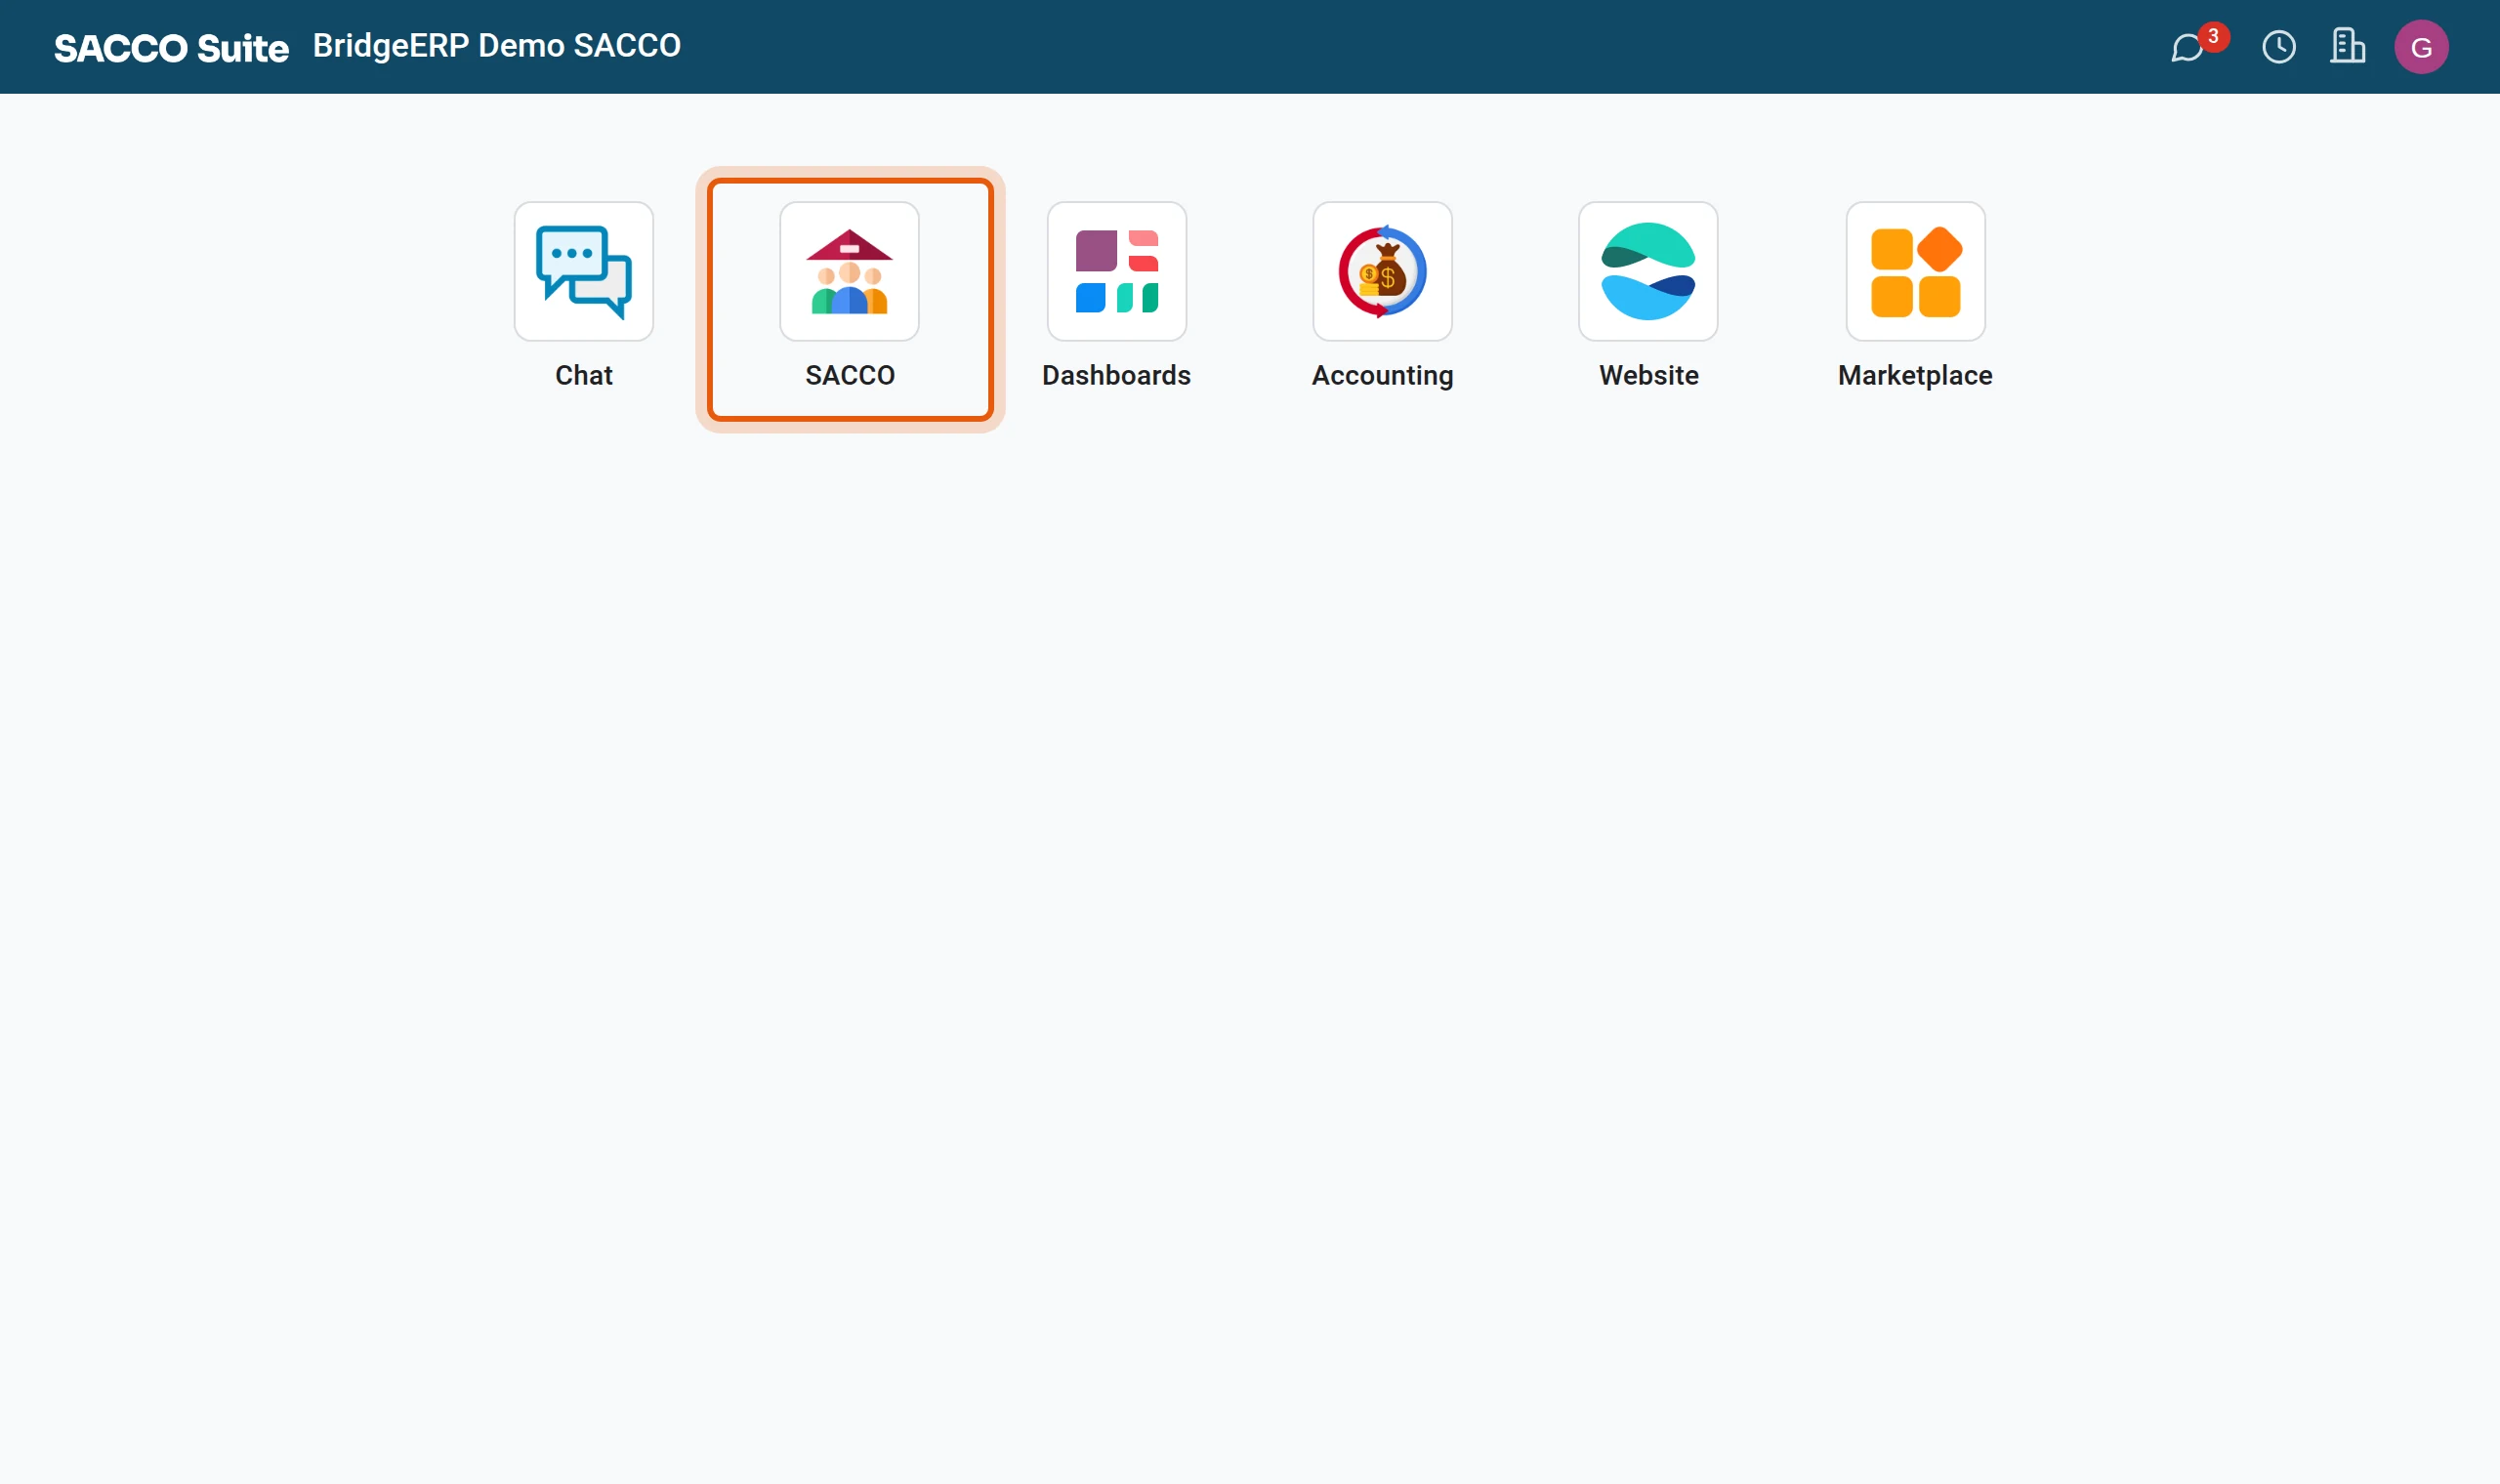
1Open the SACCO app
After signing in you see the home screen with one icon per app. Click SACCO. From anywhere, the grid icon at the top left brings you back here.
2The dashboard opens first
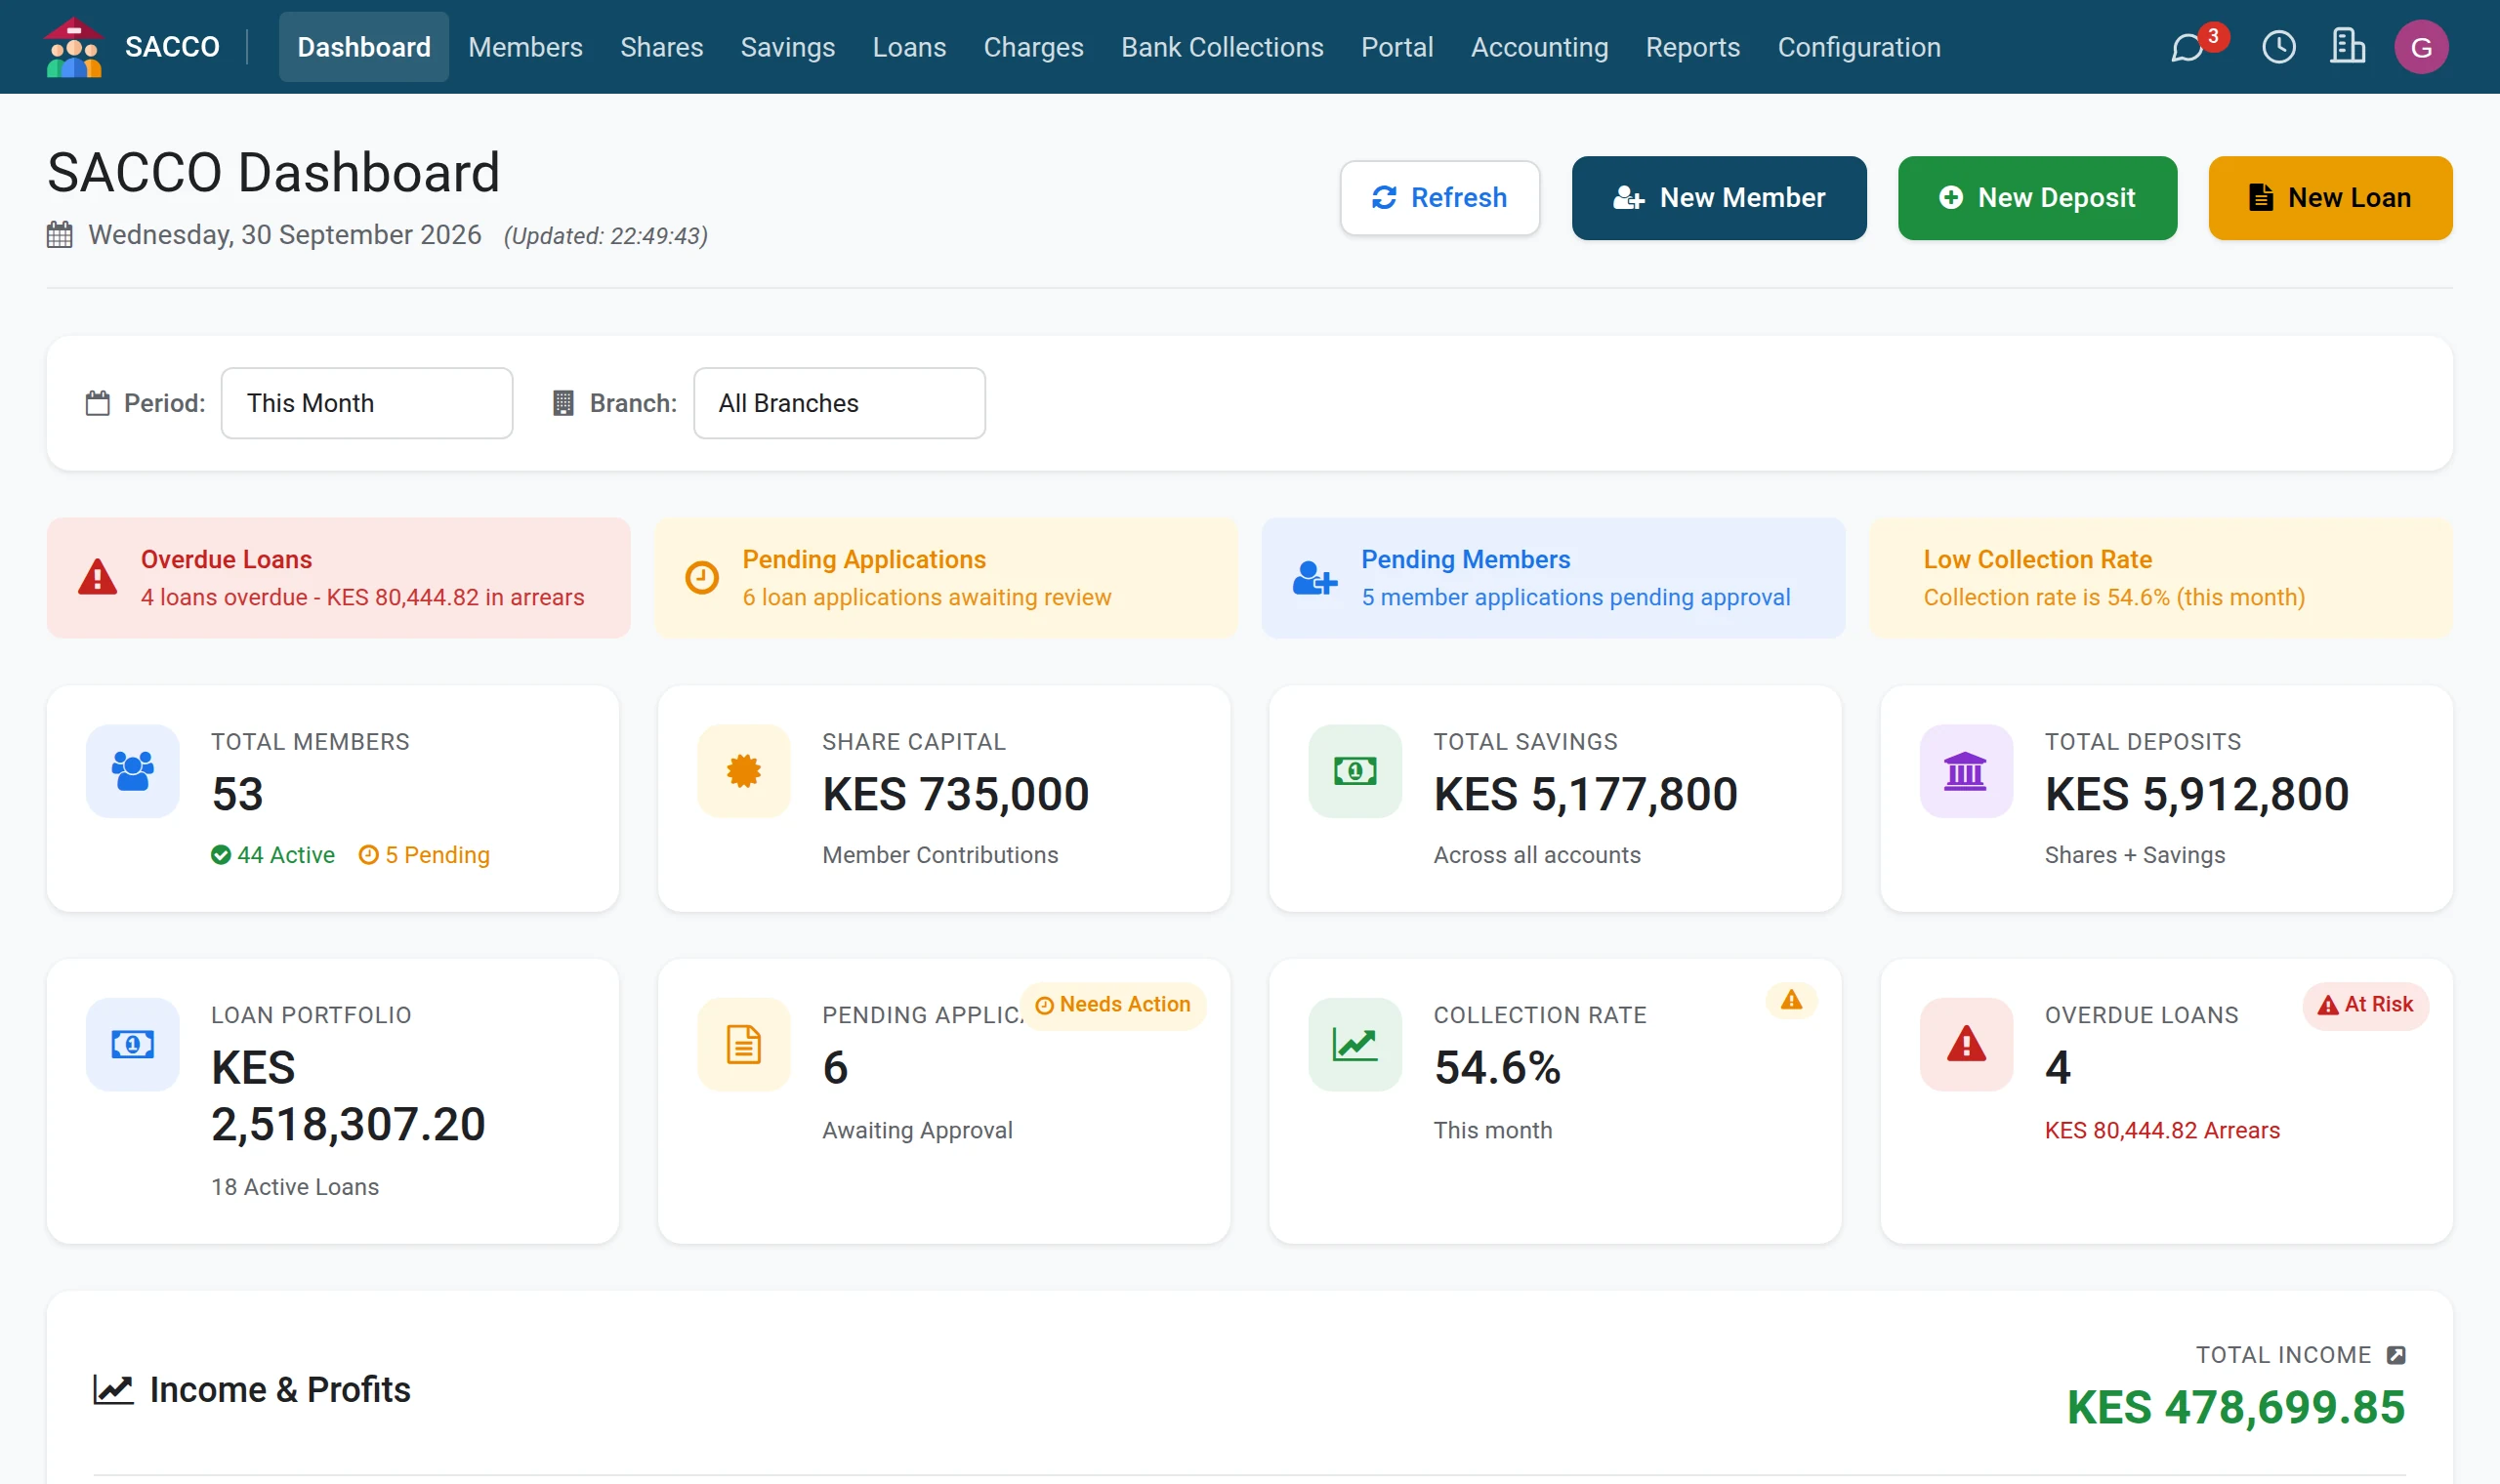
The SACCO app opens on the dashboard: the day’s alerts, the key figures and recent activity. It is explained in the dashboard.
The menus
The bar across the top holds the eleven SACCO menus. An entry appears only when its app is installed and your role allows it.

| Menu | What you find there |
|---|---|
| Dashboard | Today at a glance |
| Members | The register, new applications and those pending approval, next of kin, employment records and businesses |
| Shares | Share transactions, the ones pending approval, and a new share purchase |
| Savings | Accounts, deposits and withdrawals, quick deposit and withdrawal forms, the savings products |
| Loans | Applications, the loan book, repayments, guarantors, repayment schedules, the loan products |
| Charges | Member charges, billing members, payments received |
| Bank Collections | Co-op Bank payments: all of them, those to review, the statement feed and the bank’s callbacks |
| Portal | Applications made online, deposit requests from the portal, website enquiries |
| Accounting | The SACCO journal entries and the SACCO account settings |
| Reports | Member, savings, loan and financial reports |
| Configuration | Settings, Co-op Bank settings, branches, member categories, member groups and charges (administrators and managers) |
Lists: find, filter, group, export
1A list shows many records at once
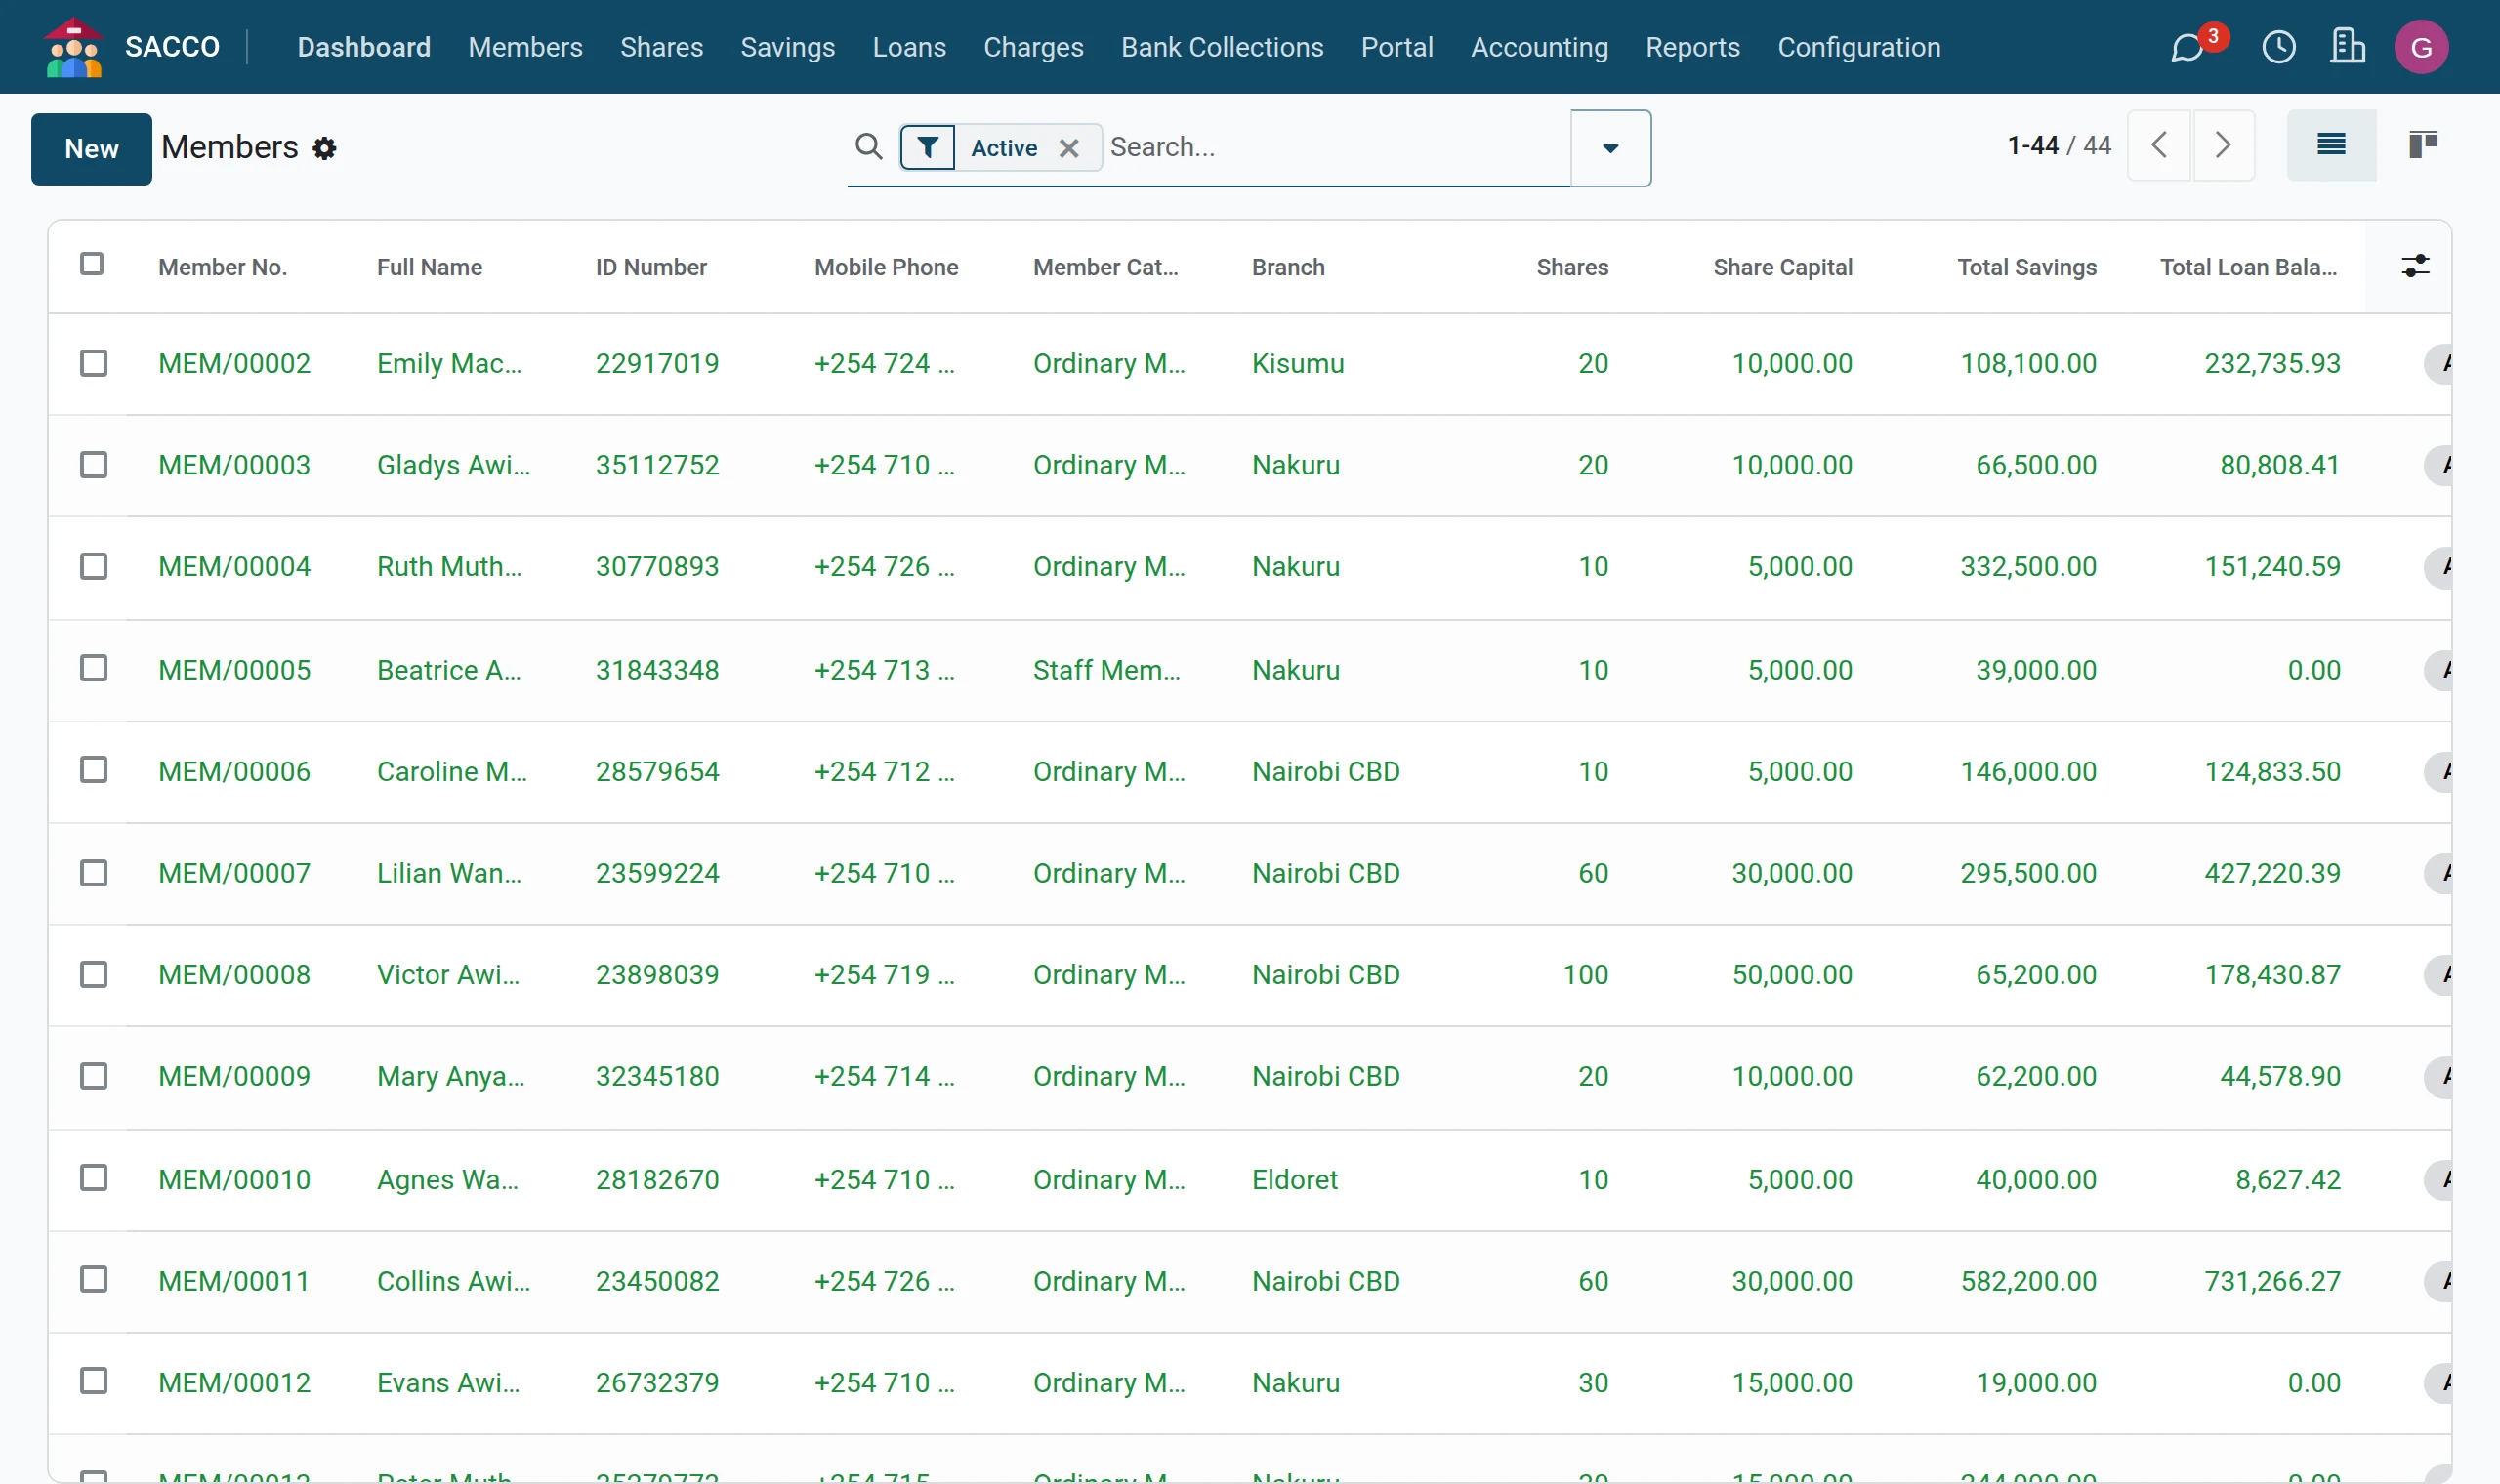
Open . Each line is one member; click a line to open it. The counter at the top right shows how many records the list holds and lets you page through them.
2Search
Type a name, a member number, an ID number or a phone number in the search bar and press Enter. The box suggests which field to search as you type.

3Filters and grouping
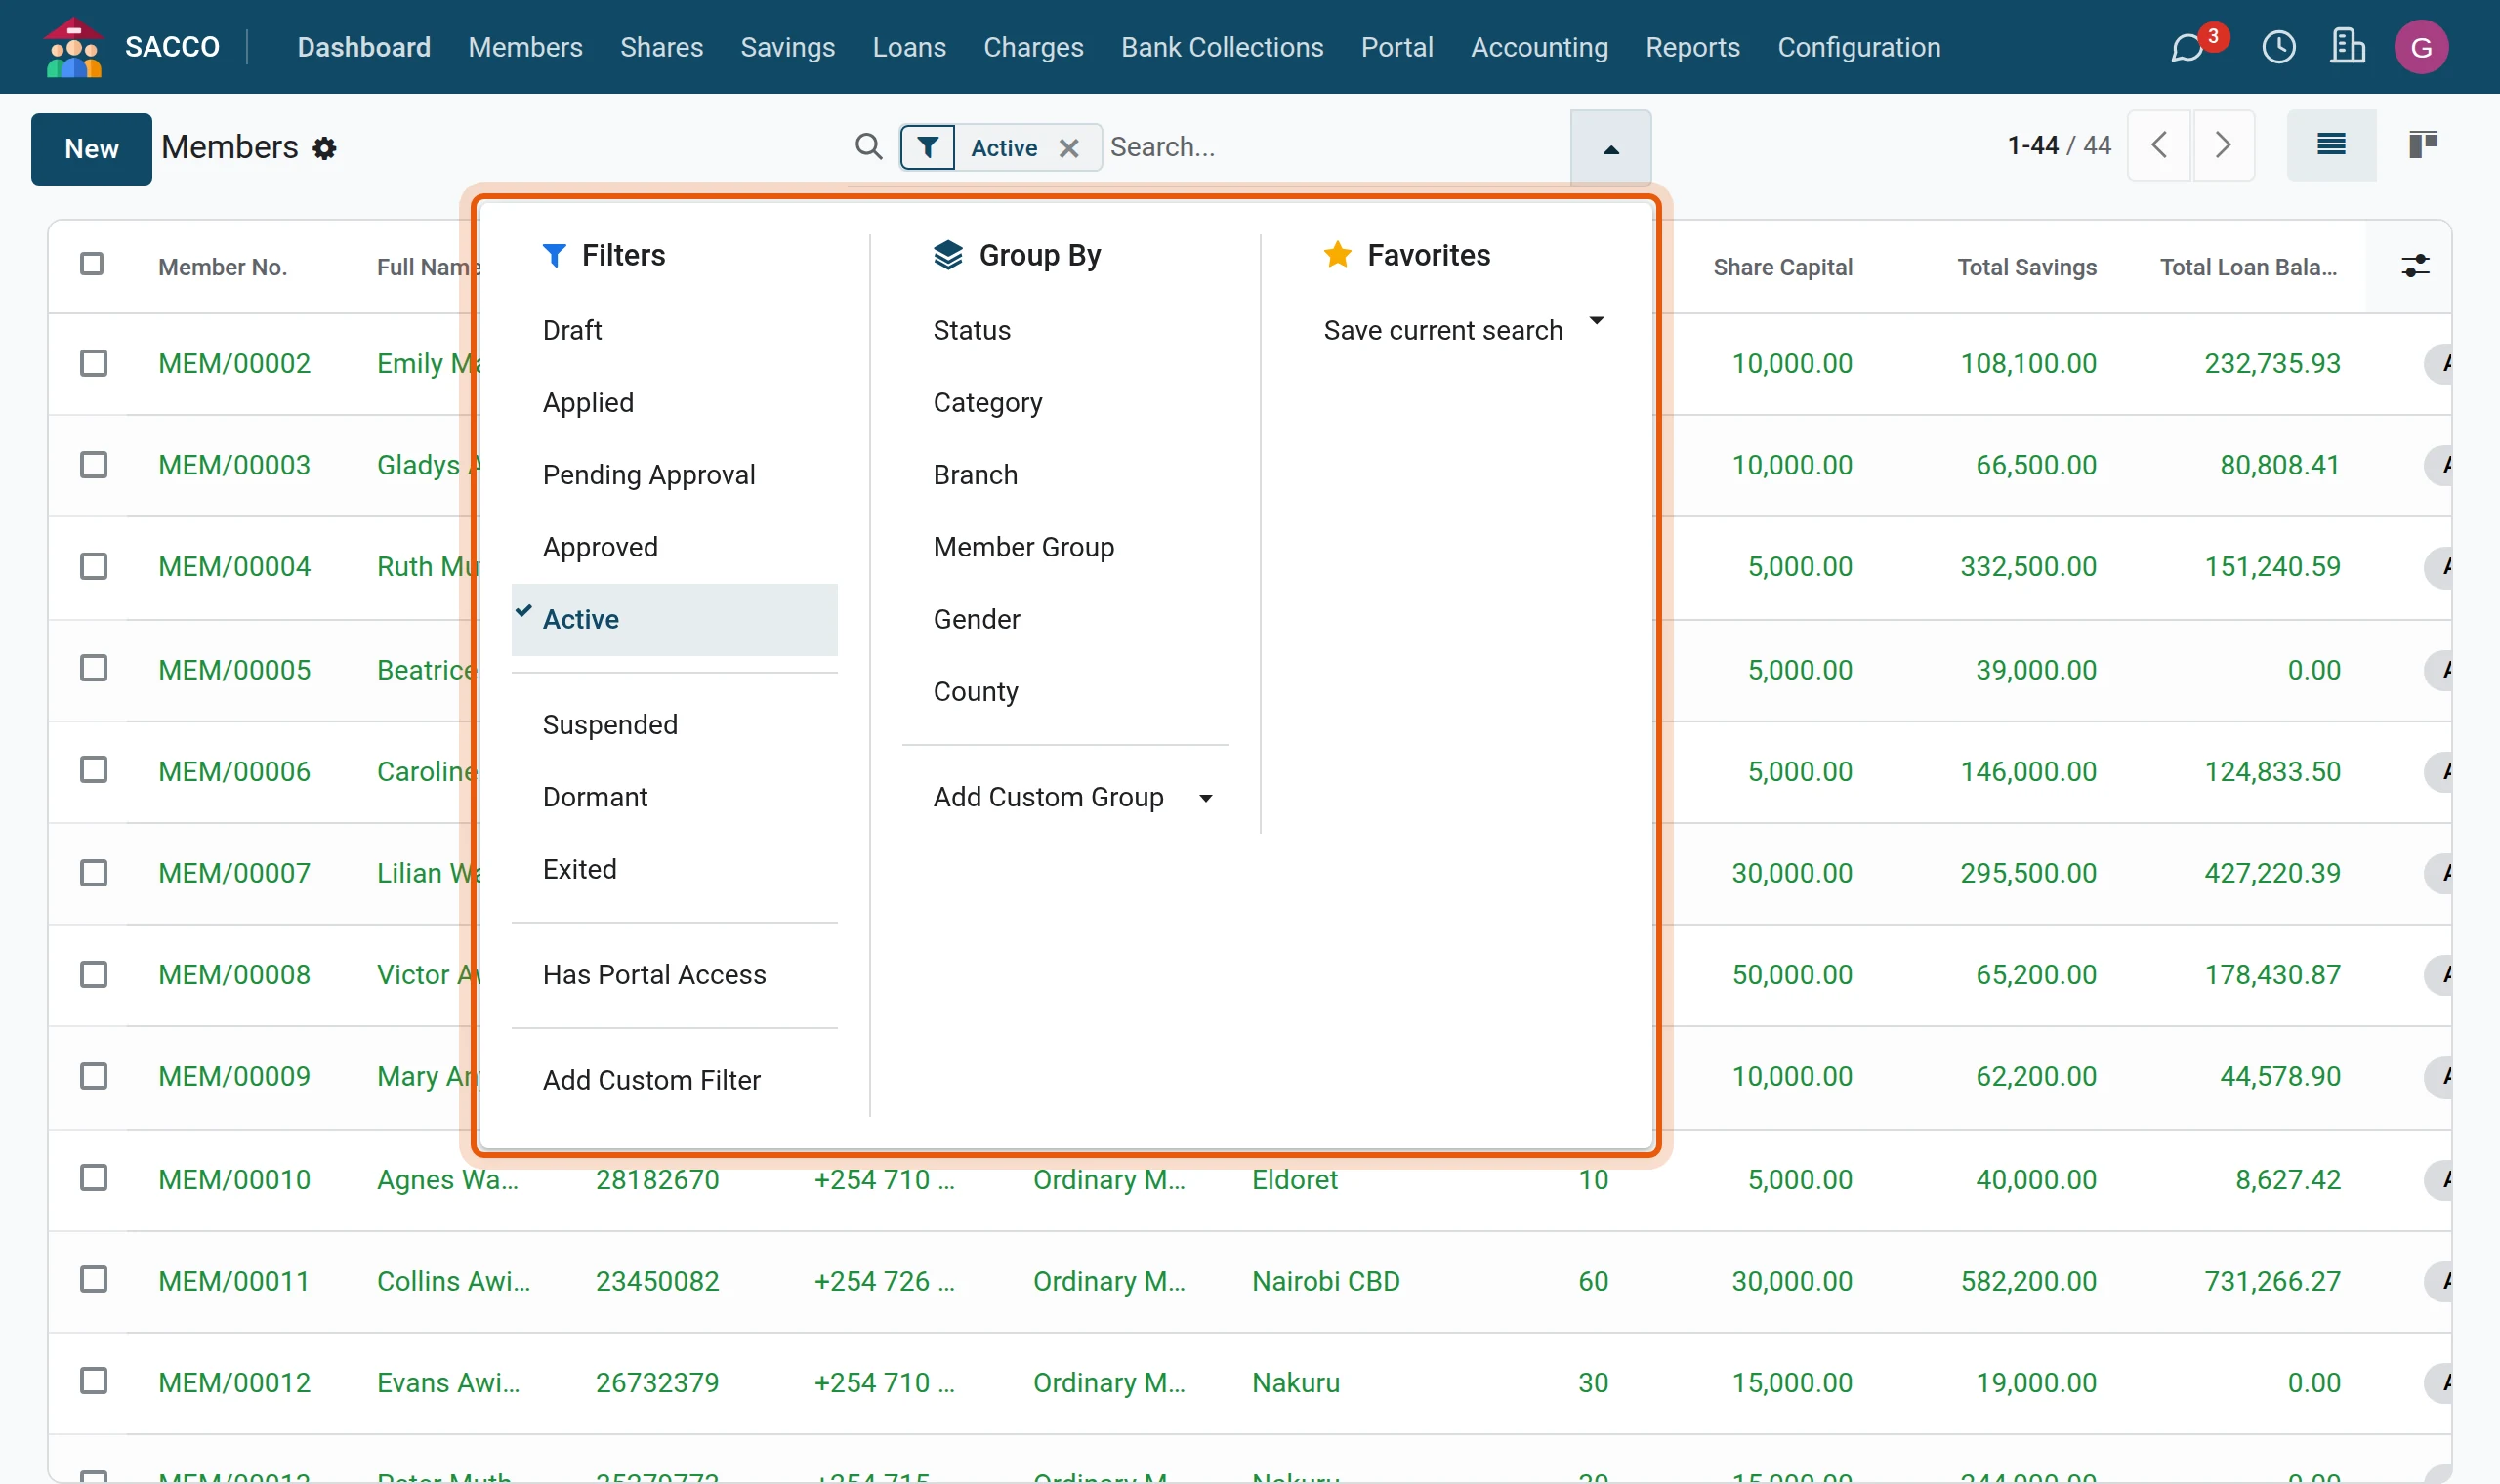
Click the small arrow at the right of the search bar. Filters narrow the list (for example only suspended members); Group By folds it into groups (by branch, category, status); Favorites saves a search you use often.
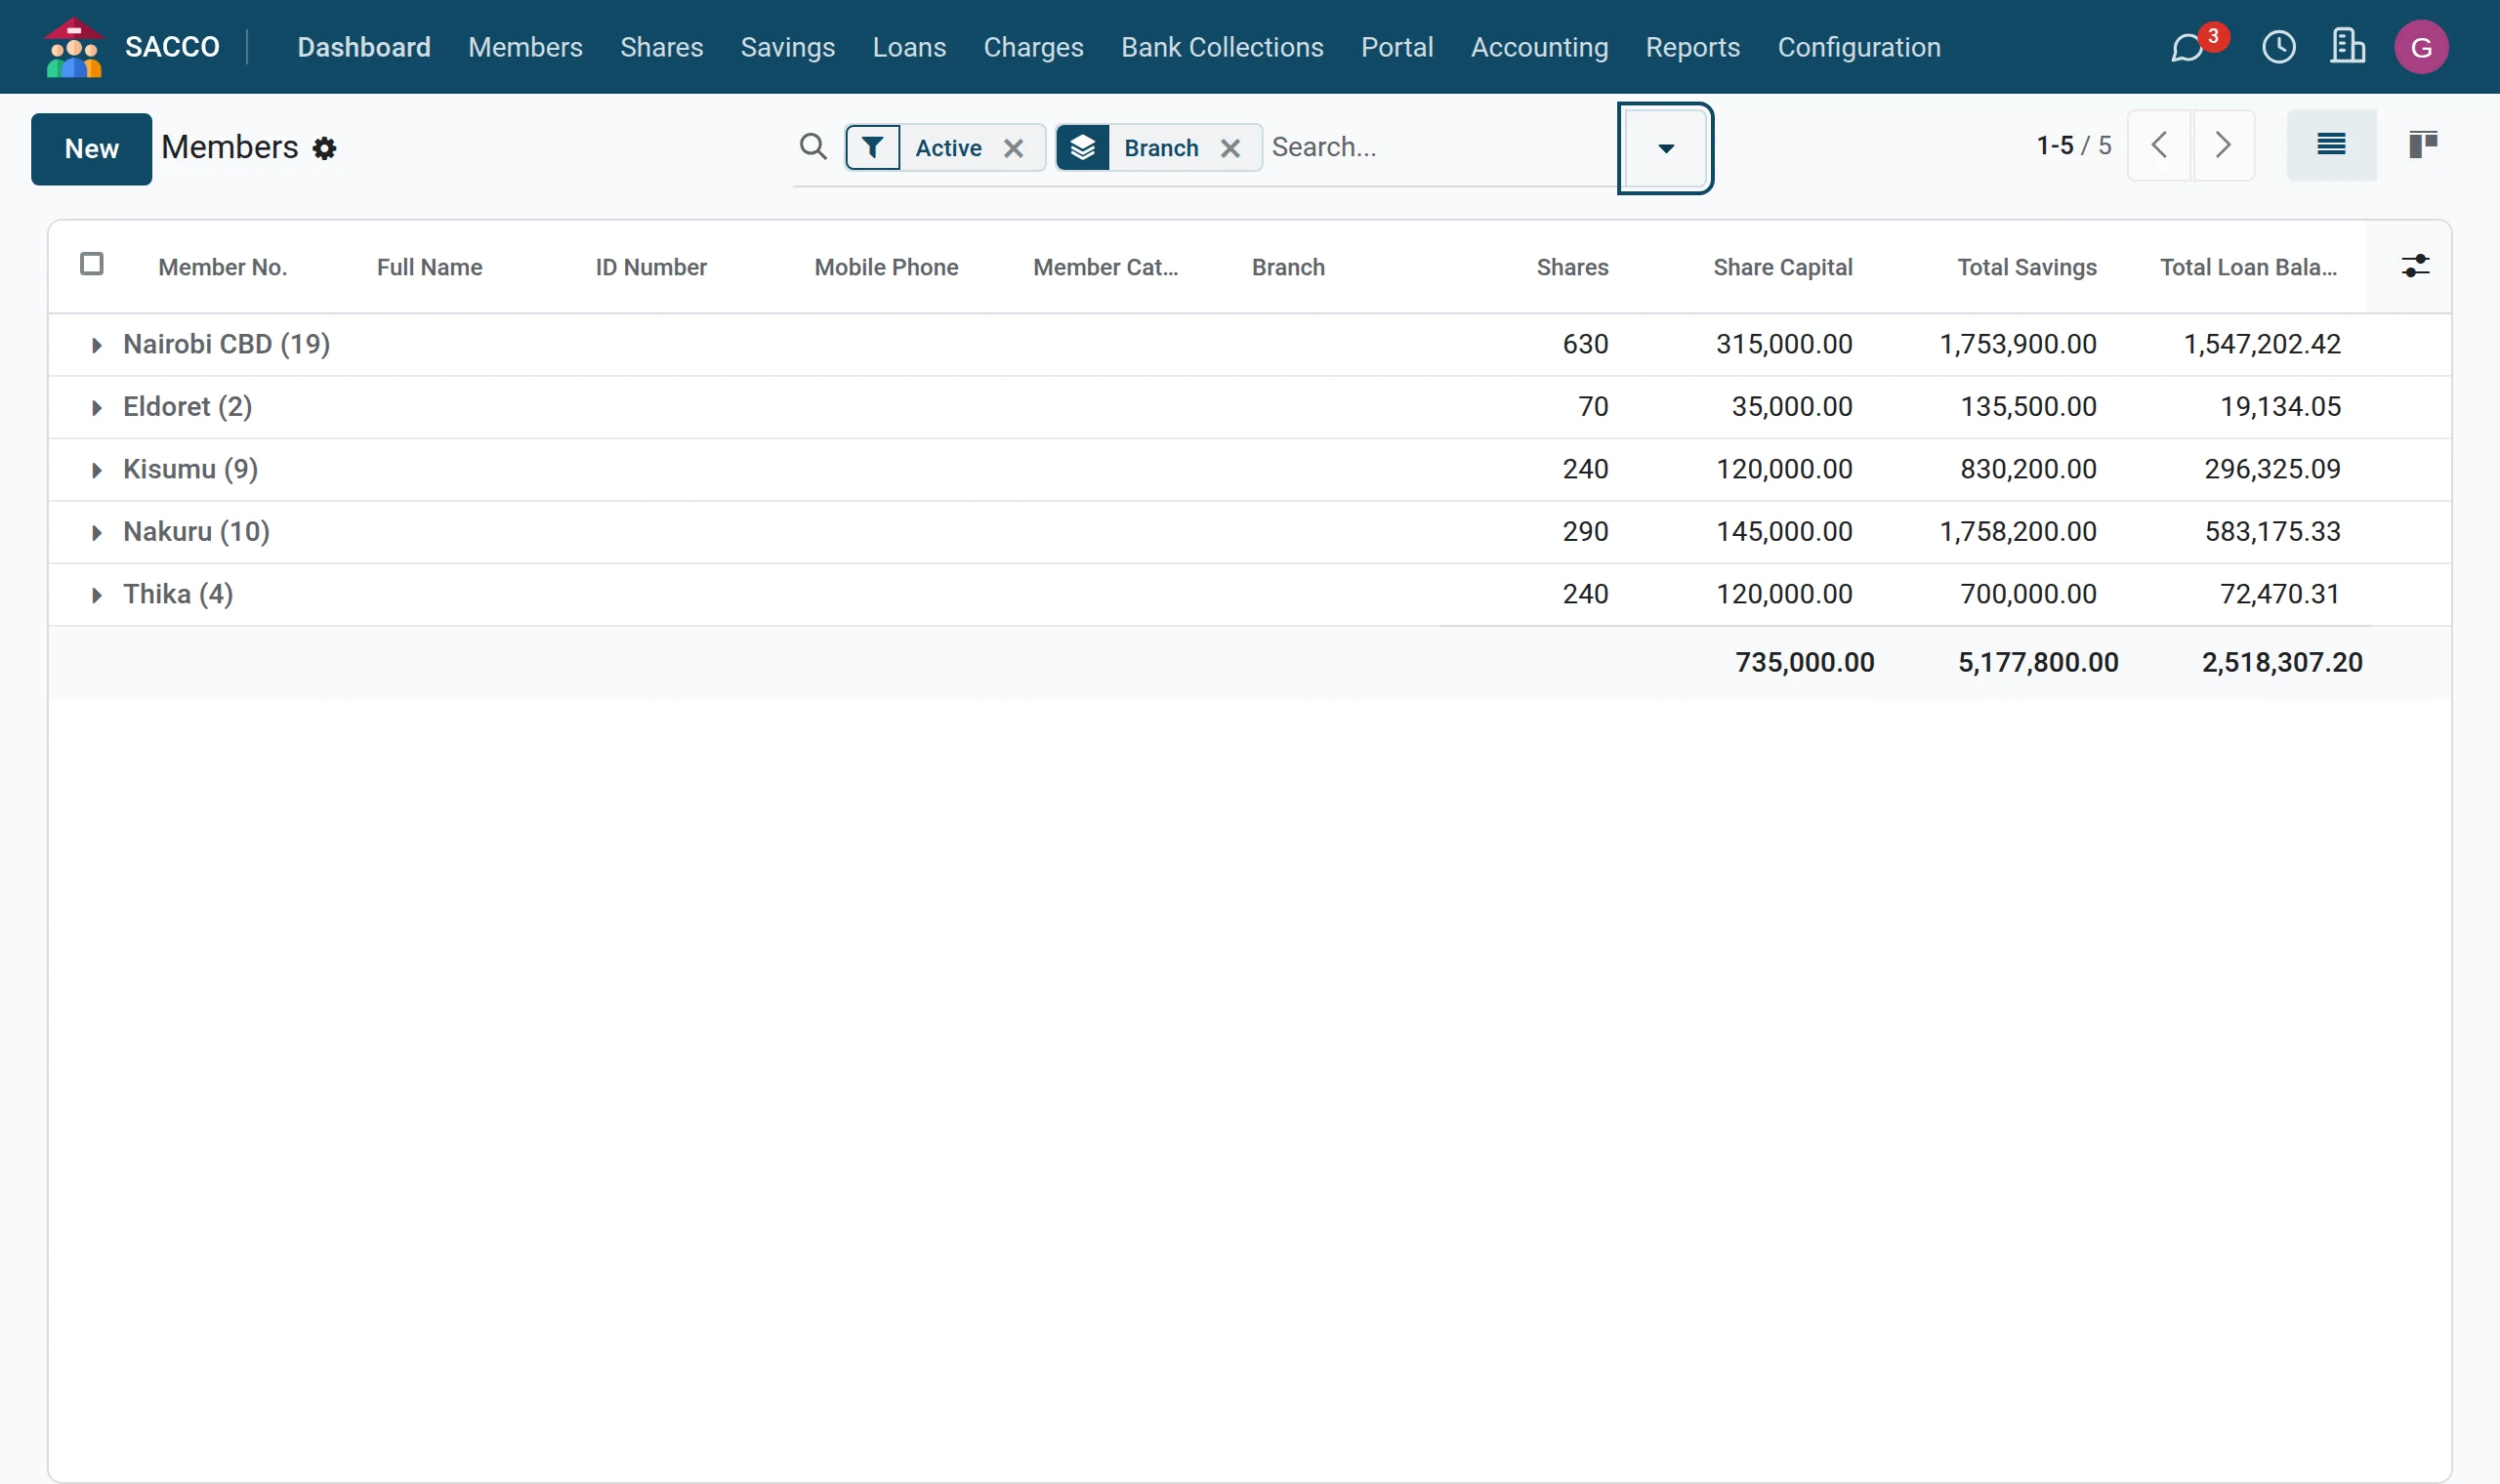
4Group the list
Pick Branch under Group By: the list folds into one line per branch, with its totals. Click a group to unfold it.
5Cards or lines
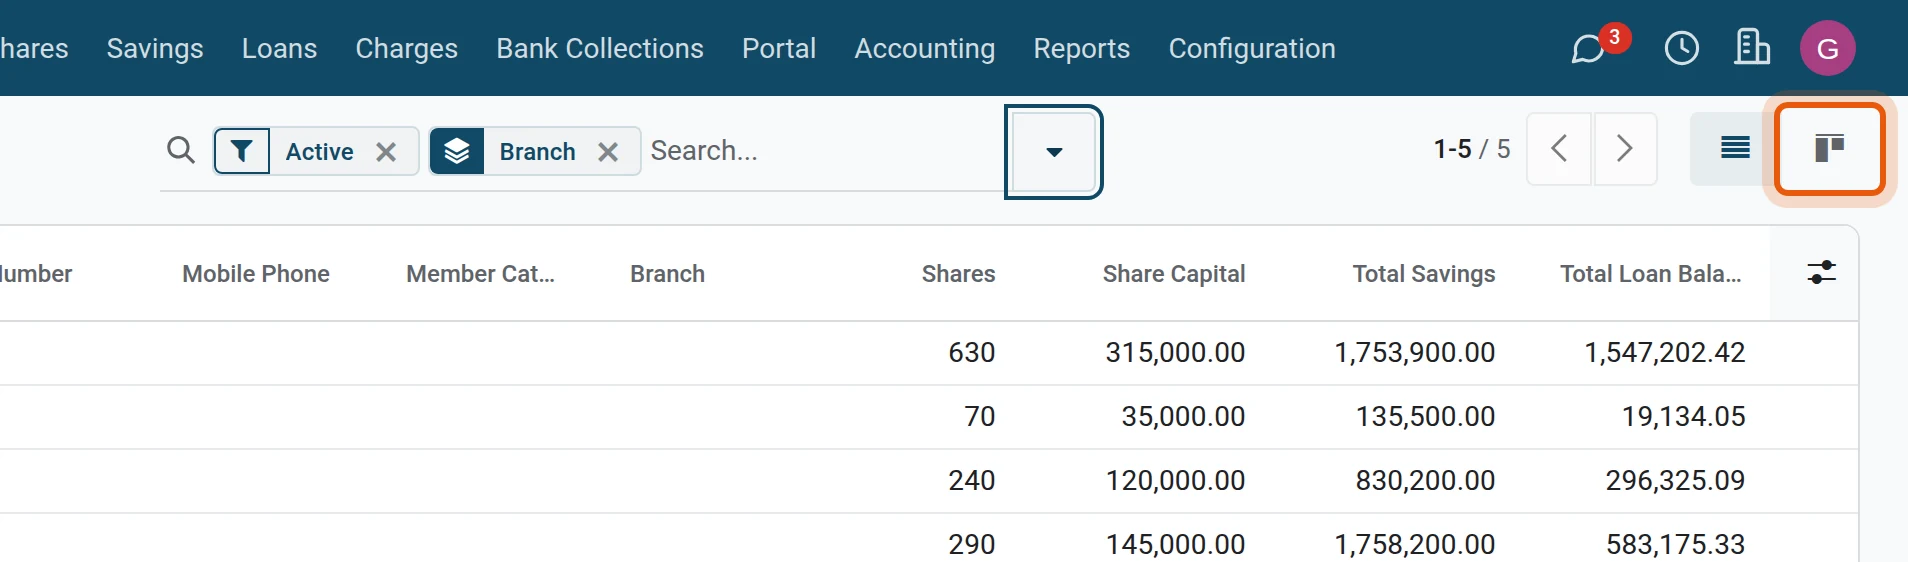
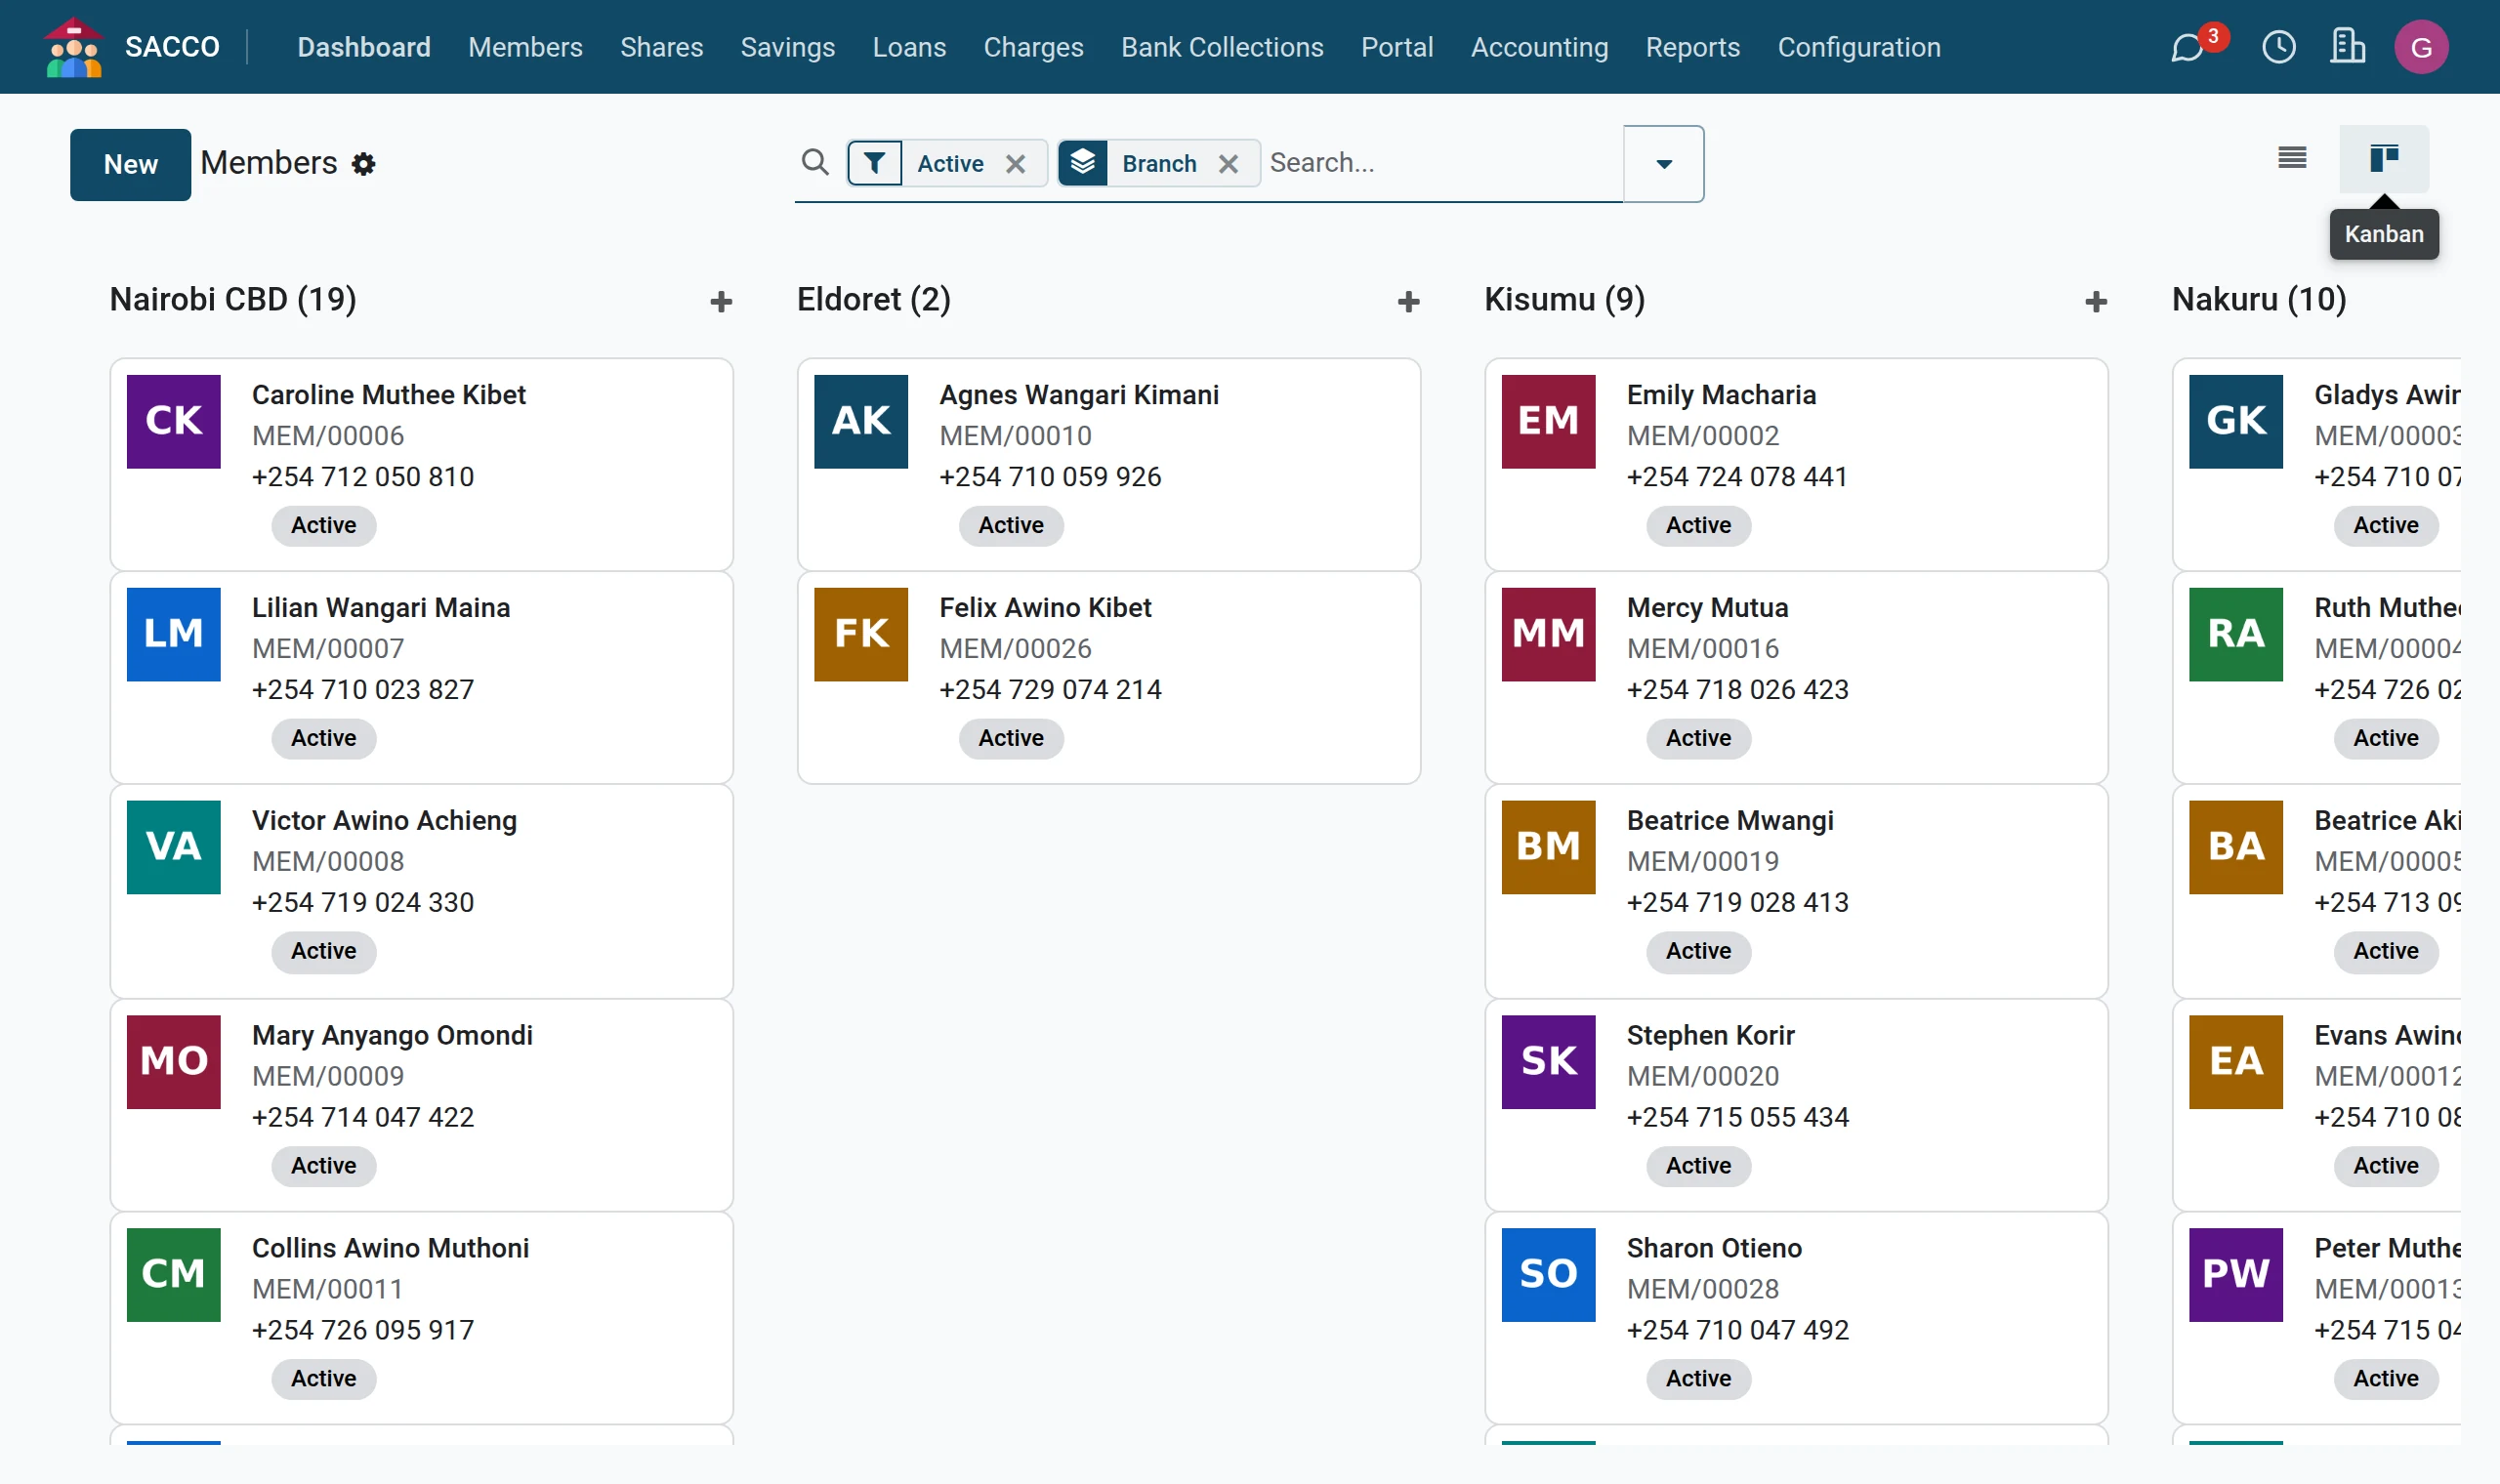
The buttons at the far right switch between the list and the cards view (with photos). Reports add a pivot table and a graph.
6Select lines to export or act on them
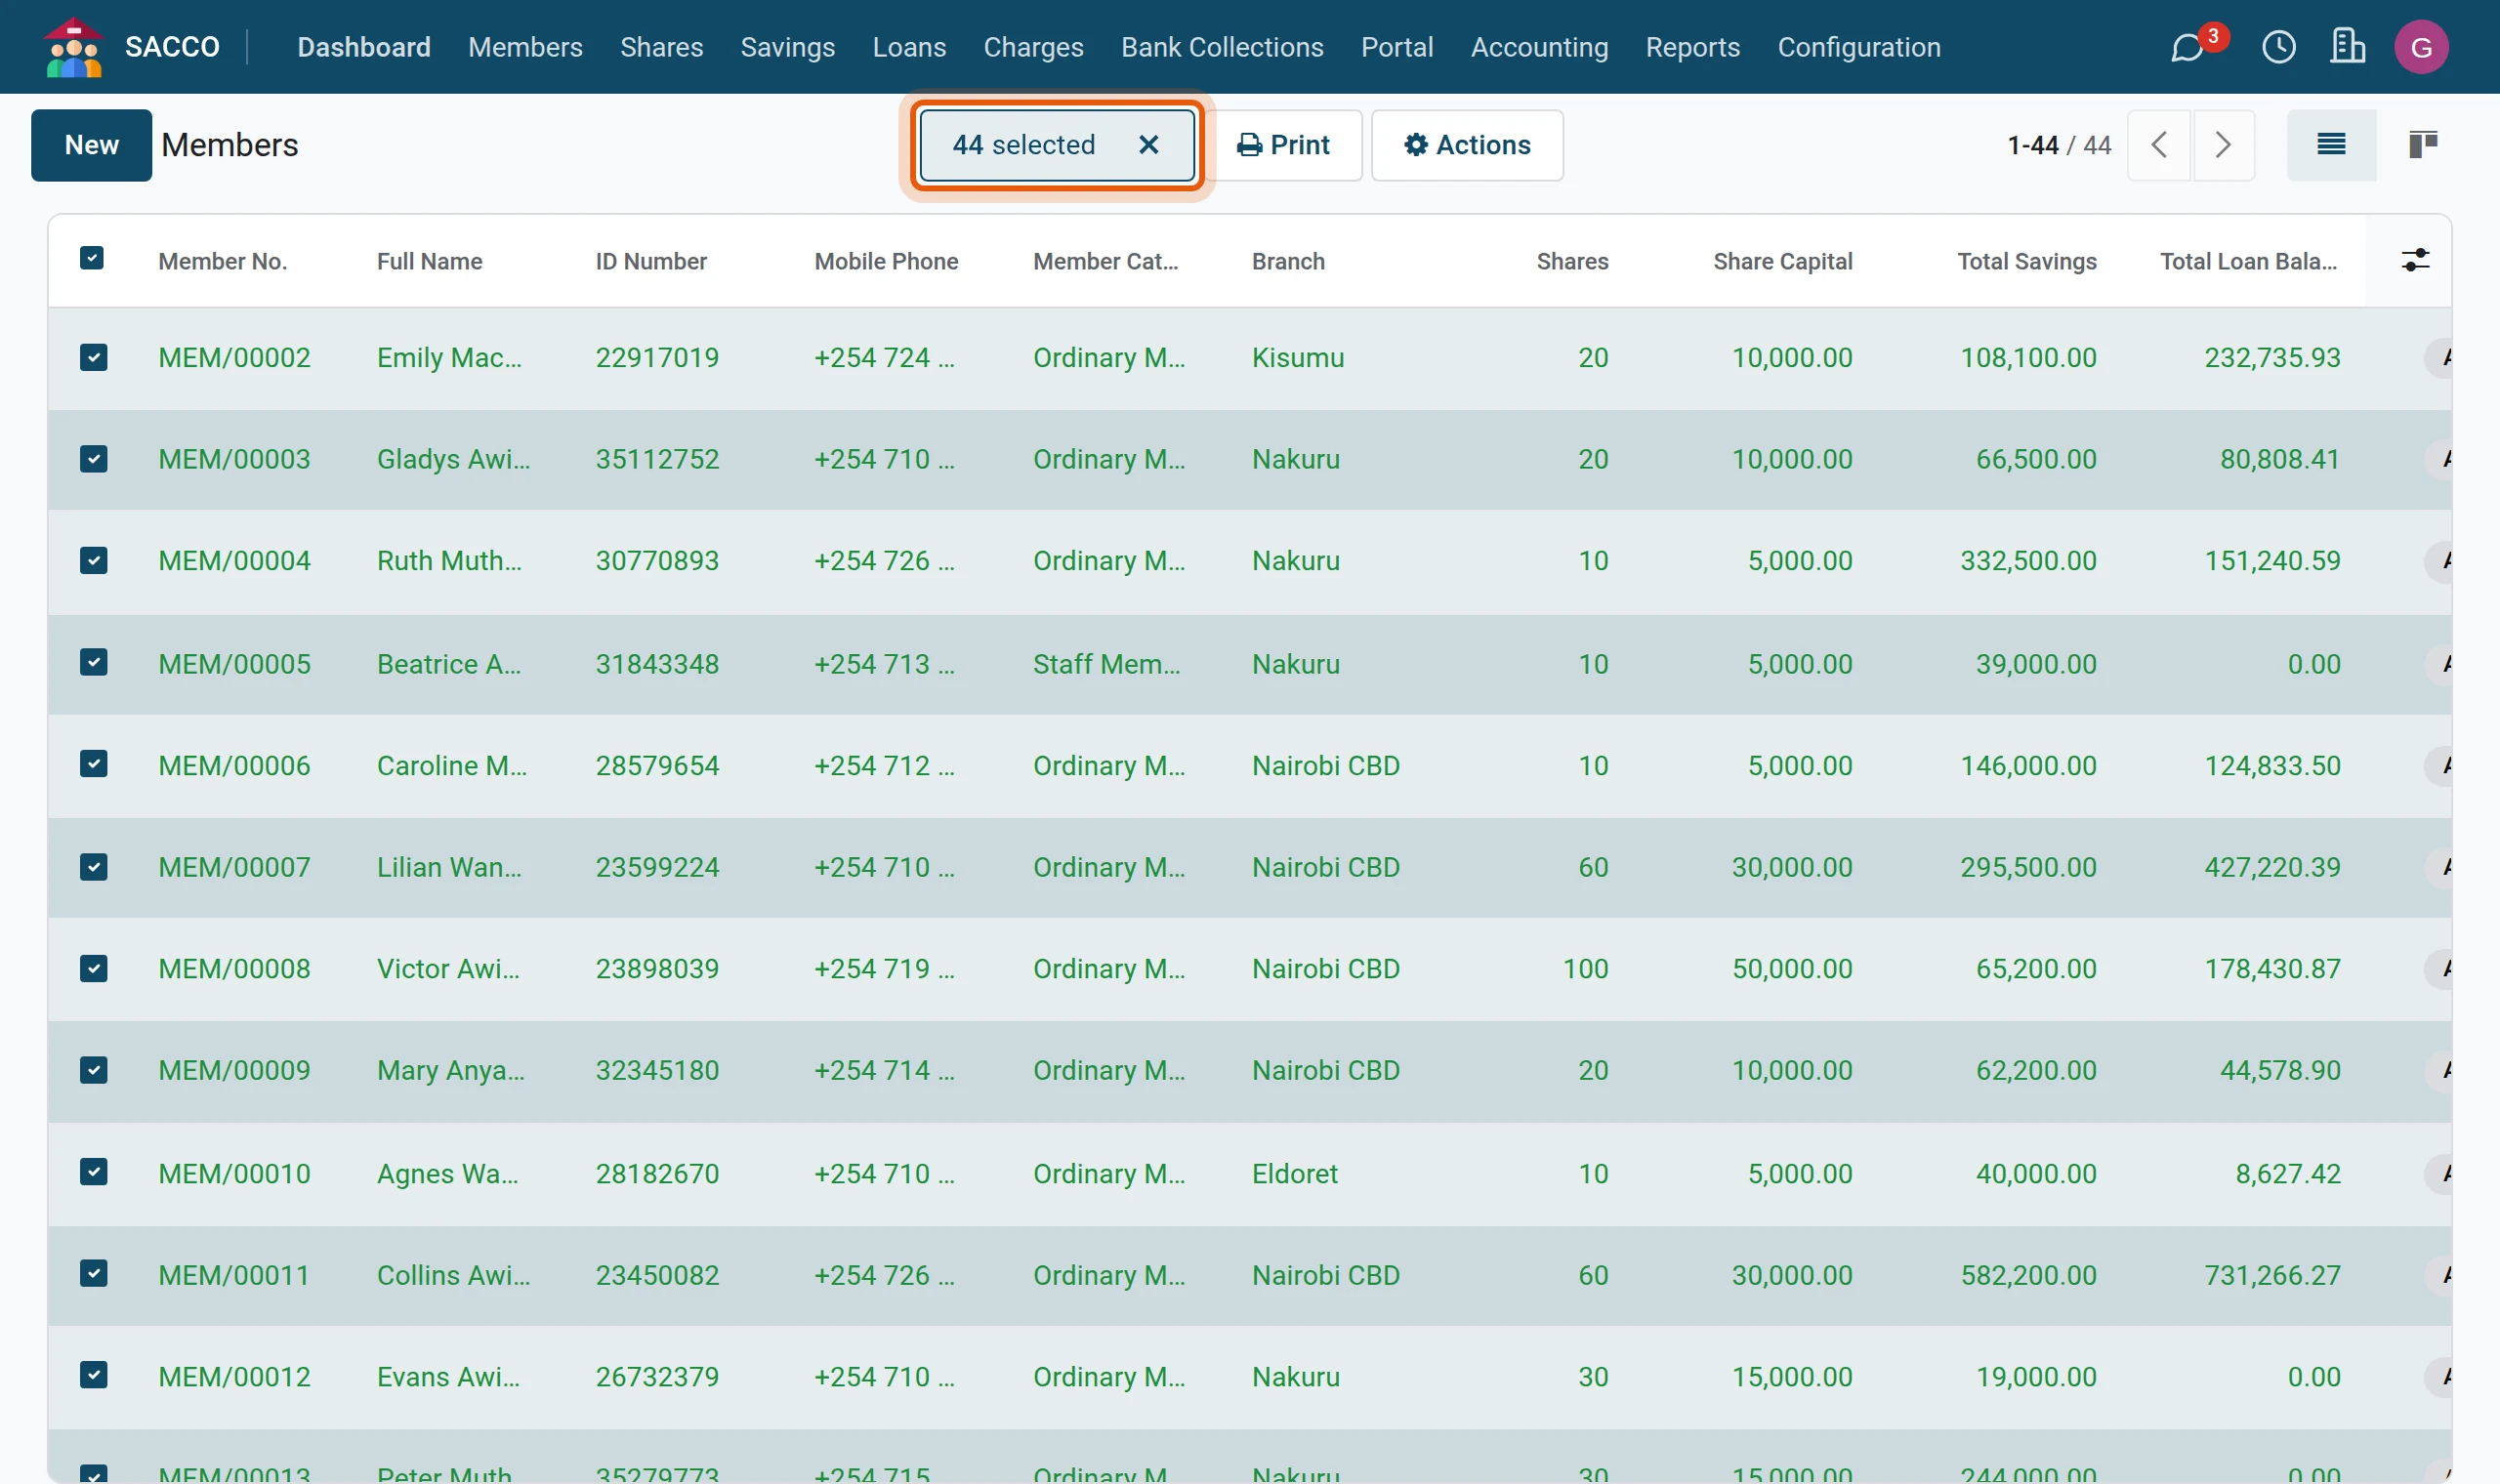
Tick lines (or the box in the header for all). An Actions menu appears with Export: choose the columns and download the list as an Excel file.
Forms: one record, its buttons and its history
1Open a record
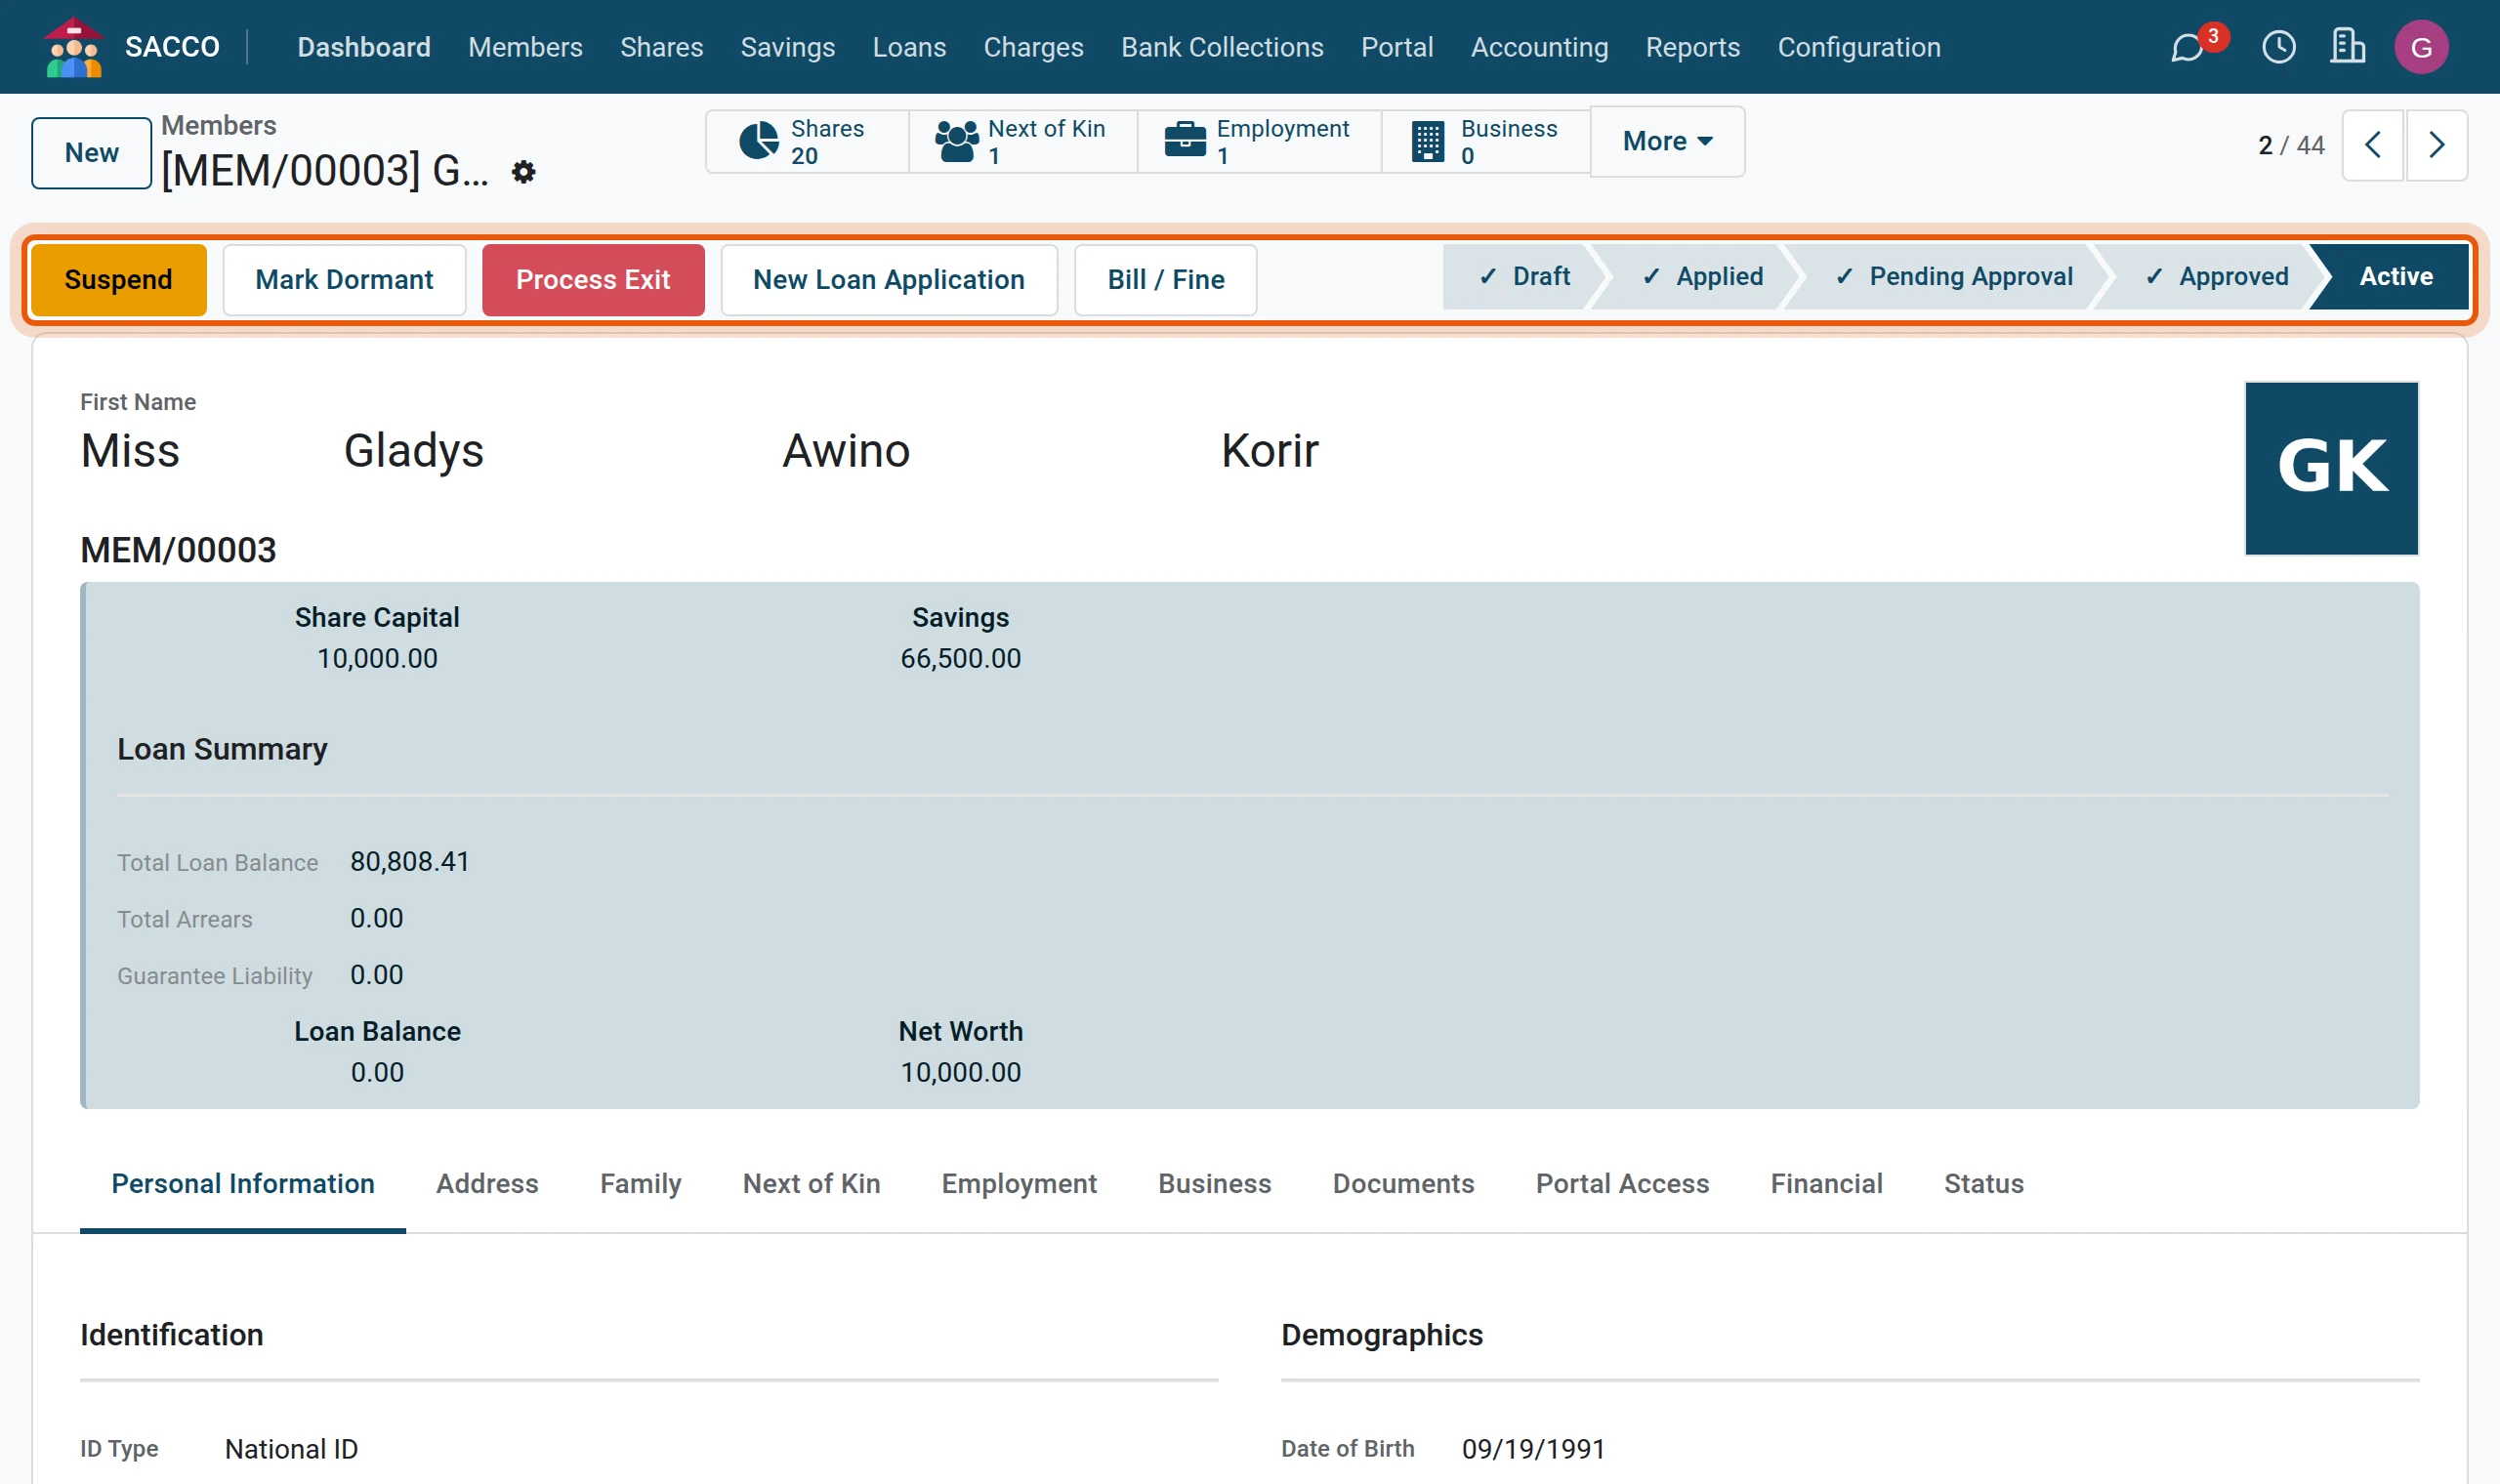
Click a line in a list to open the record. The status bar on the right shows where the record stands; the buttons on the left are the things you may do to it now. They change with the status and with your role.
2Stat buttons and tabs
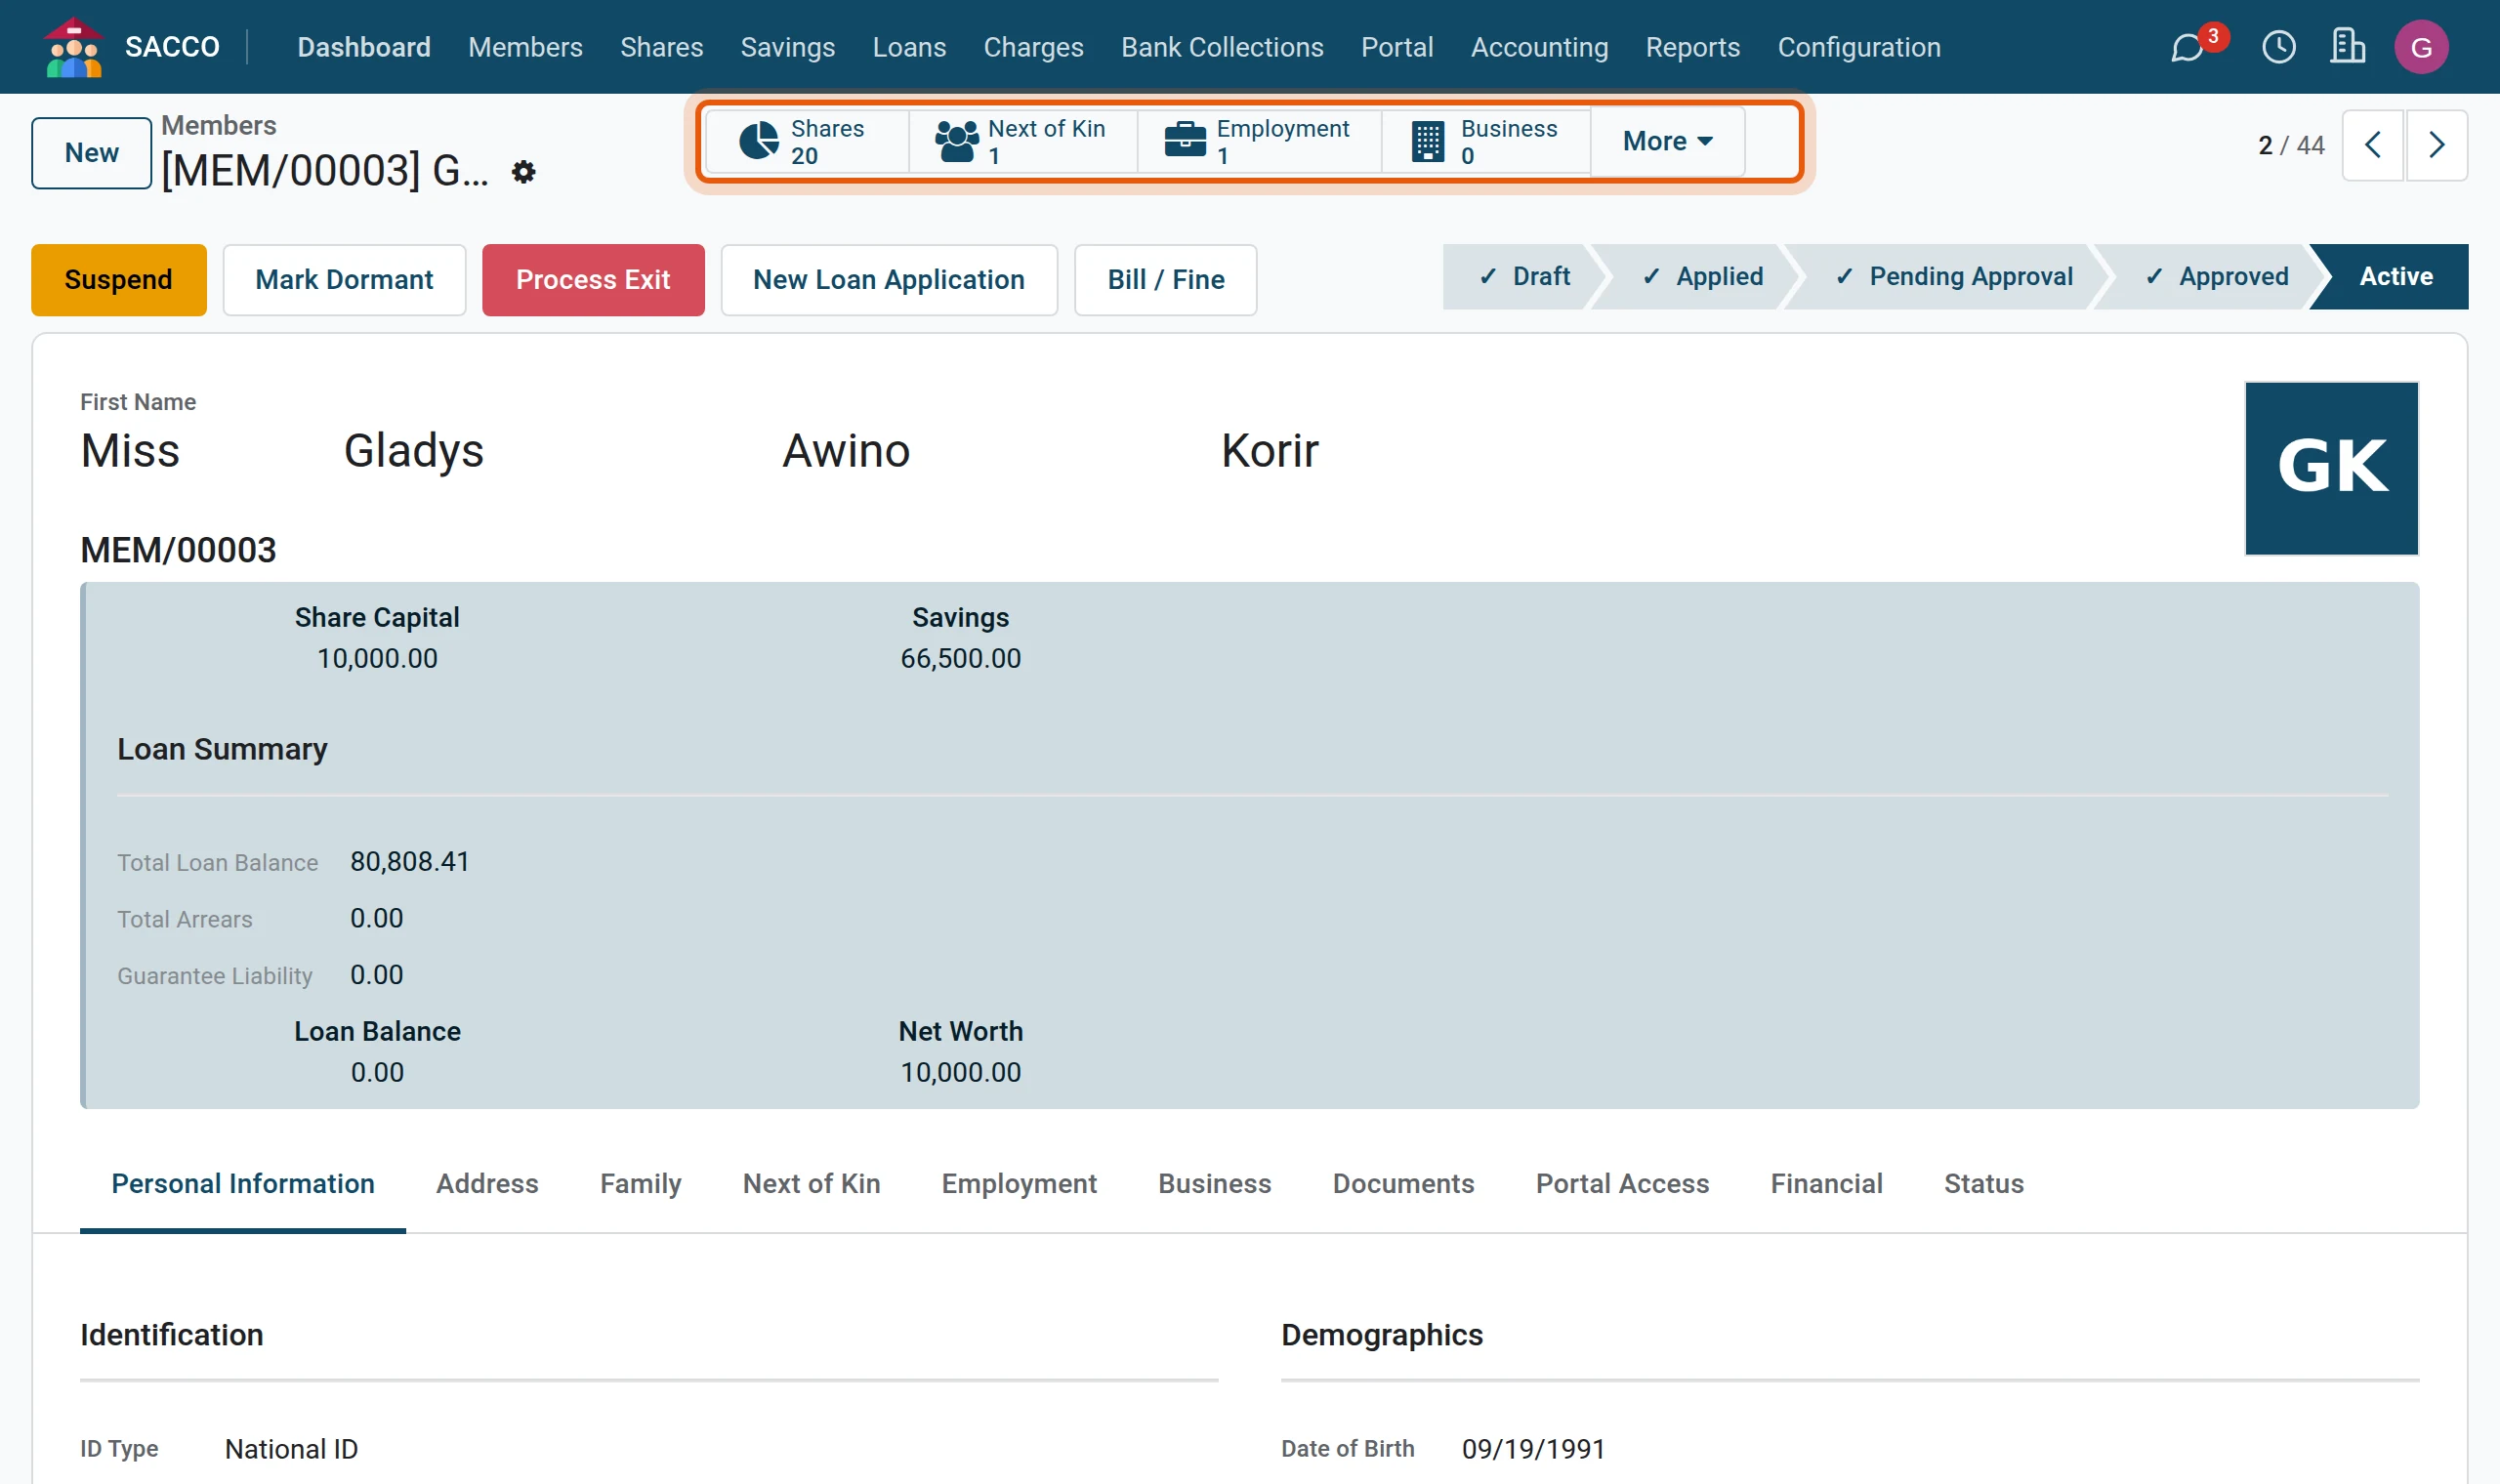
The buttons across the top open what belongs to this record (a member’s shares, accounts, loans). The tabs under the name hold the rest of the details.
3Editing and saving
Click in any field to change it. Changes are saved when you leave the record; the cloud icon next to the title saves at once and the cross discards what you typed.

4The history under every record
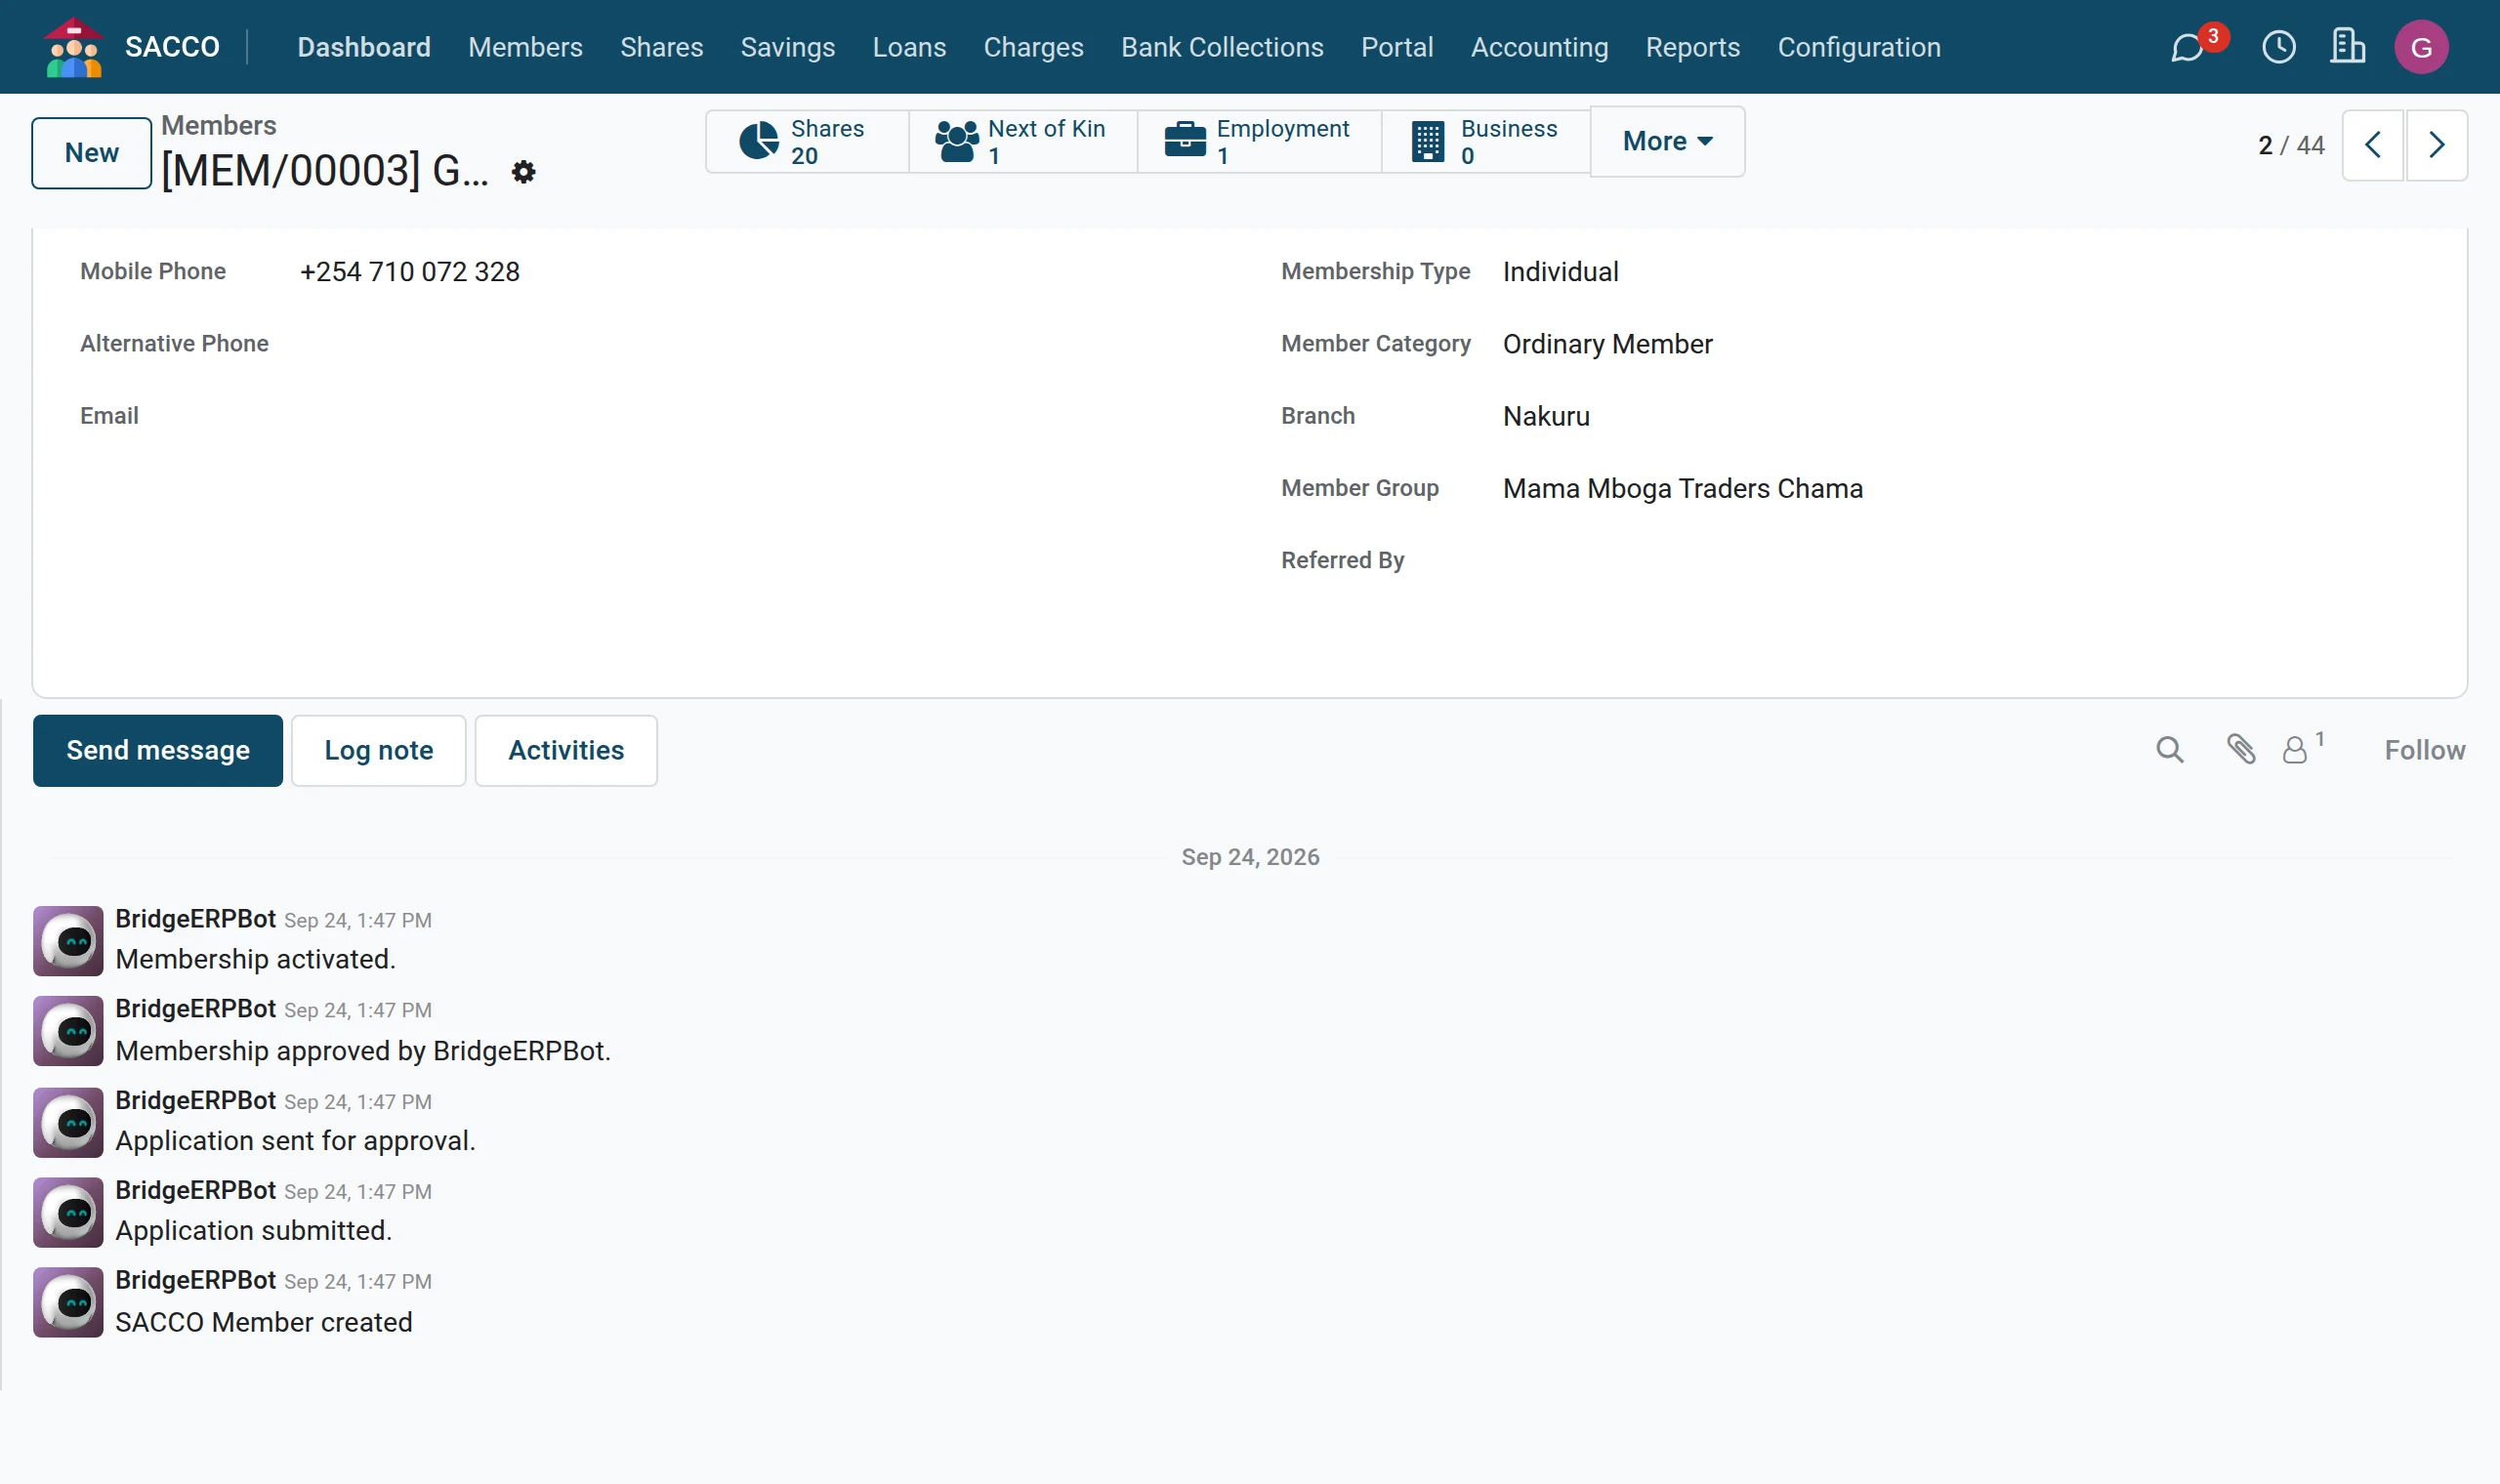
Scroll to the bottom of a form: every change of status and every tracked field is written there with the date and the person. Send message emails the followers, Log note keeps an internal note, Activities schedules a reminder, and the paper clip holds attachments.
Money records are never deleted
A confirmed deposit, withdrawal, repayment or share purchase cannot be deleted or edited. To undo one you reverse it, which writes a mirror entry and keeps both in the history. This is what makes the books auditable.